Discover Your Oven
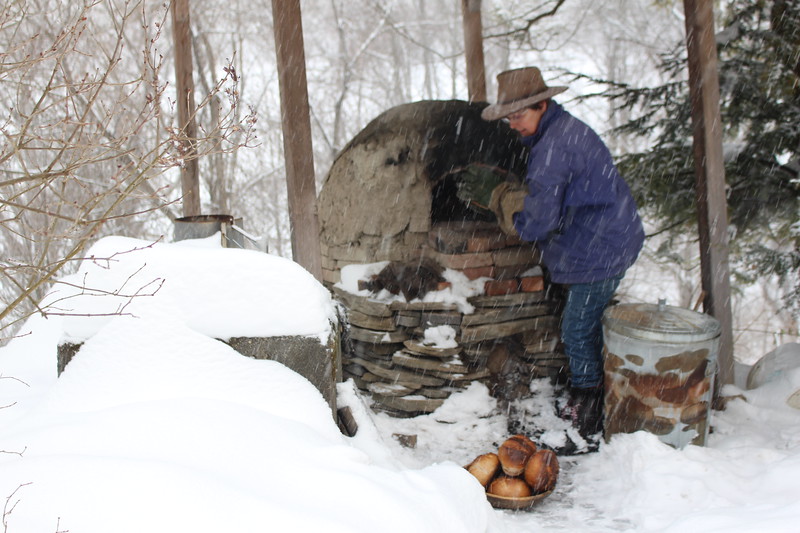
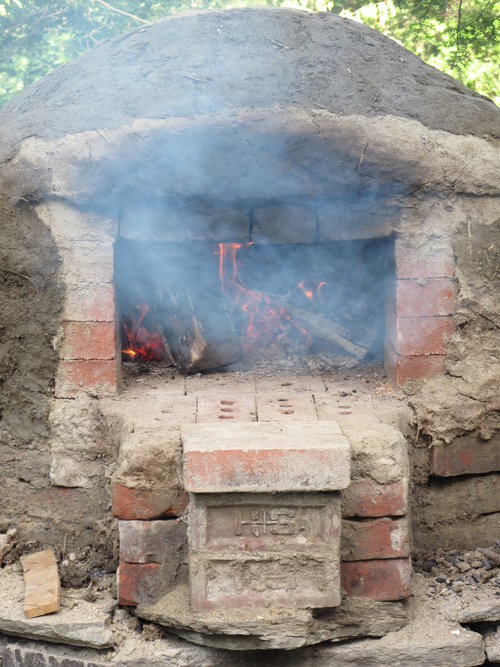
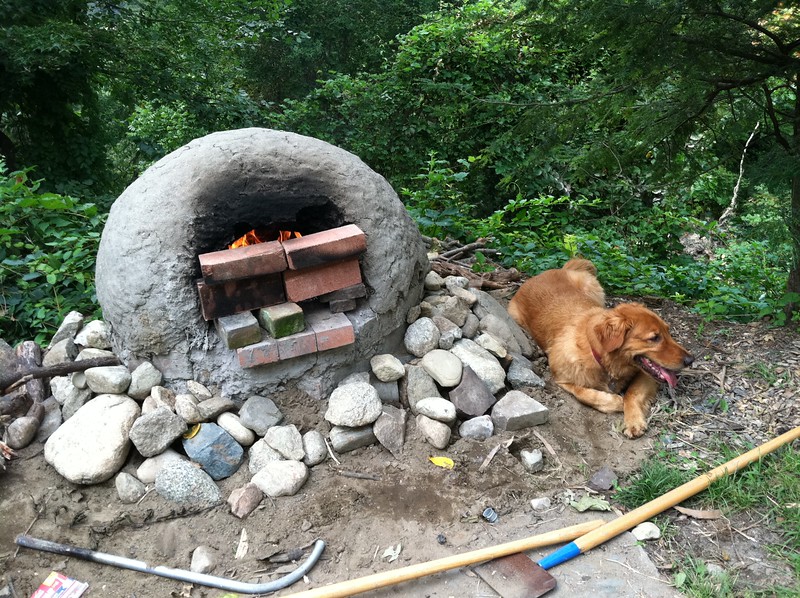
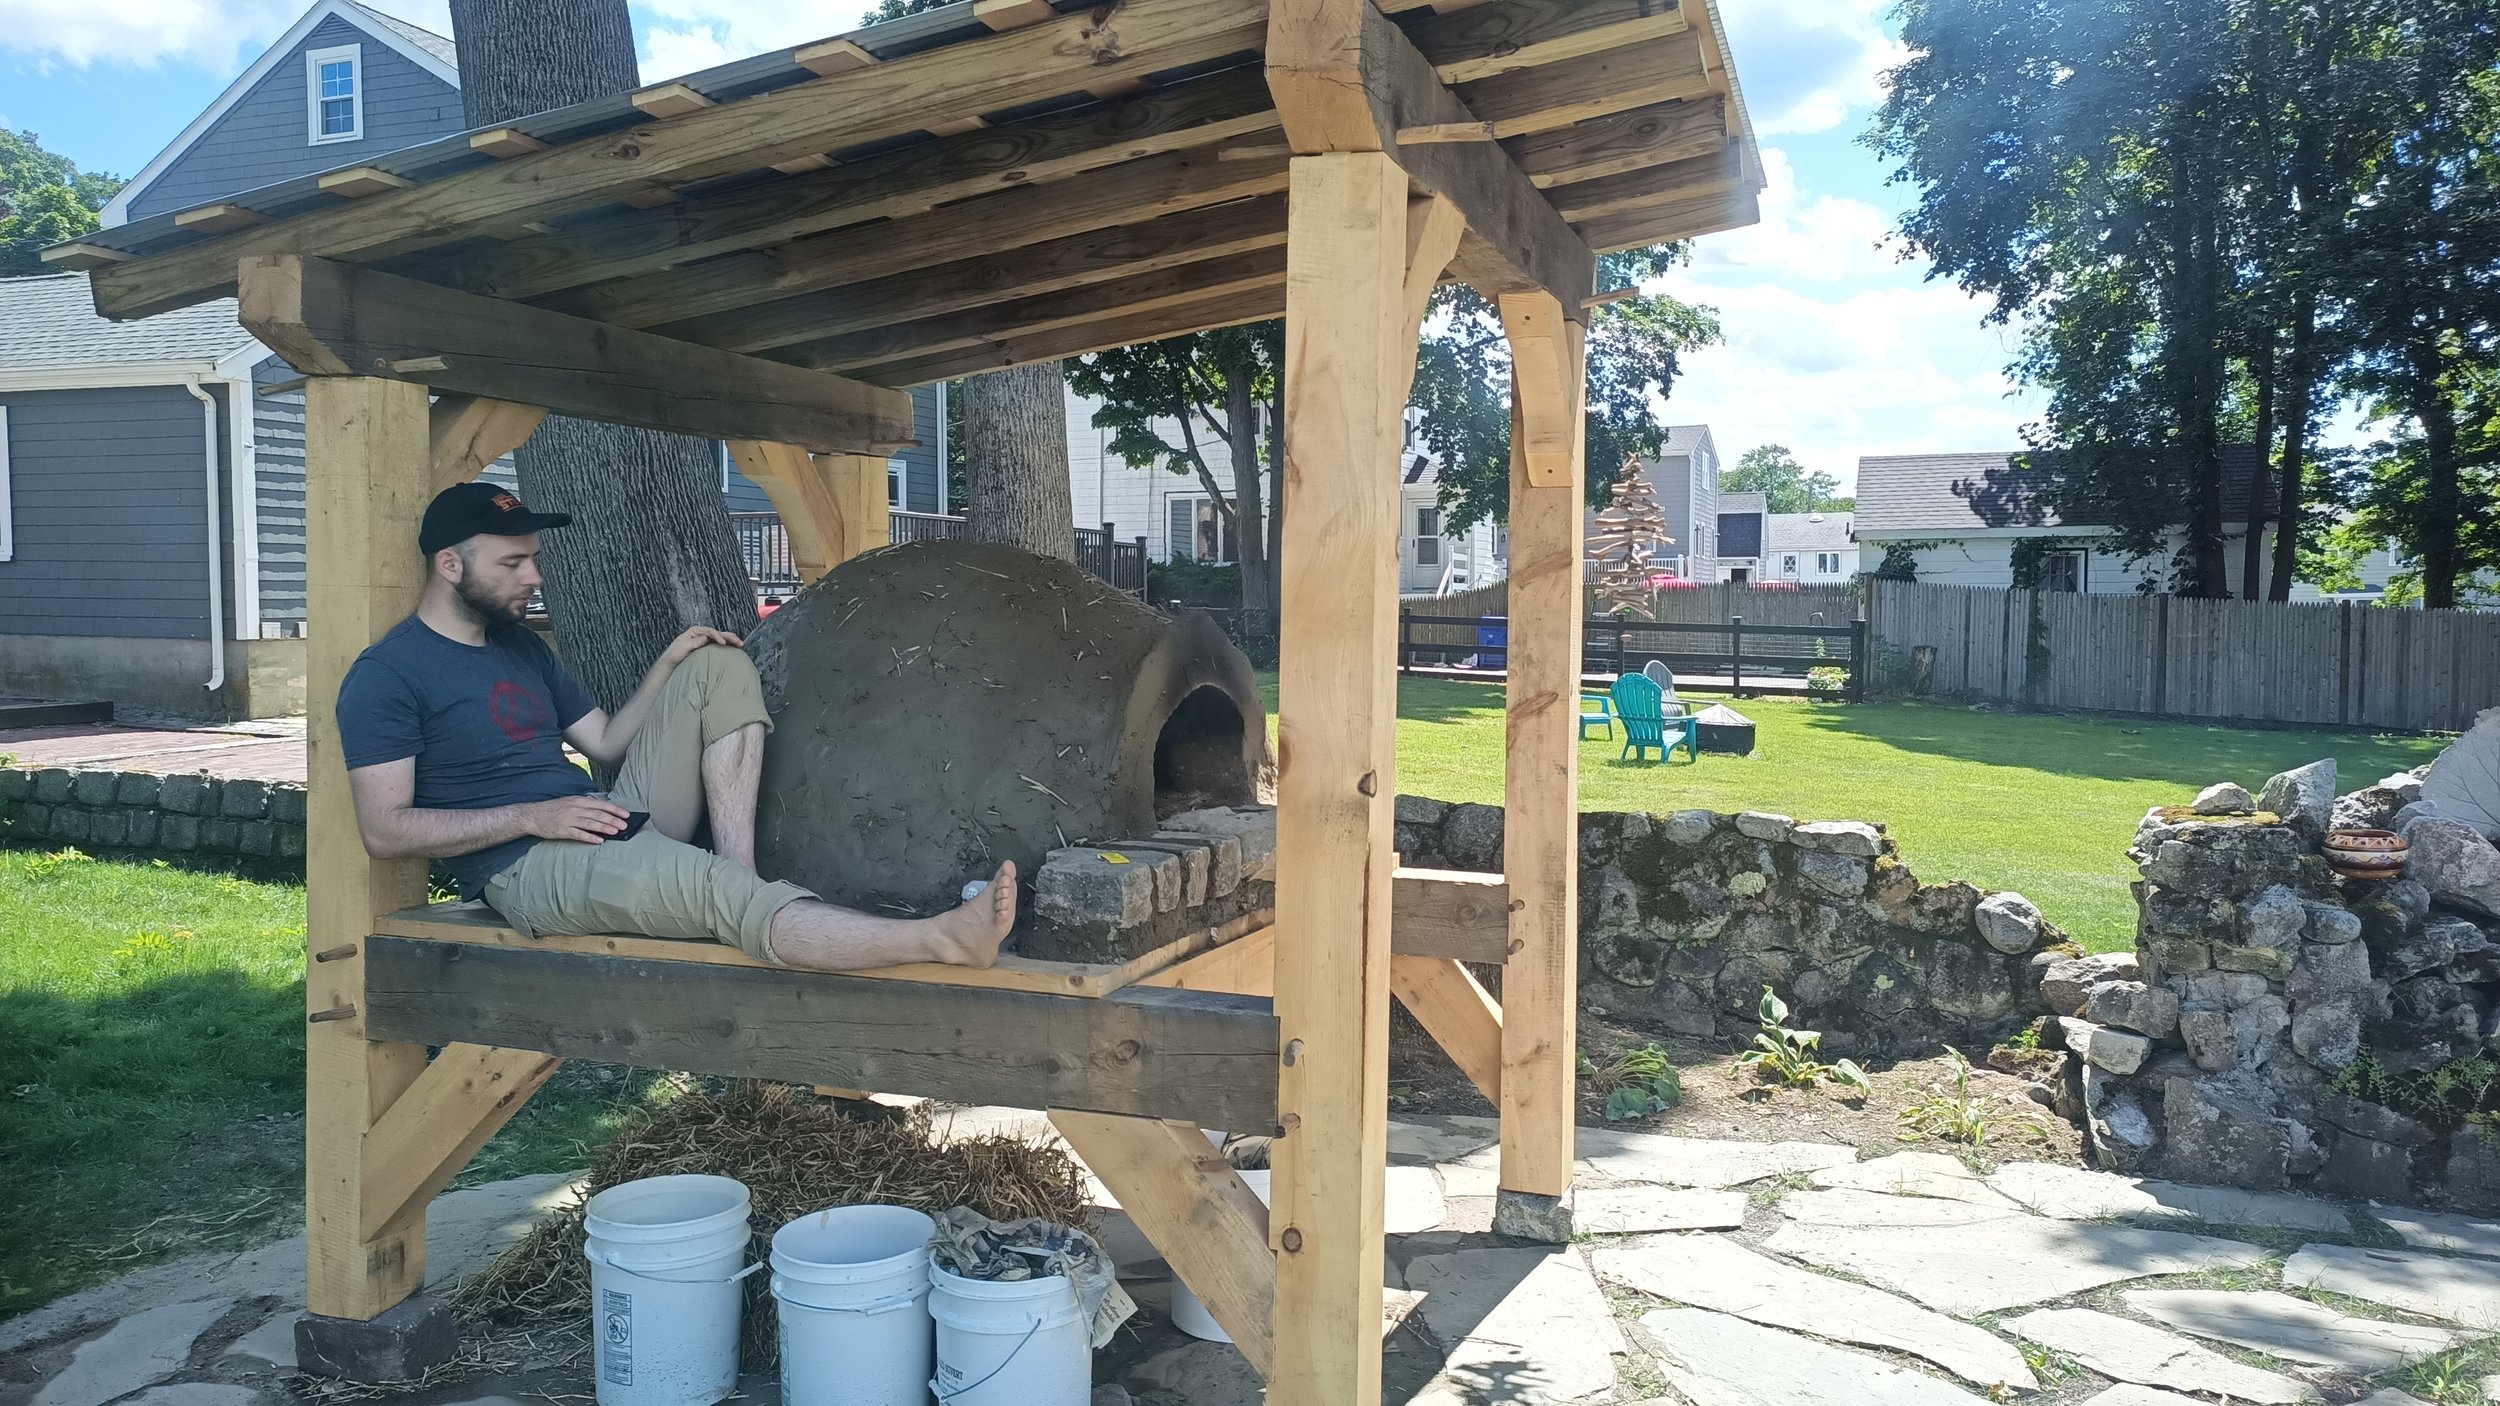
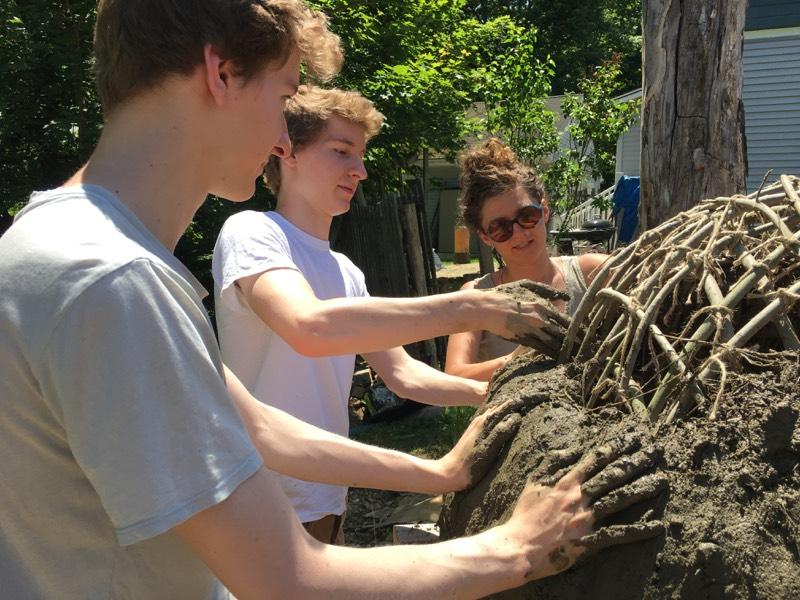
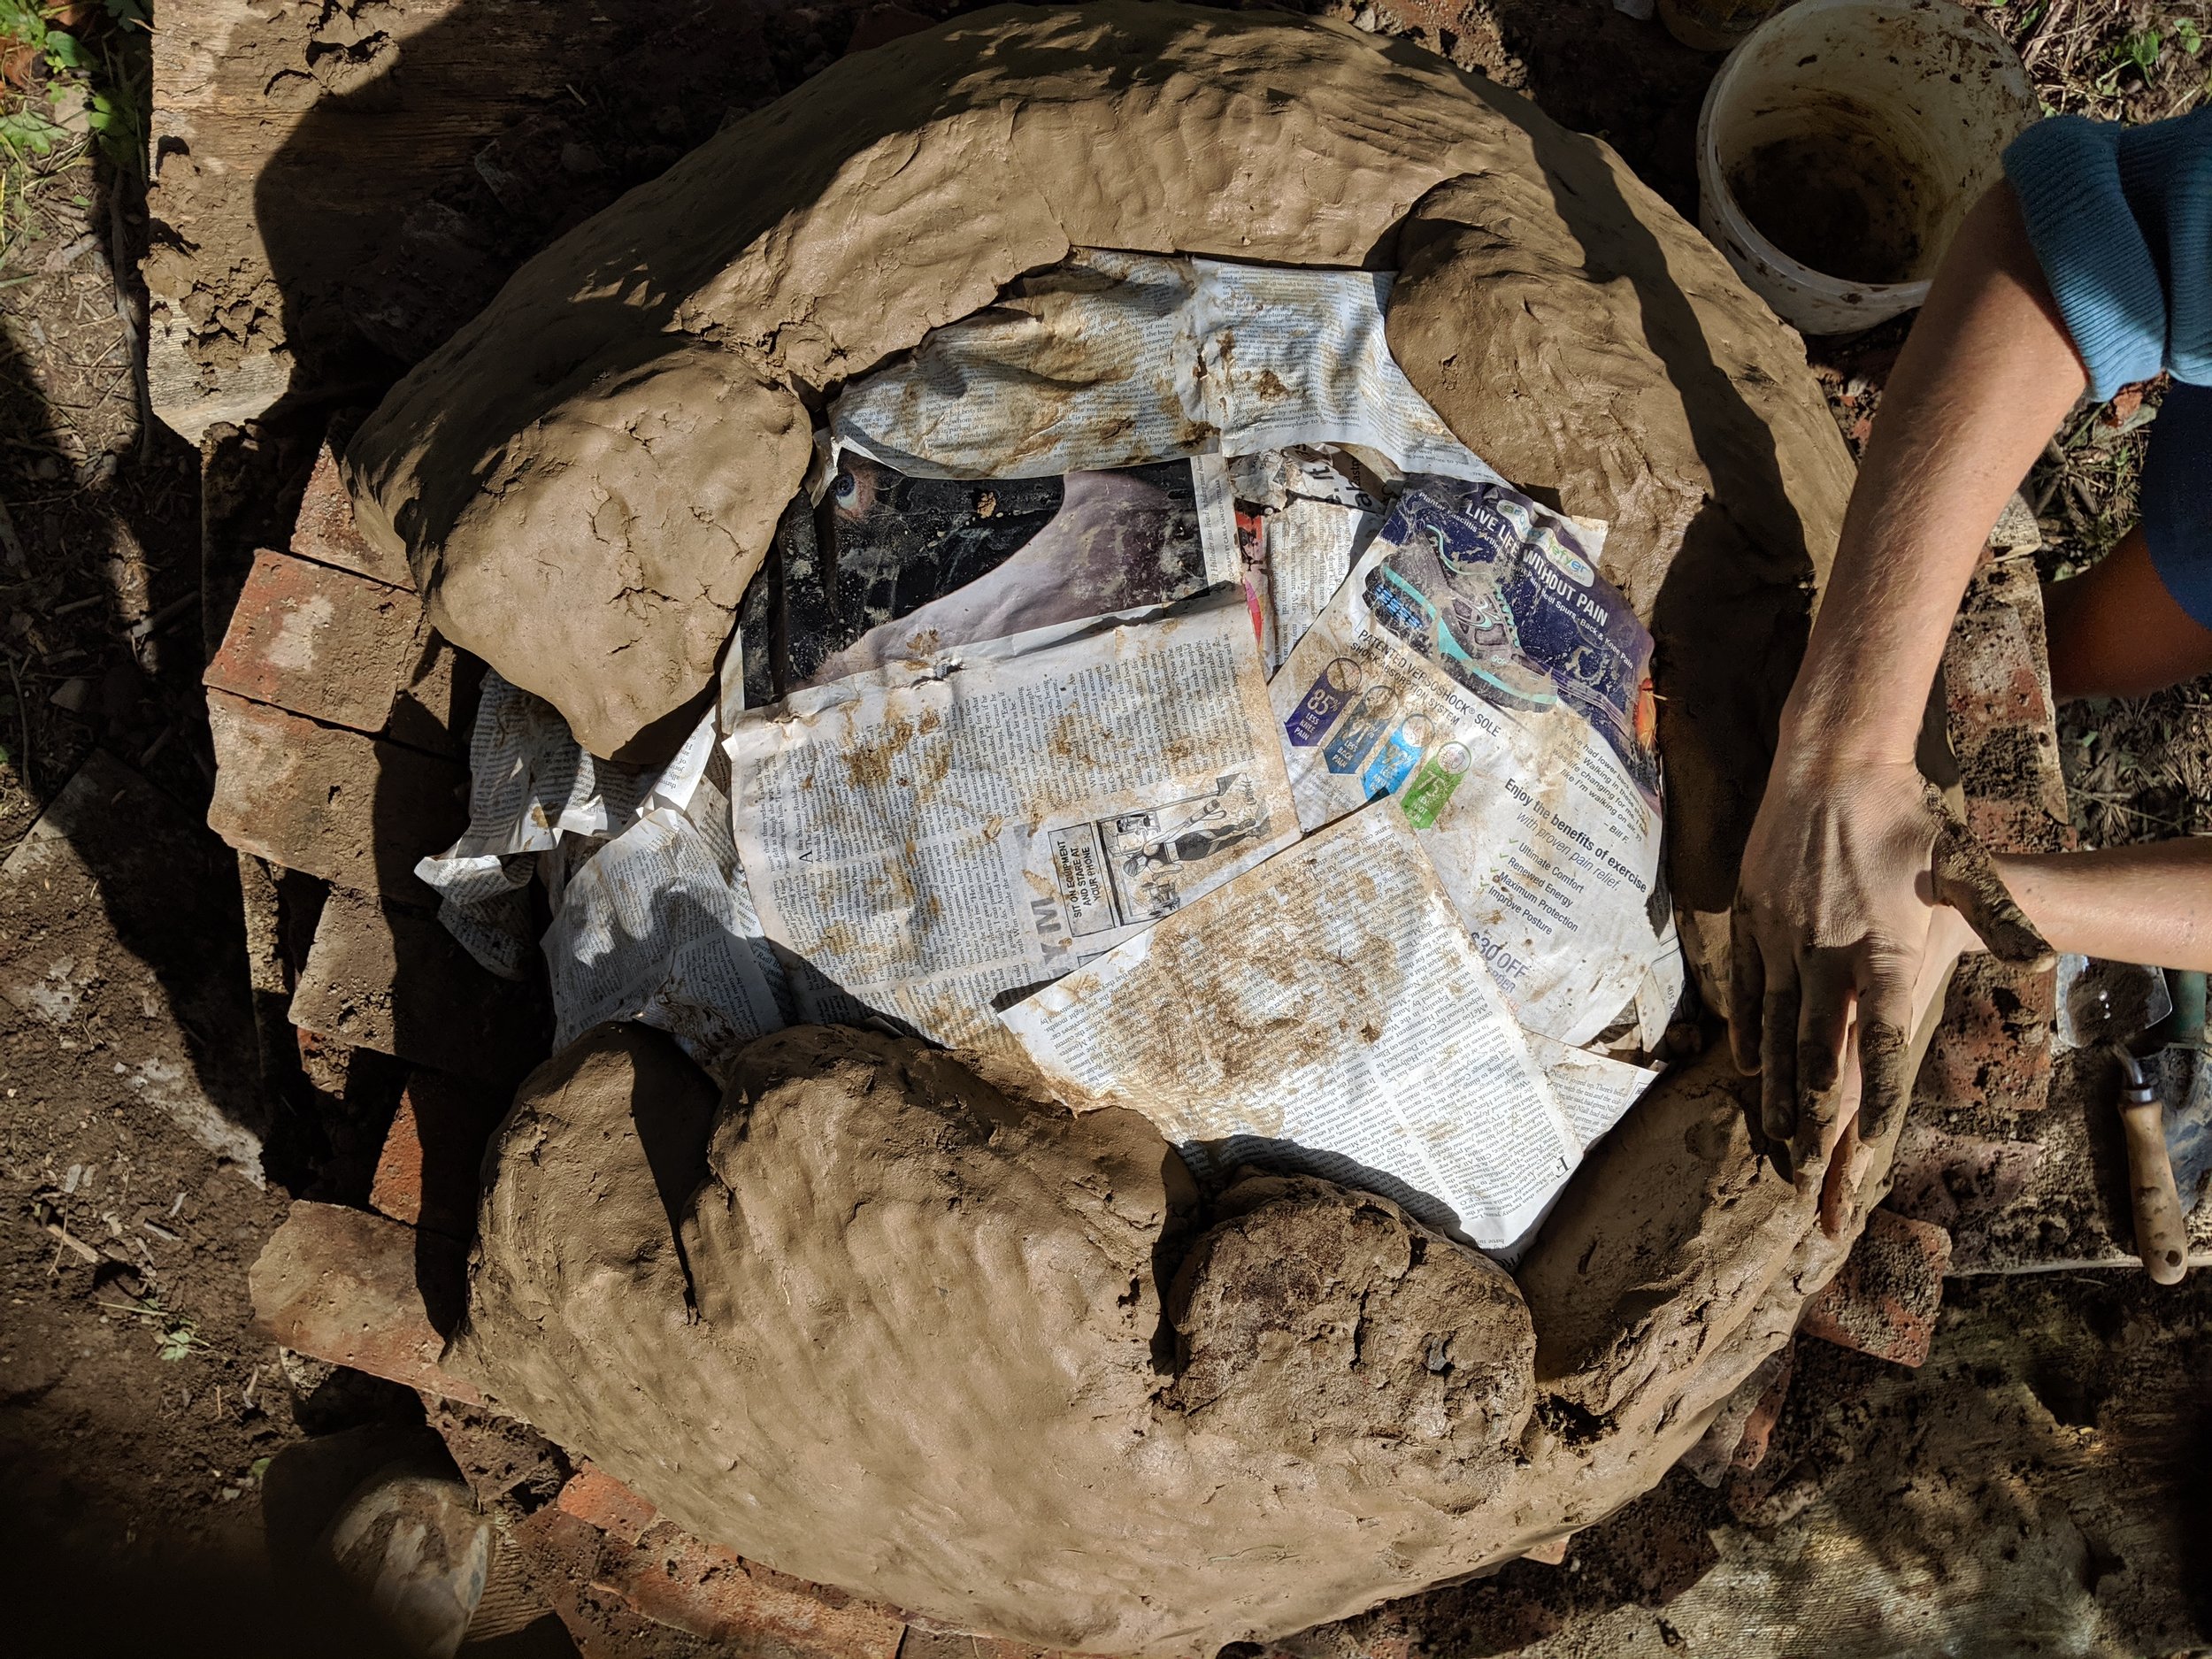
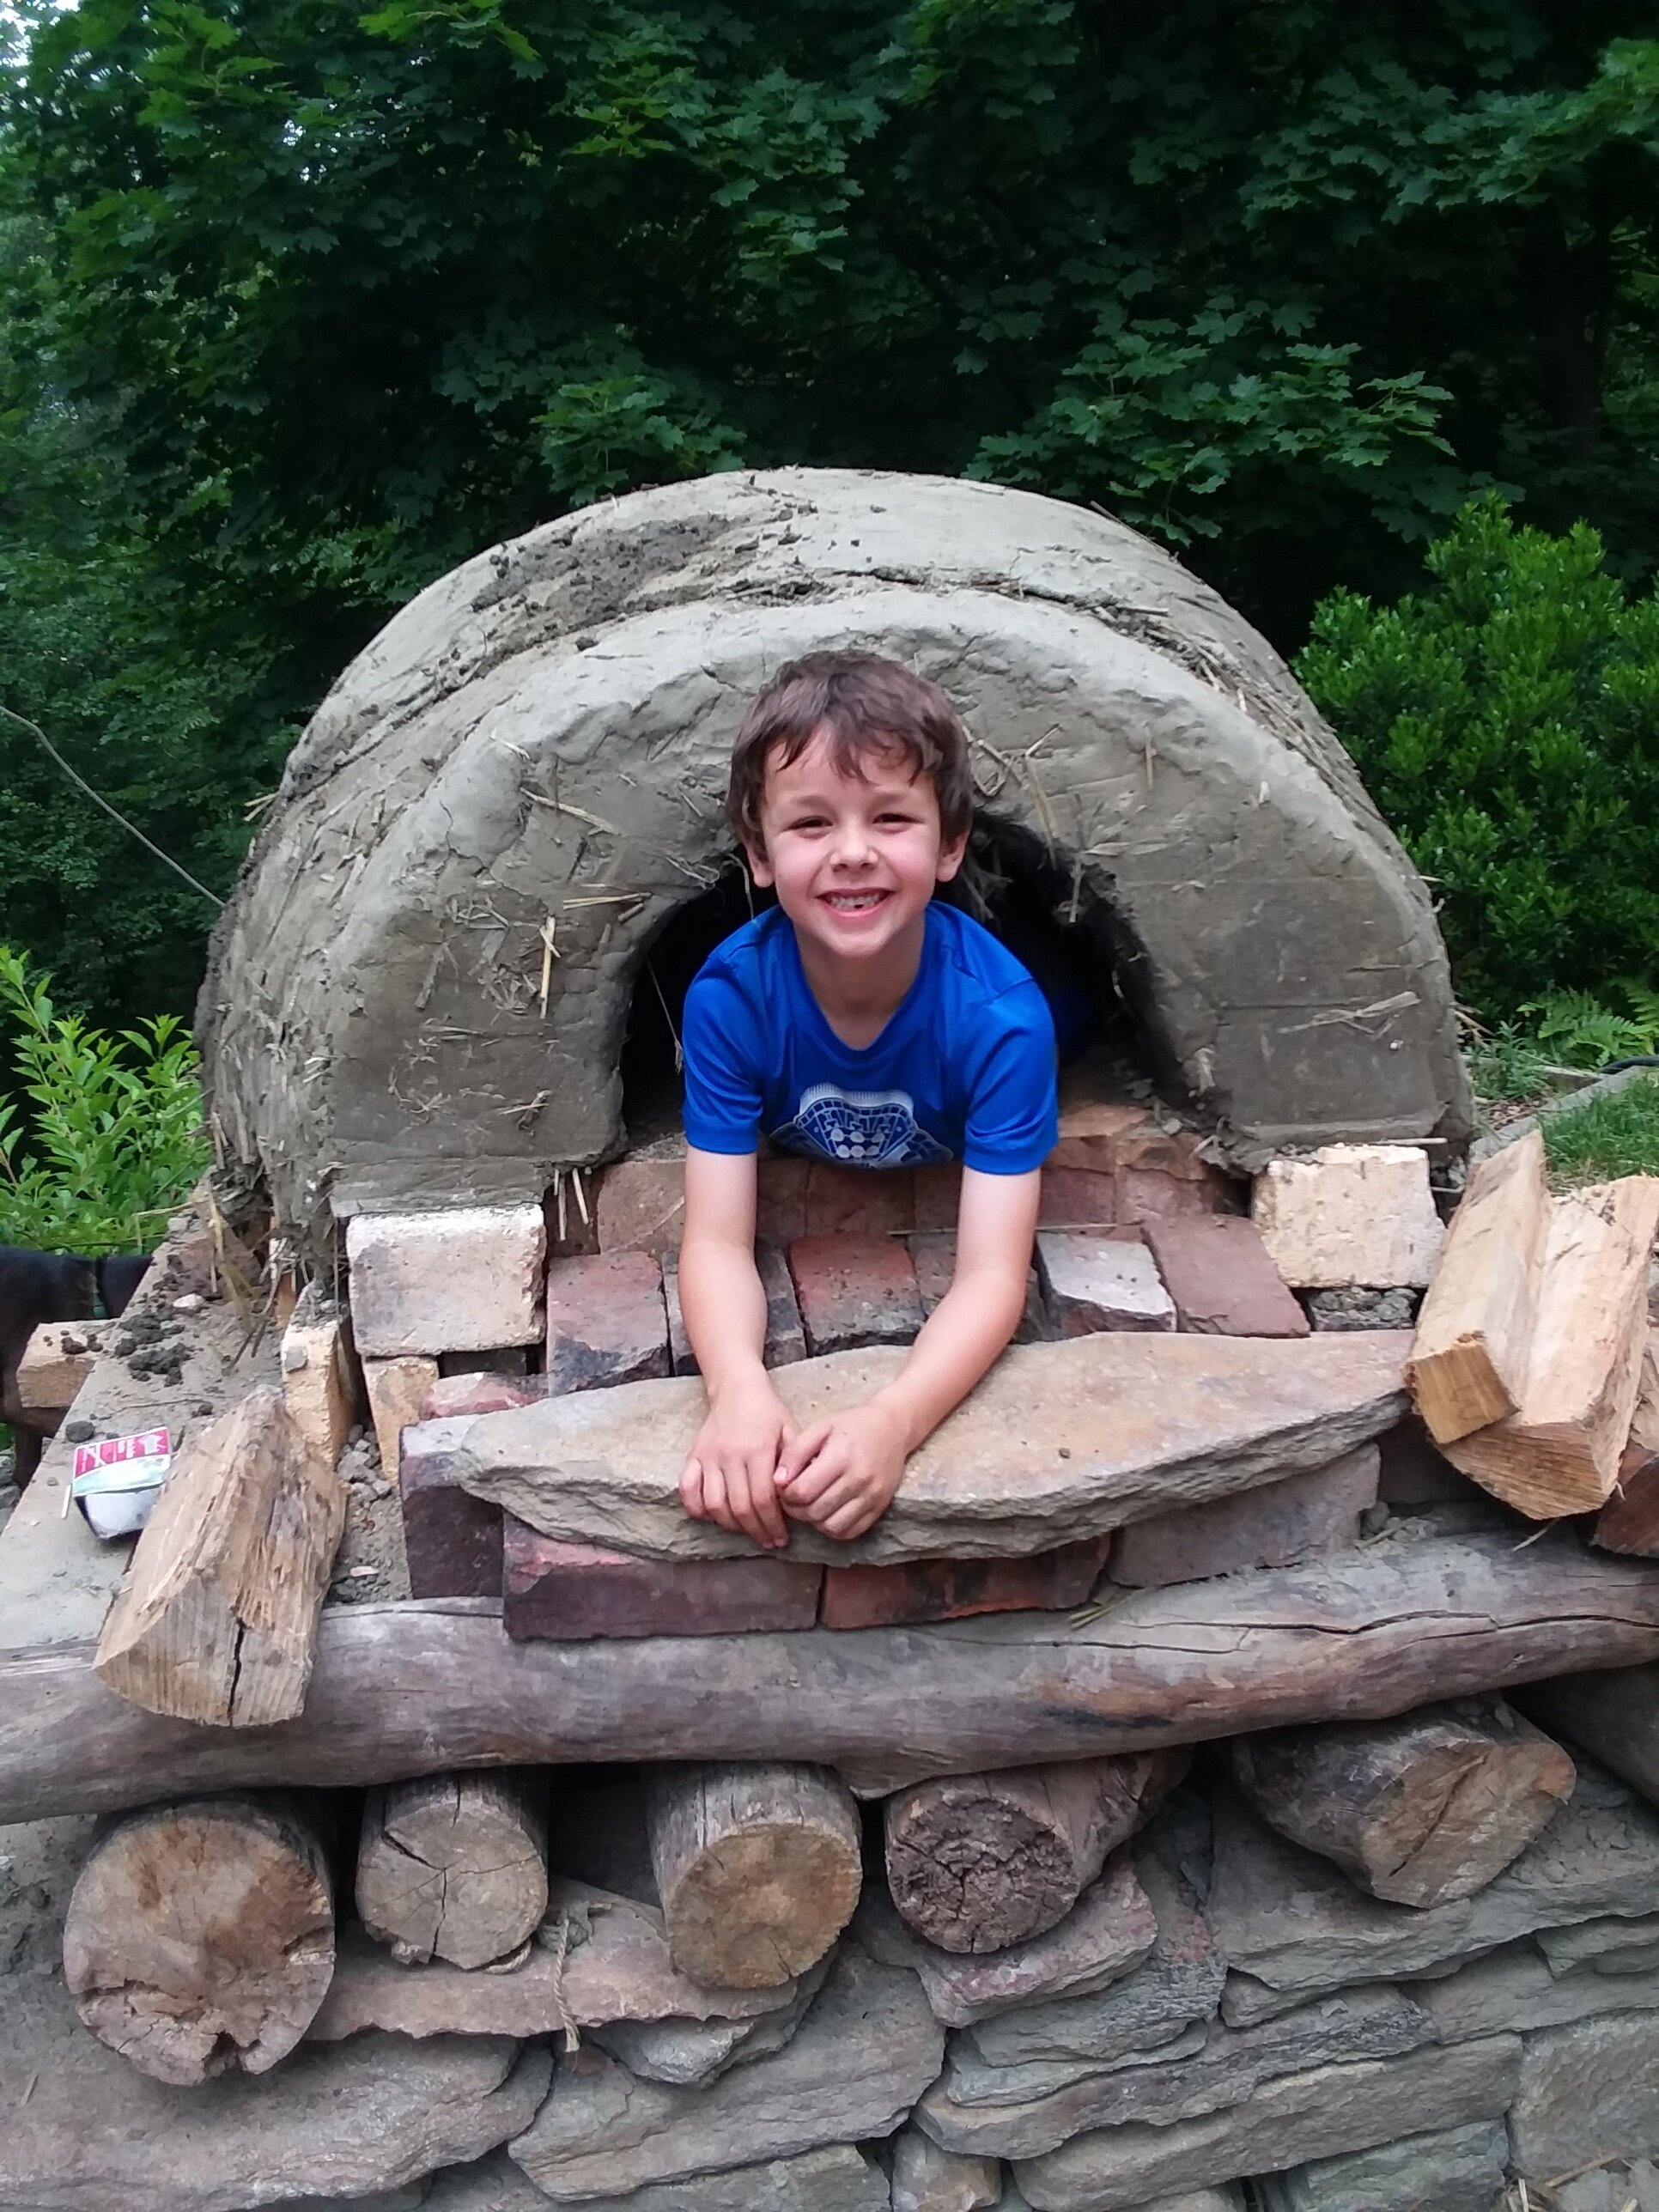
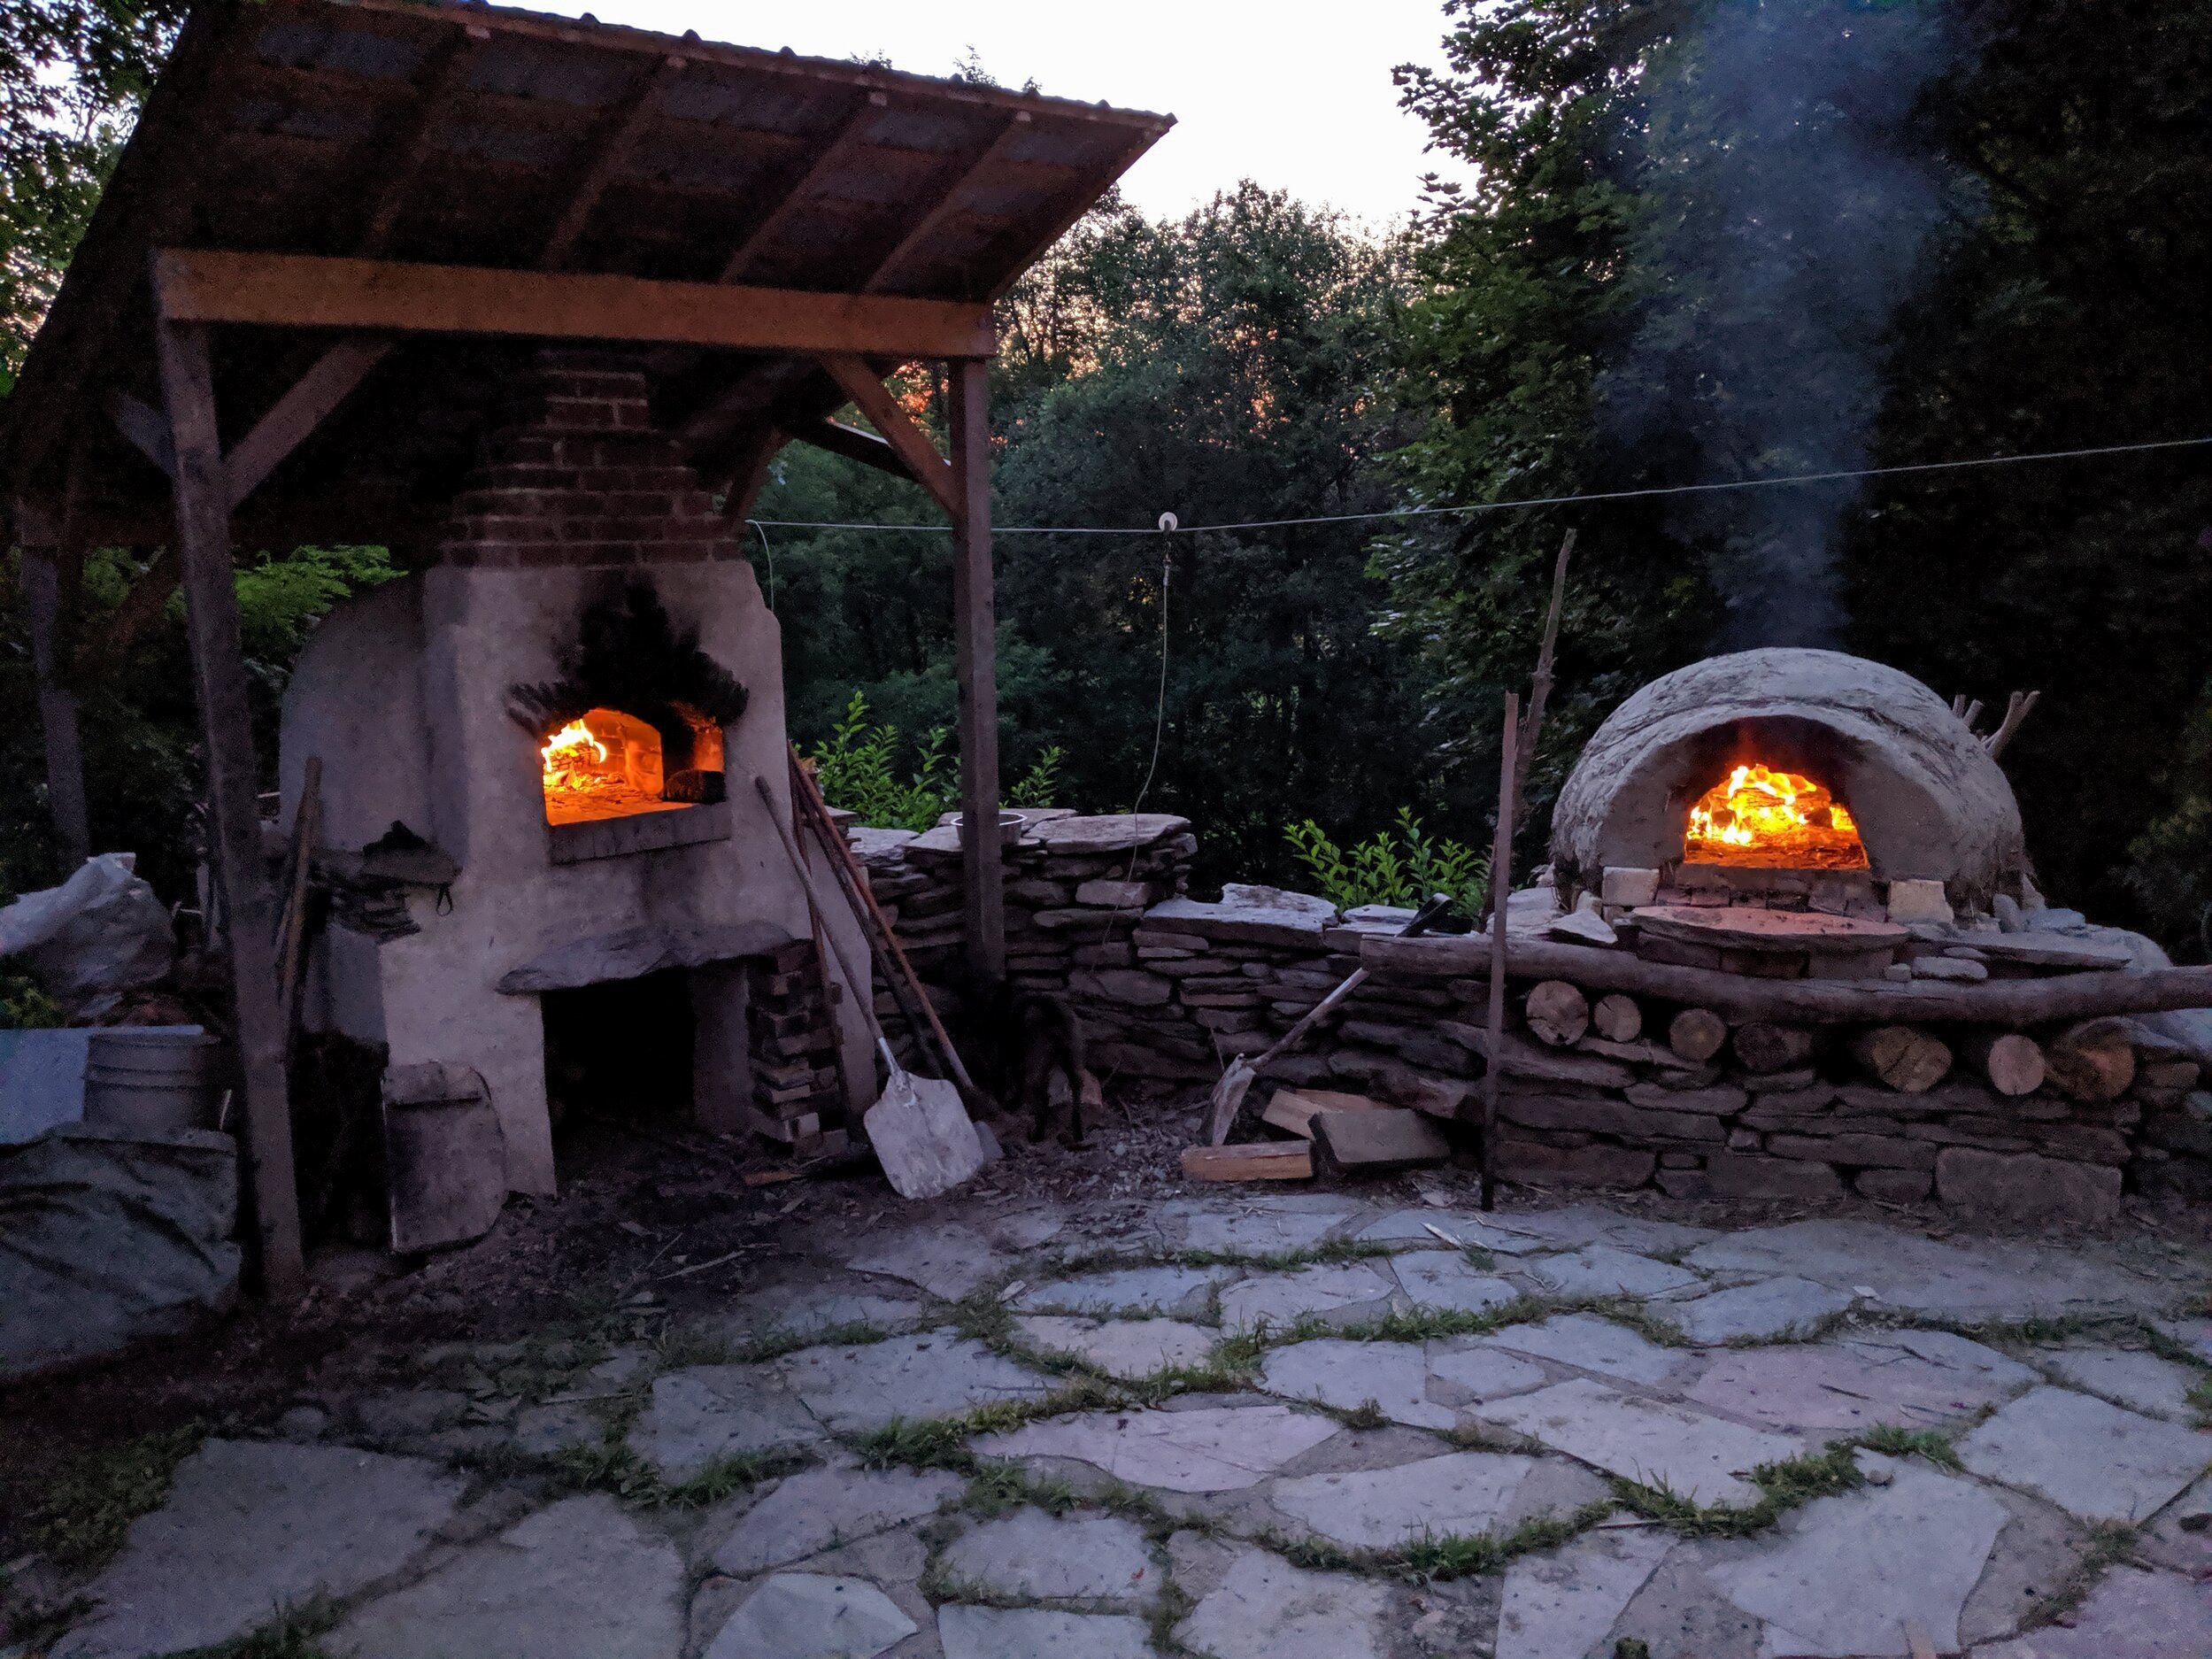
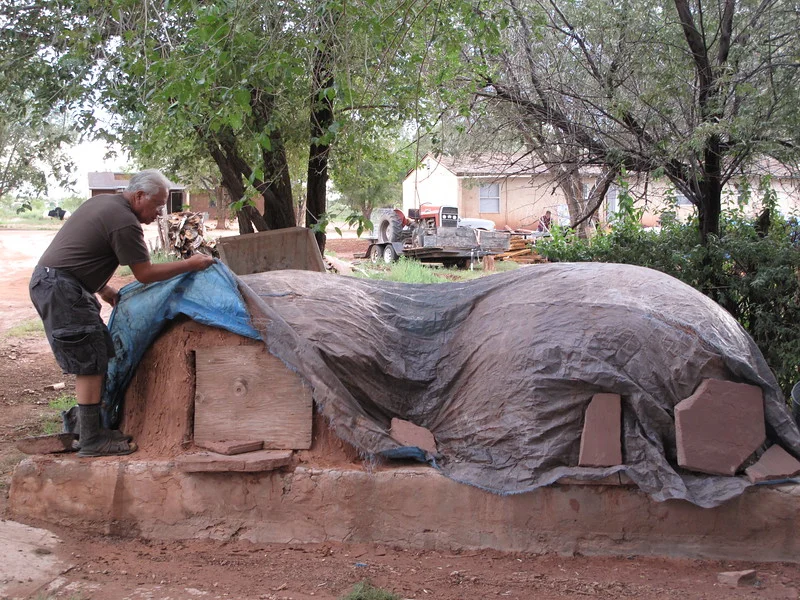
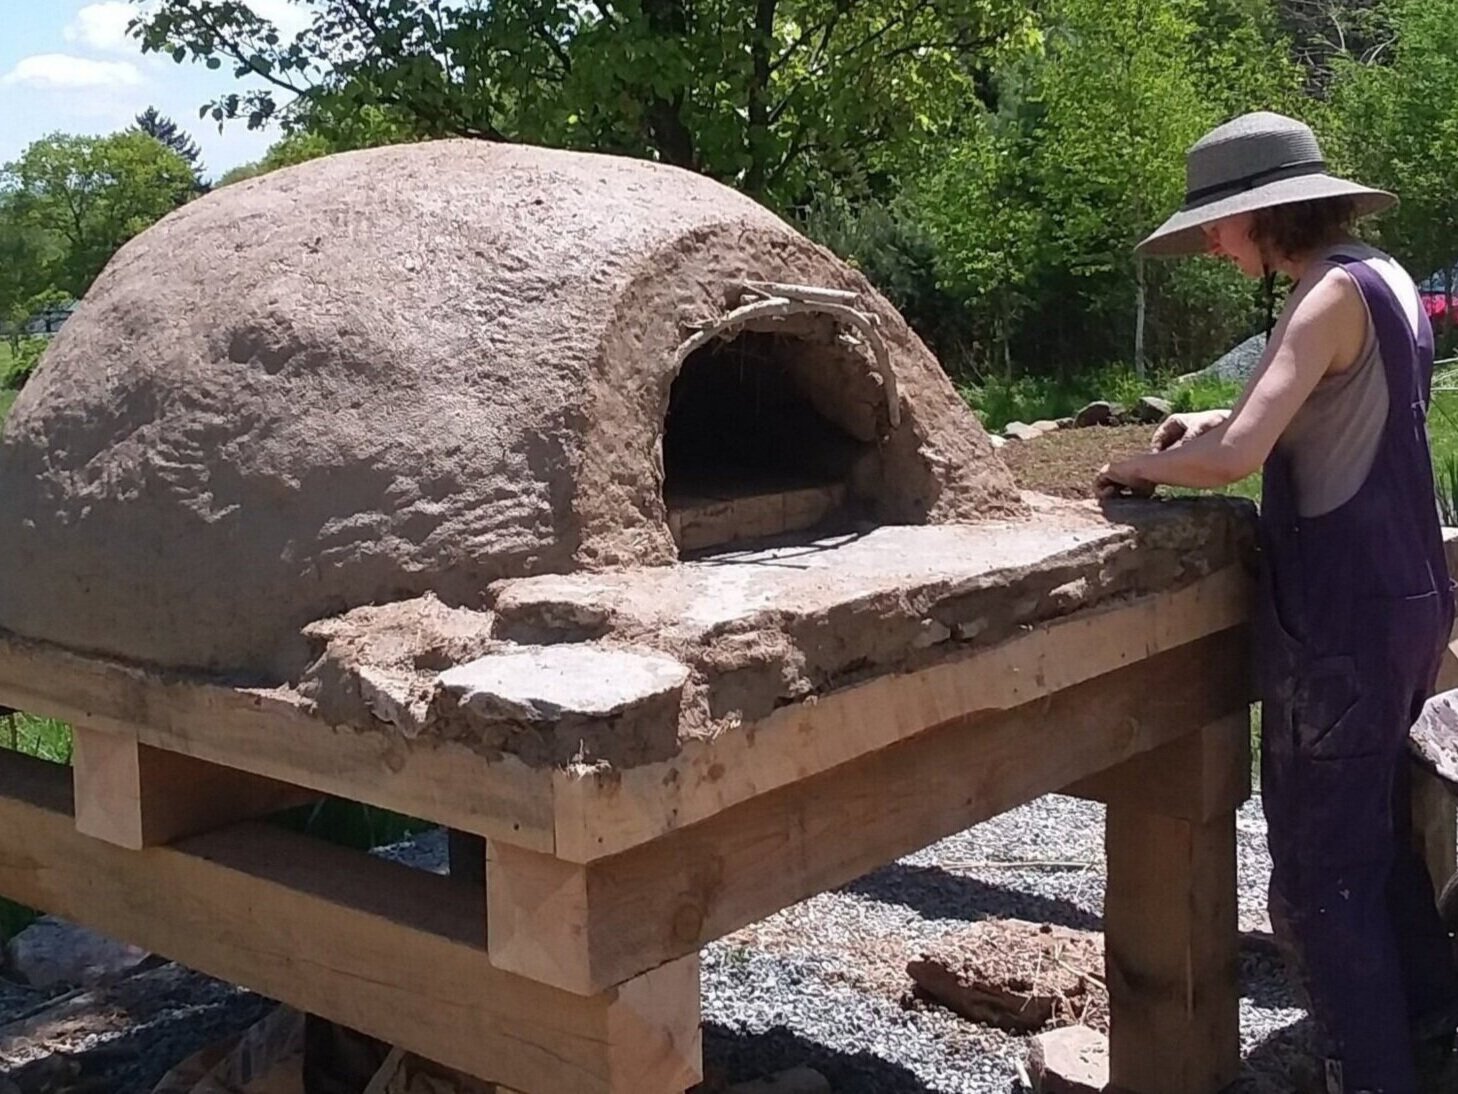
Clay (or cob or adobe) Ovens
People have been building their own ovens from local clay and stone for thousands of years. You can join that tradition.
We source materials locally and we use what you have. Your hands shape the oven that will feed you and your community for years to come.
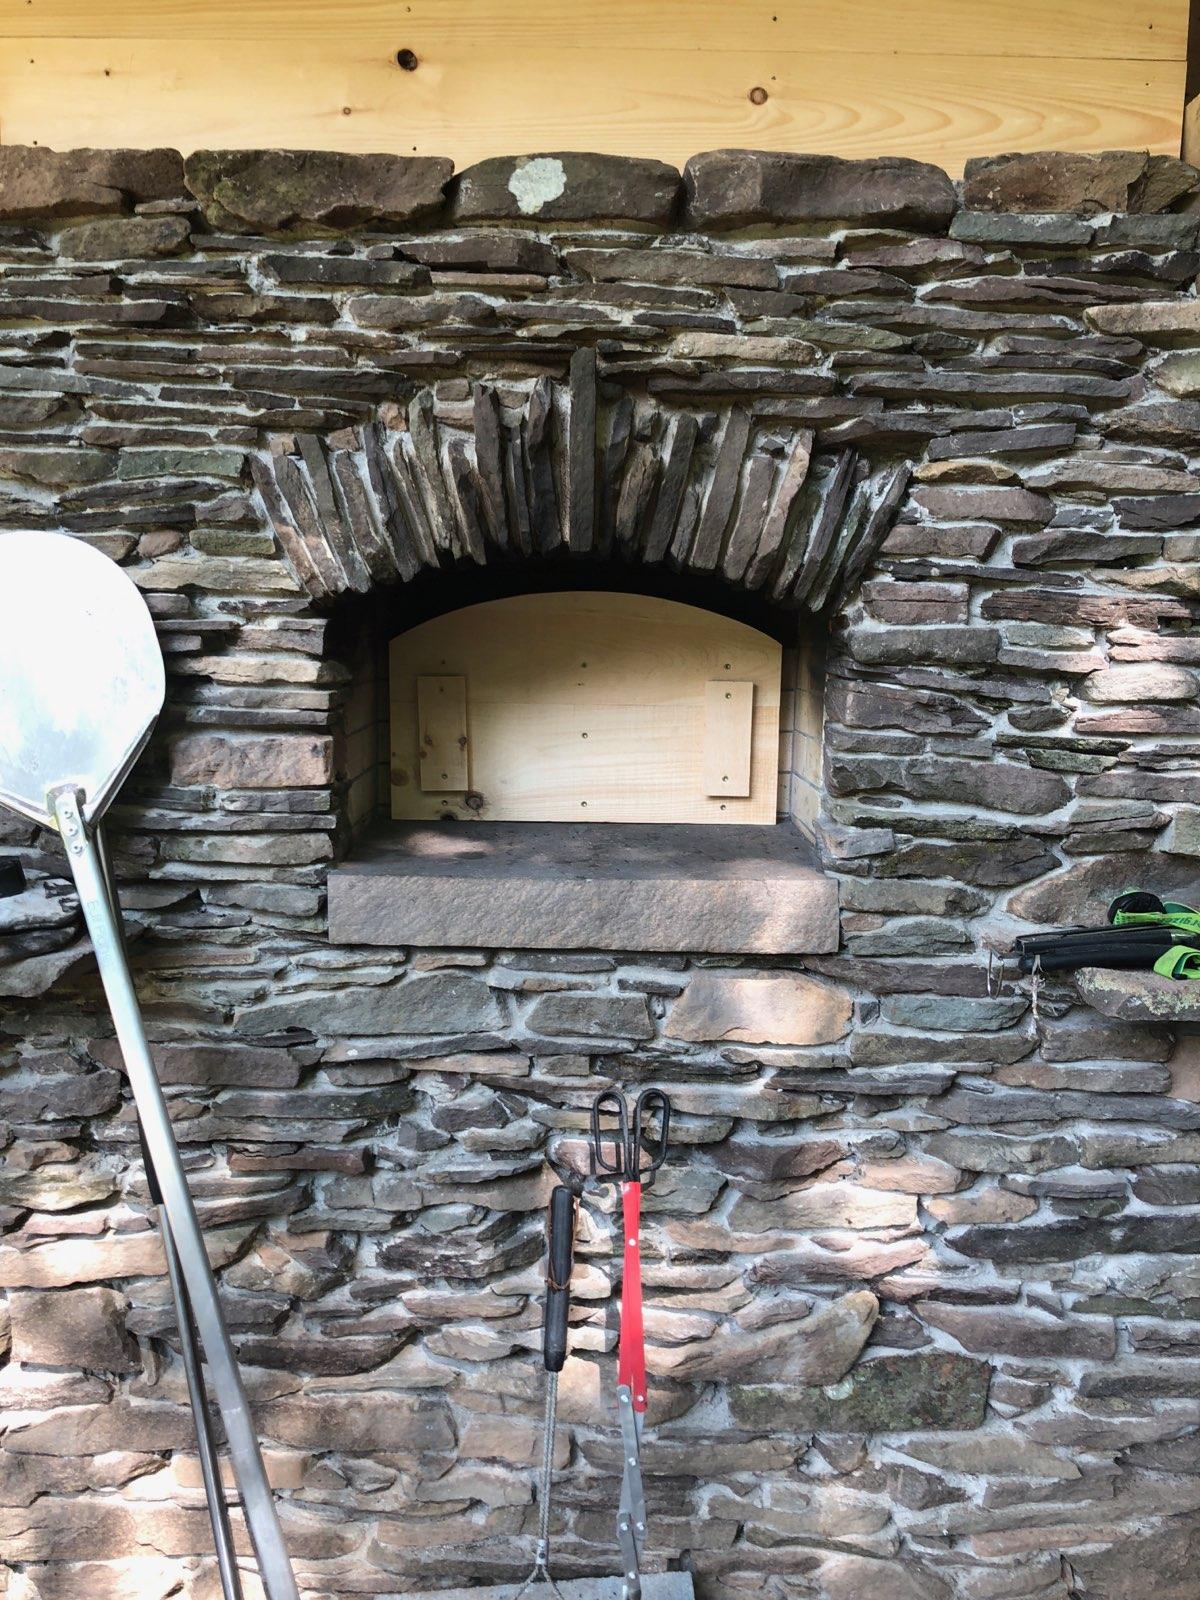
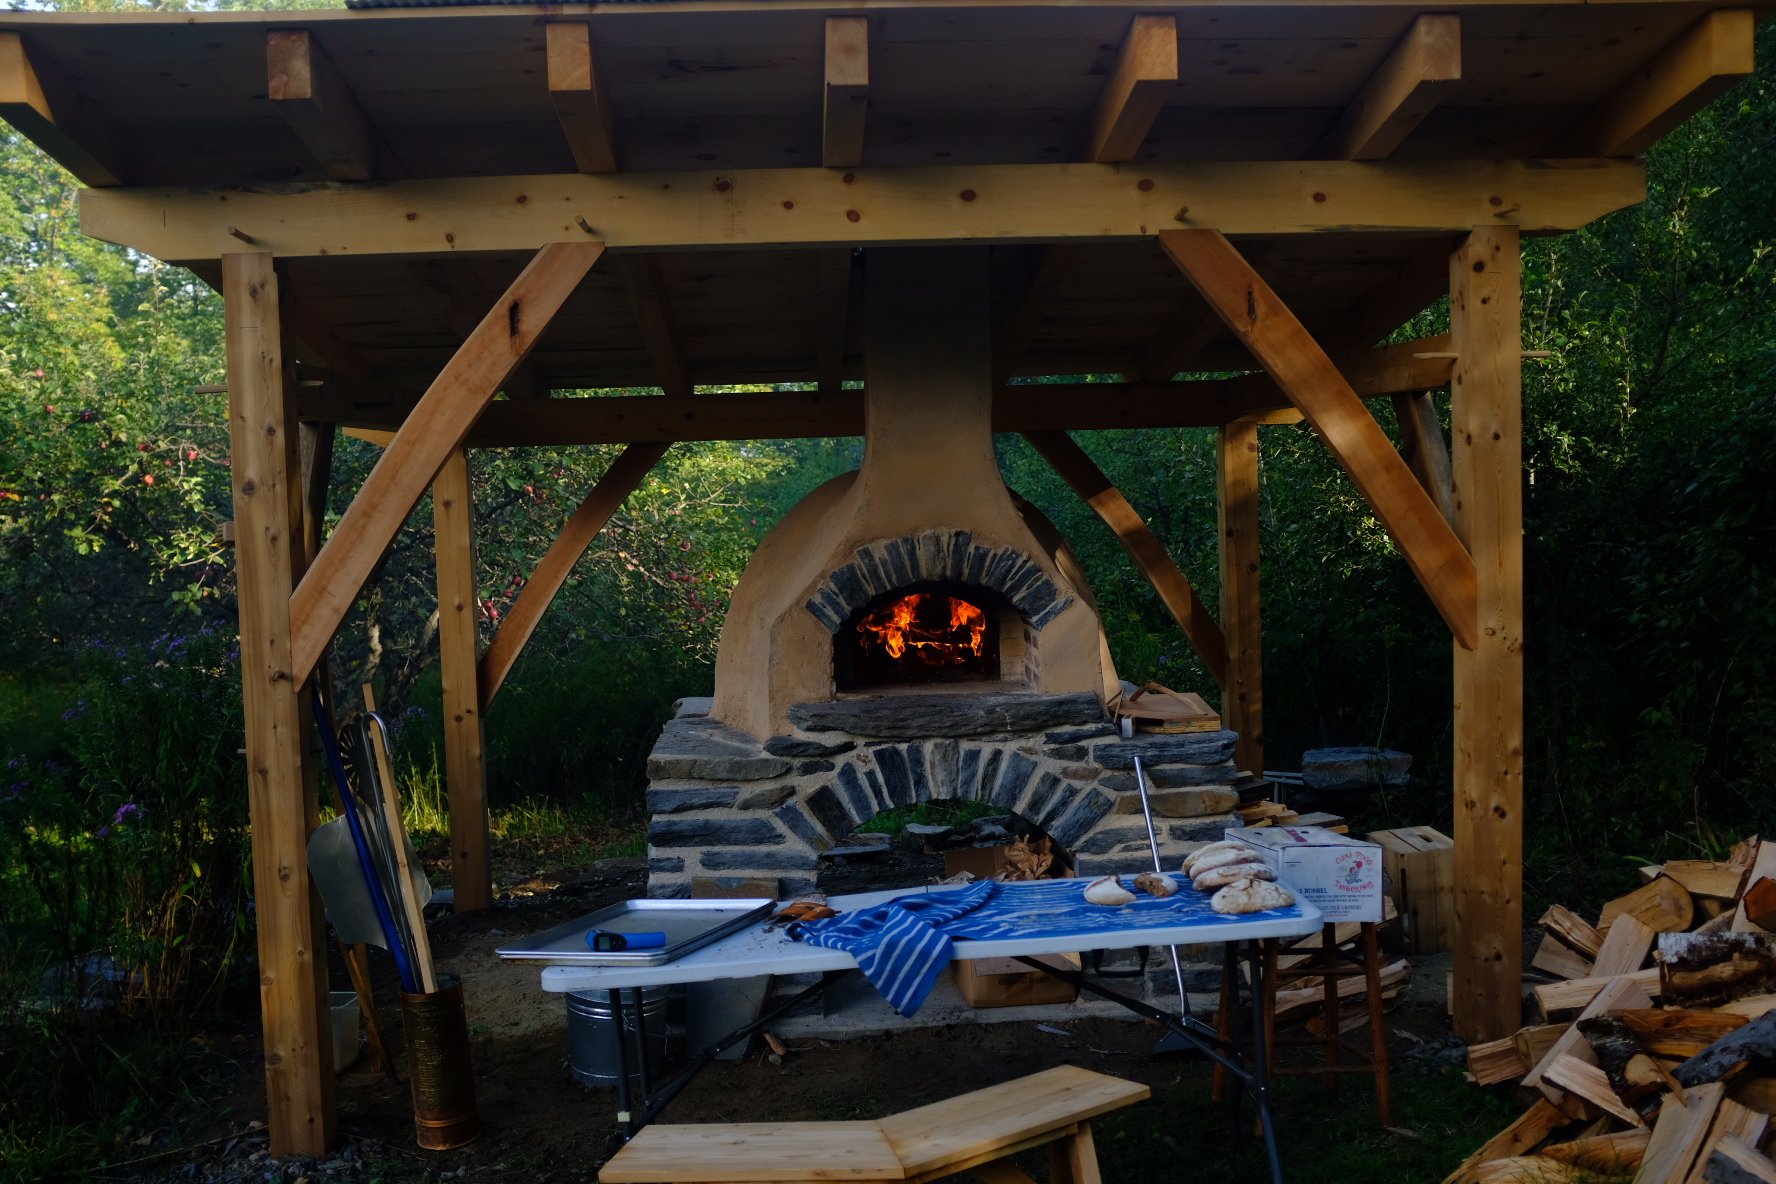
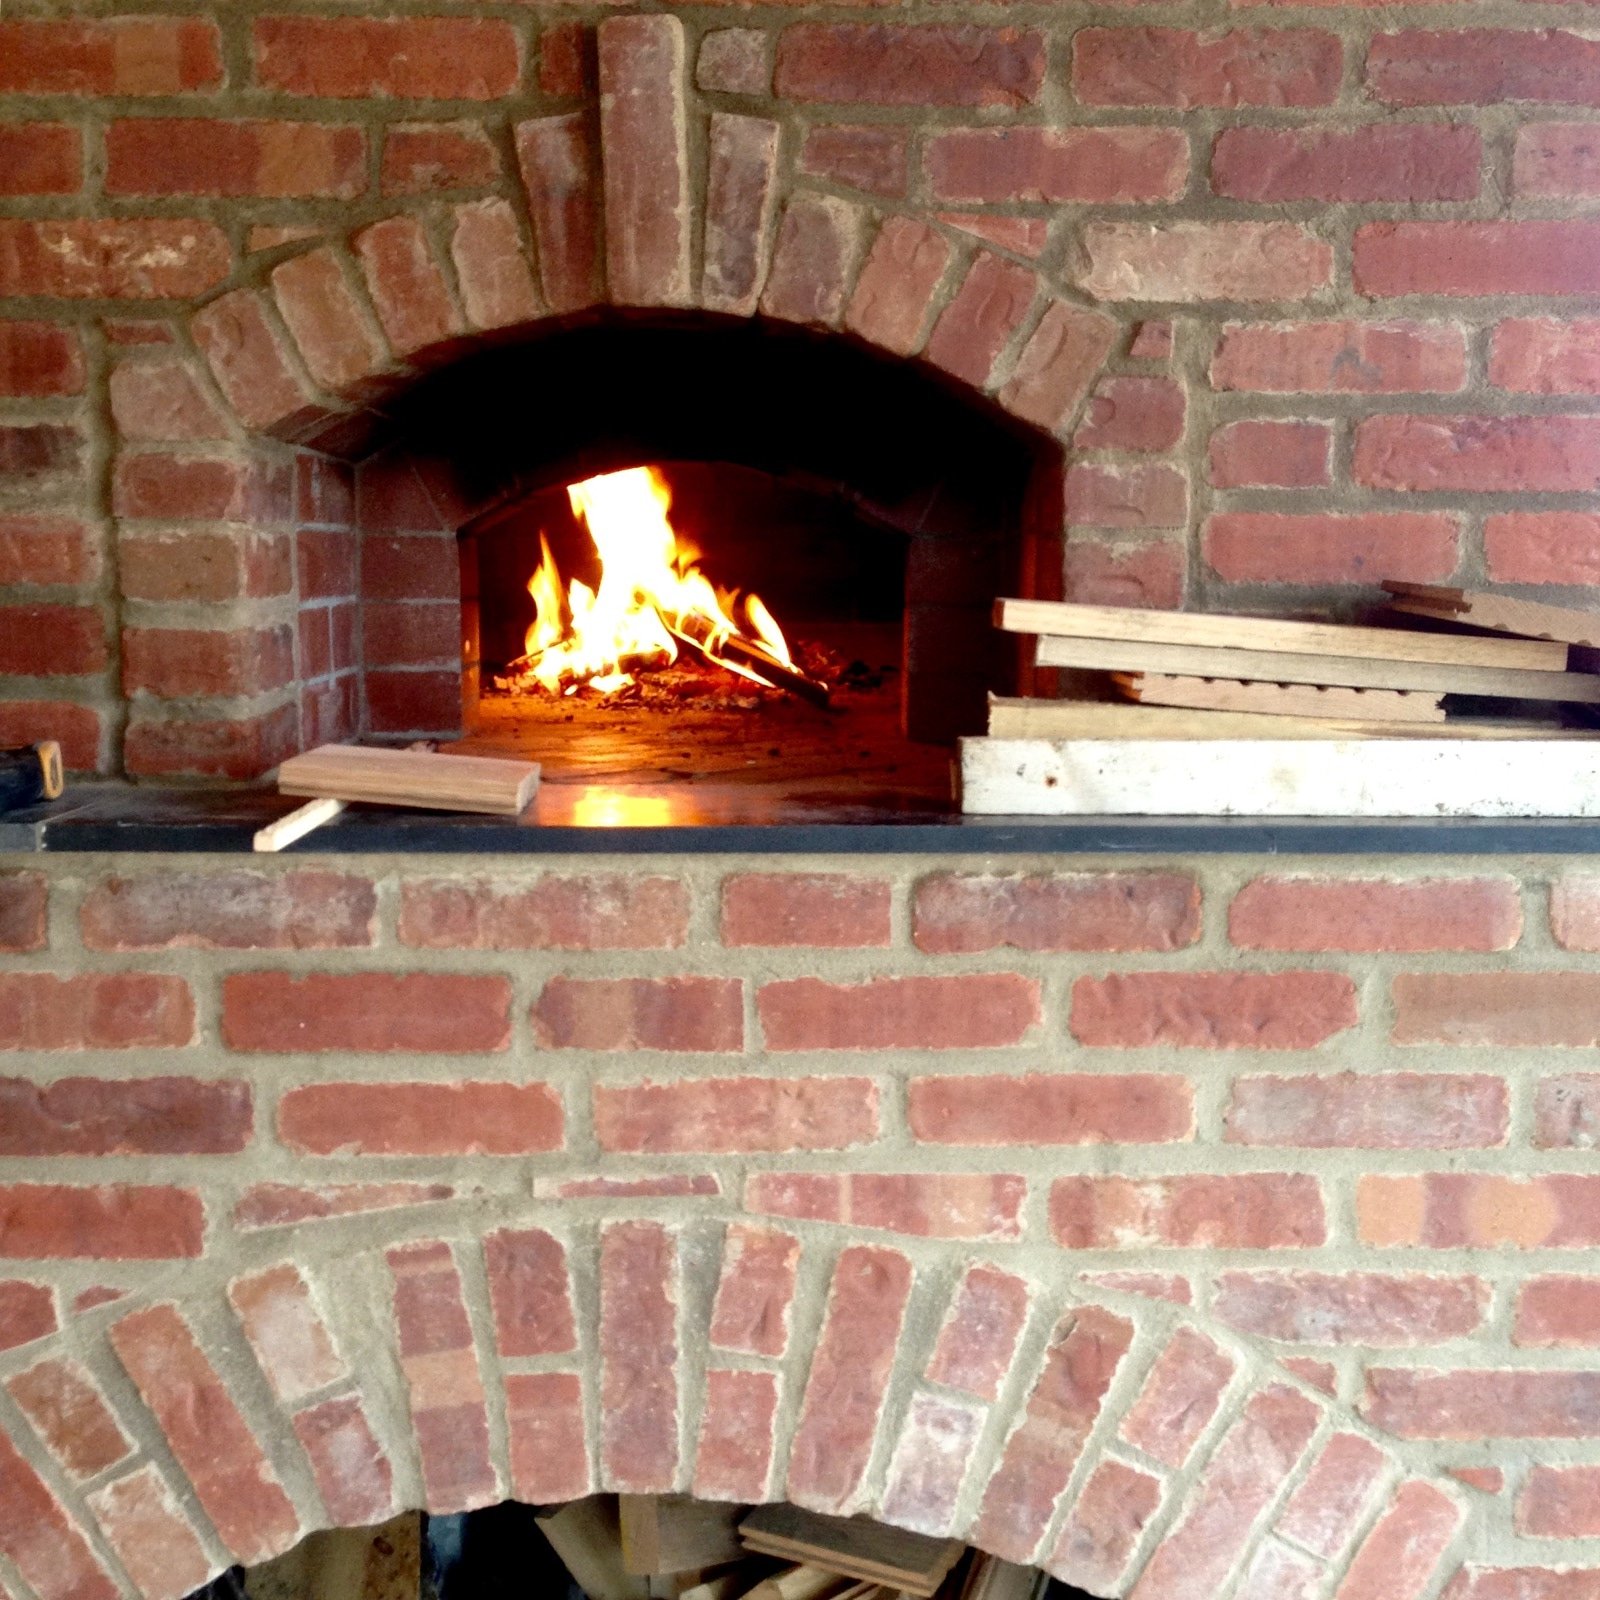
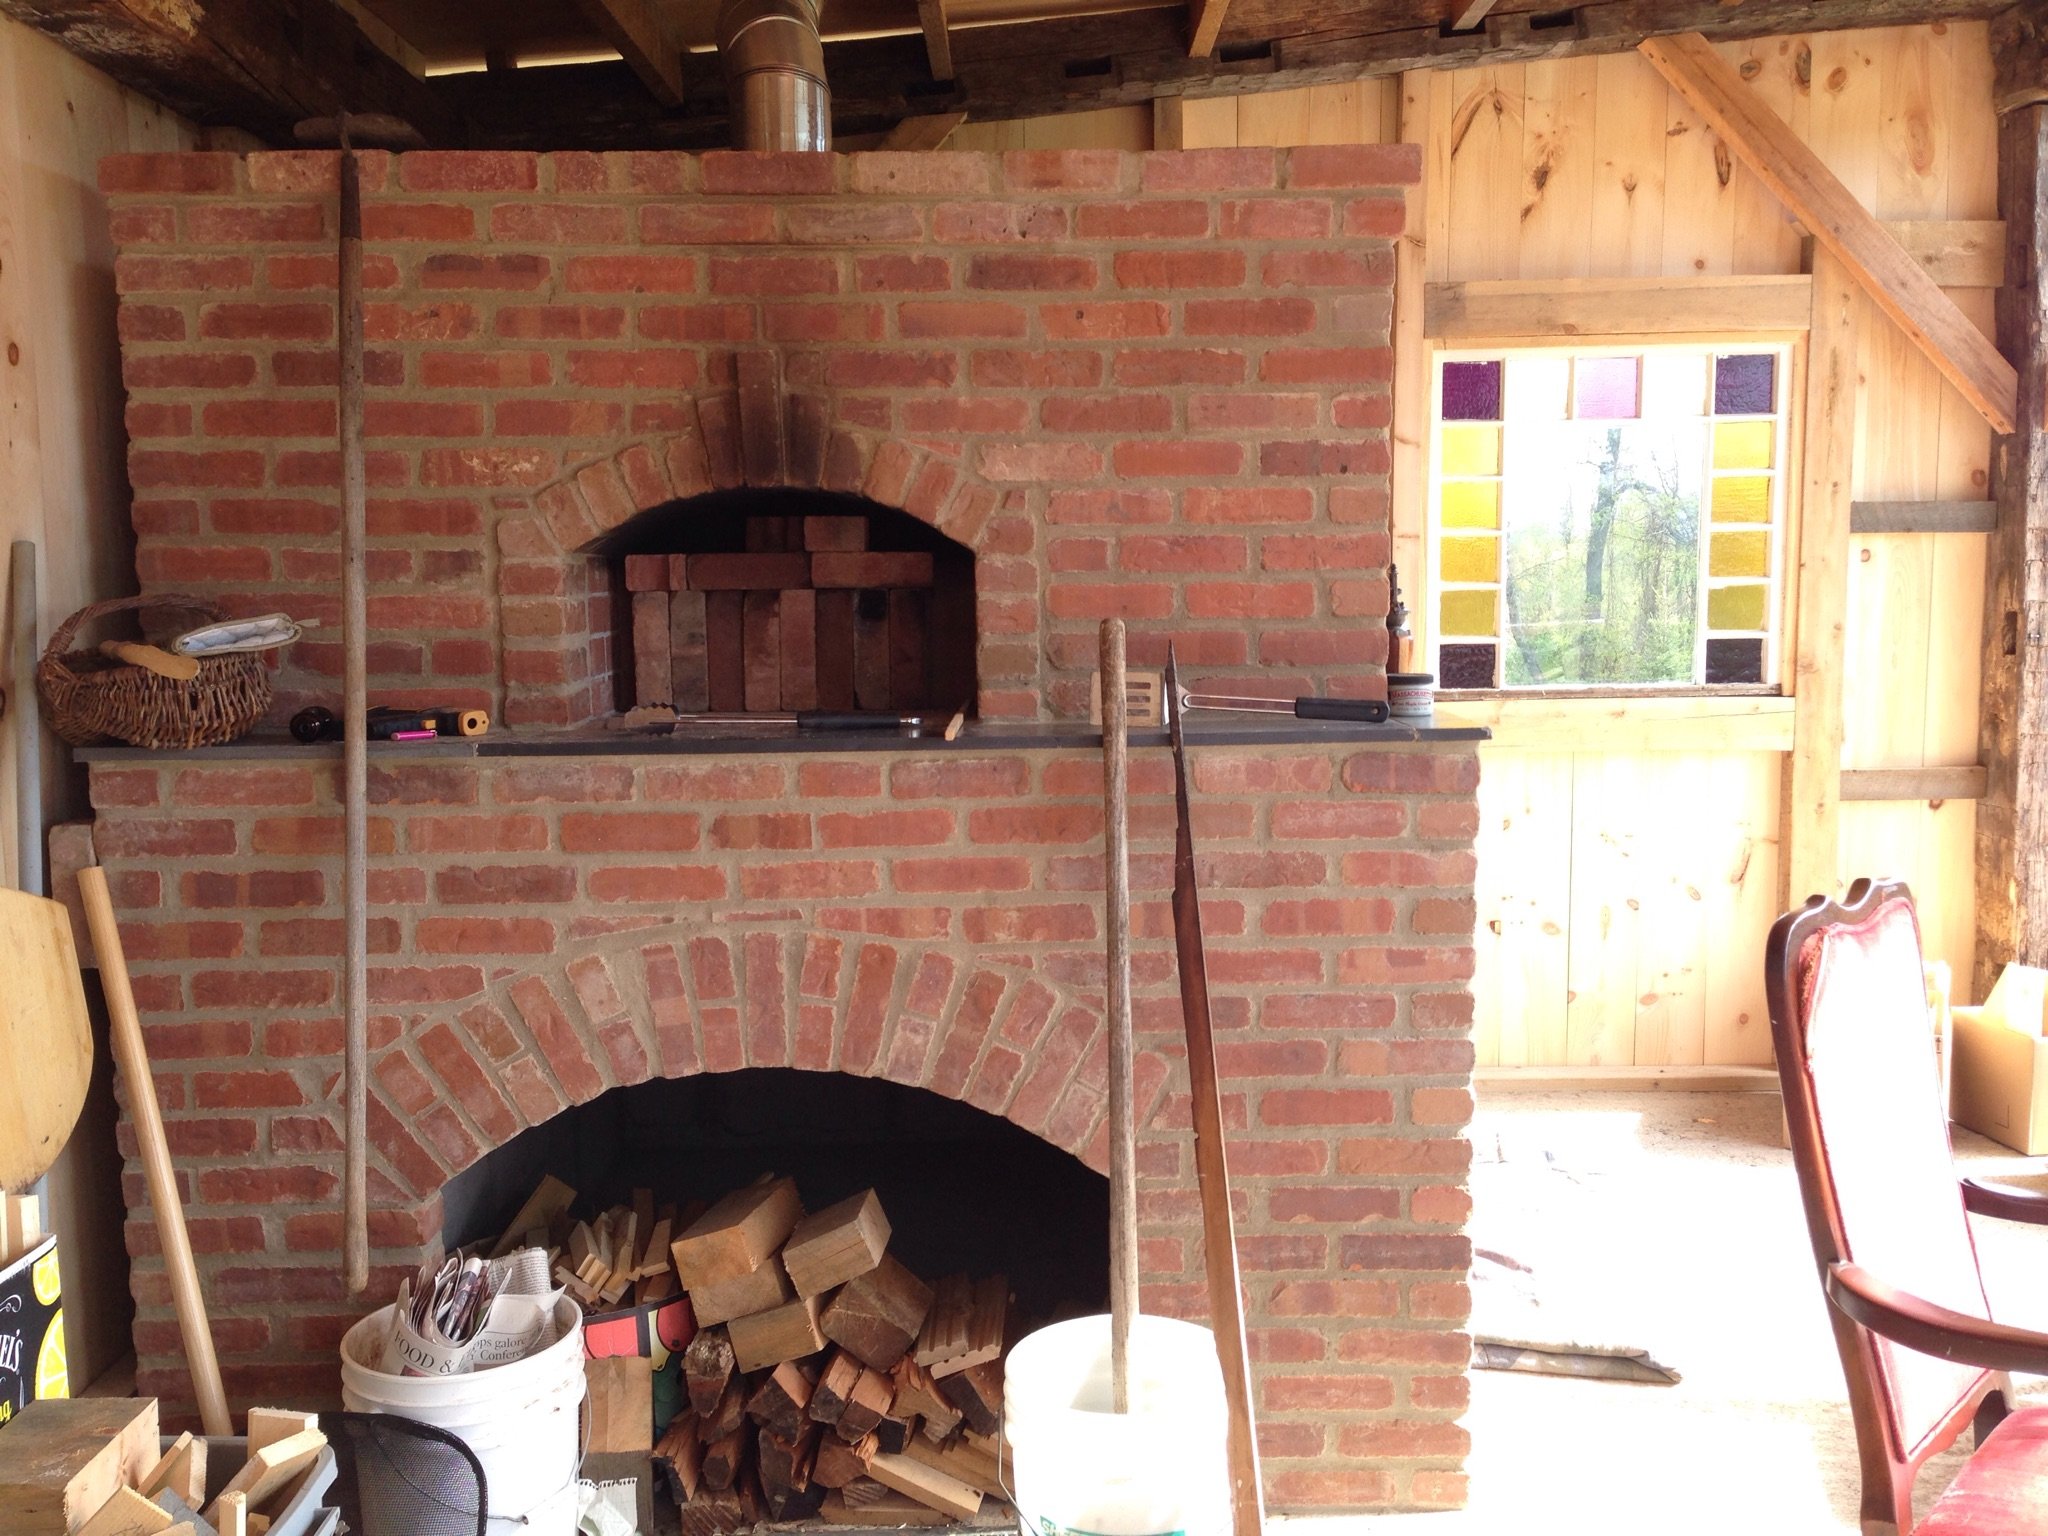
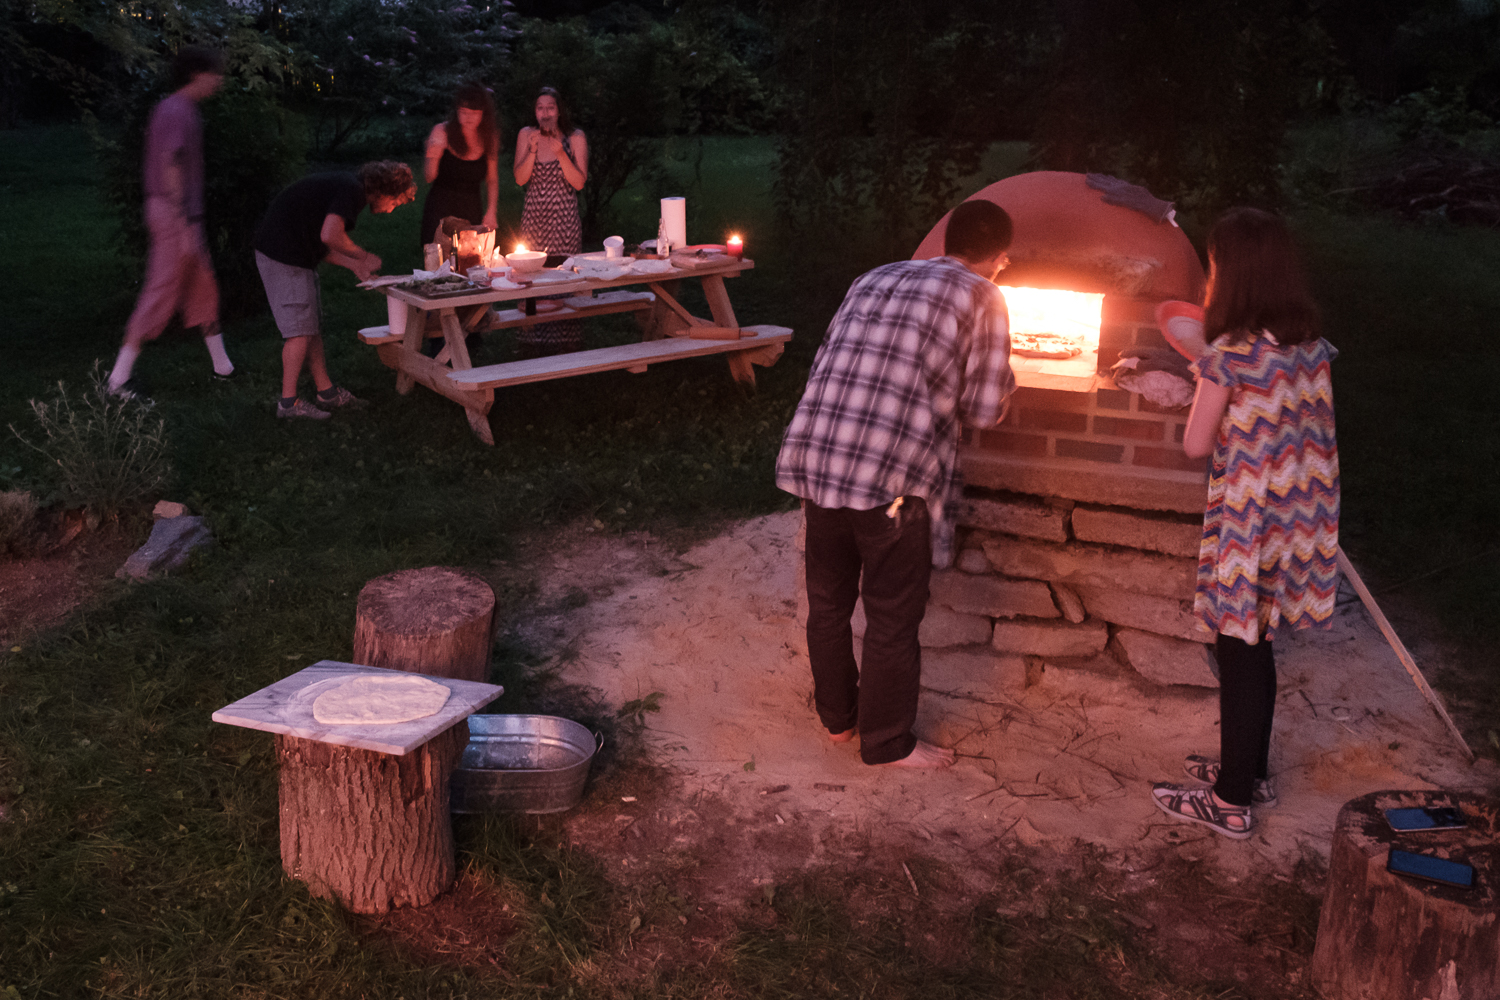
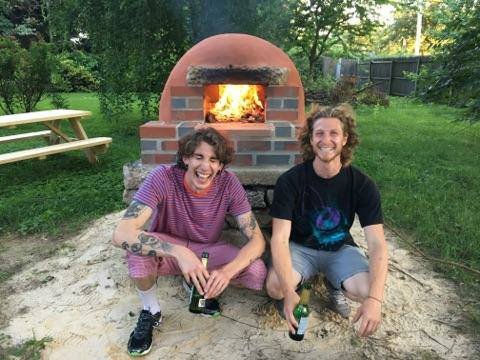
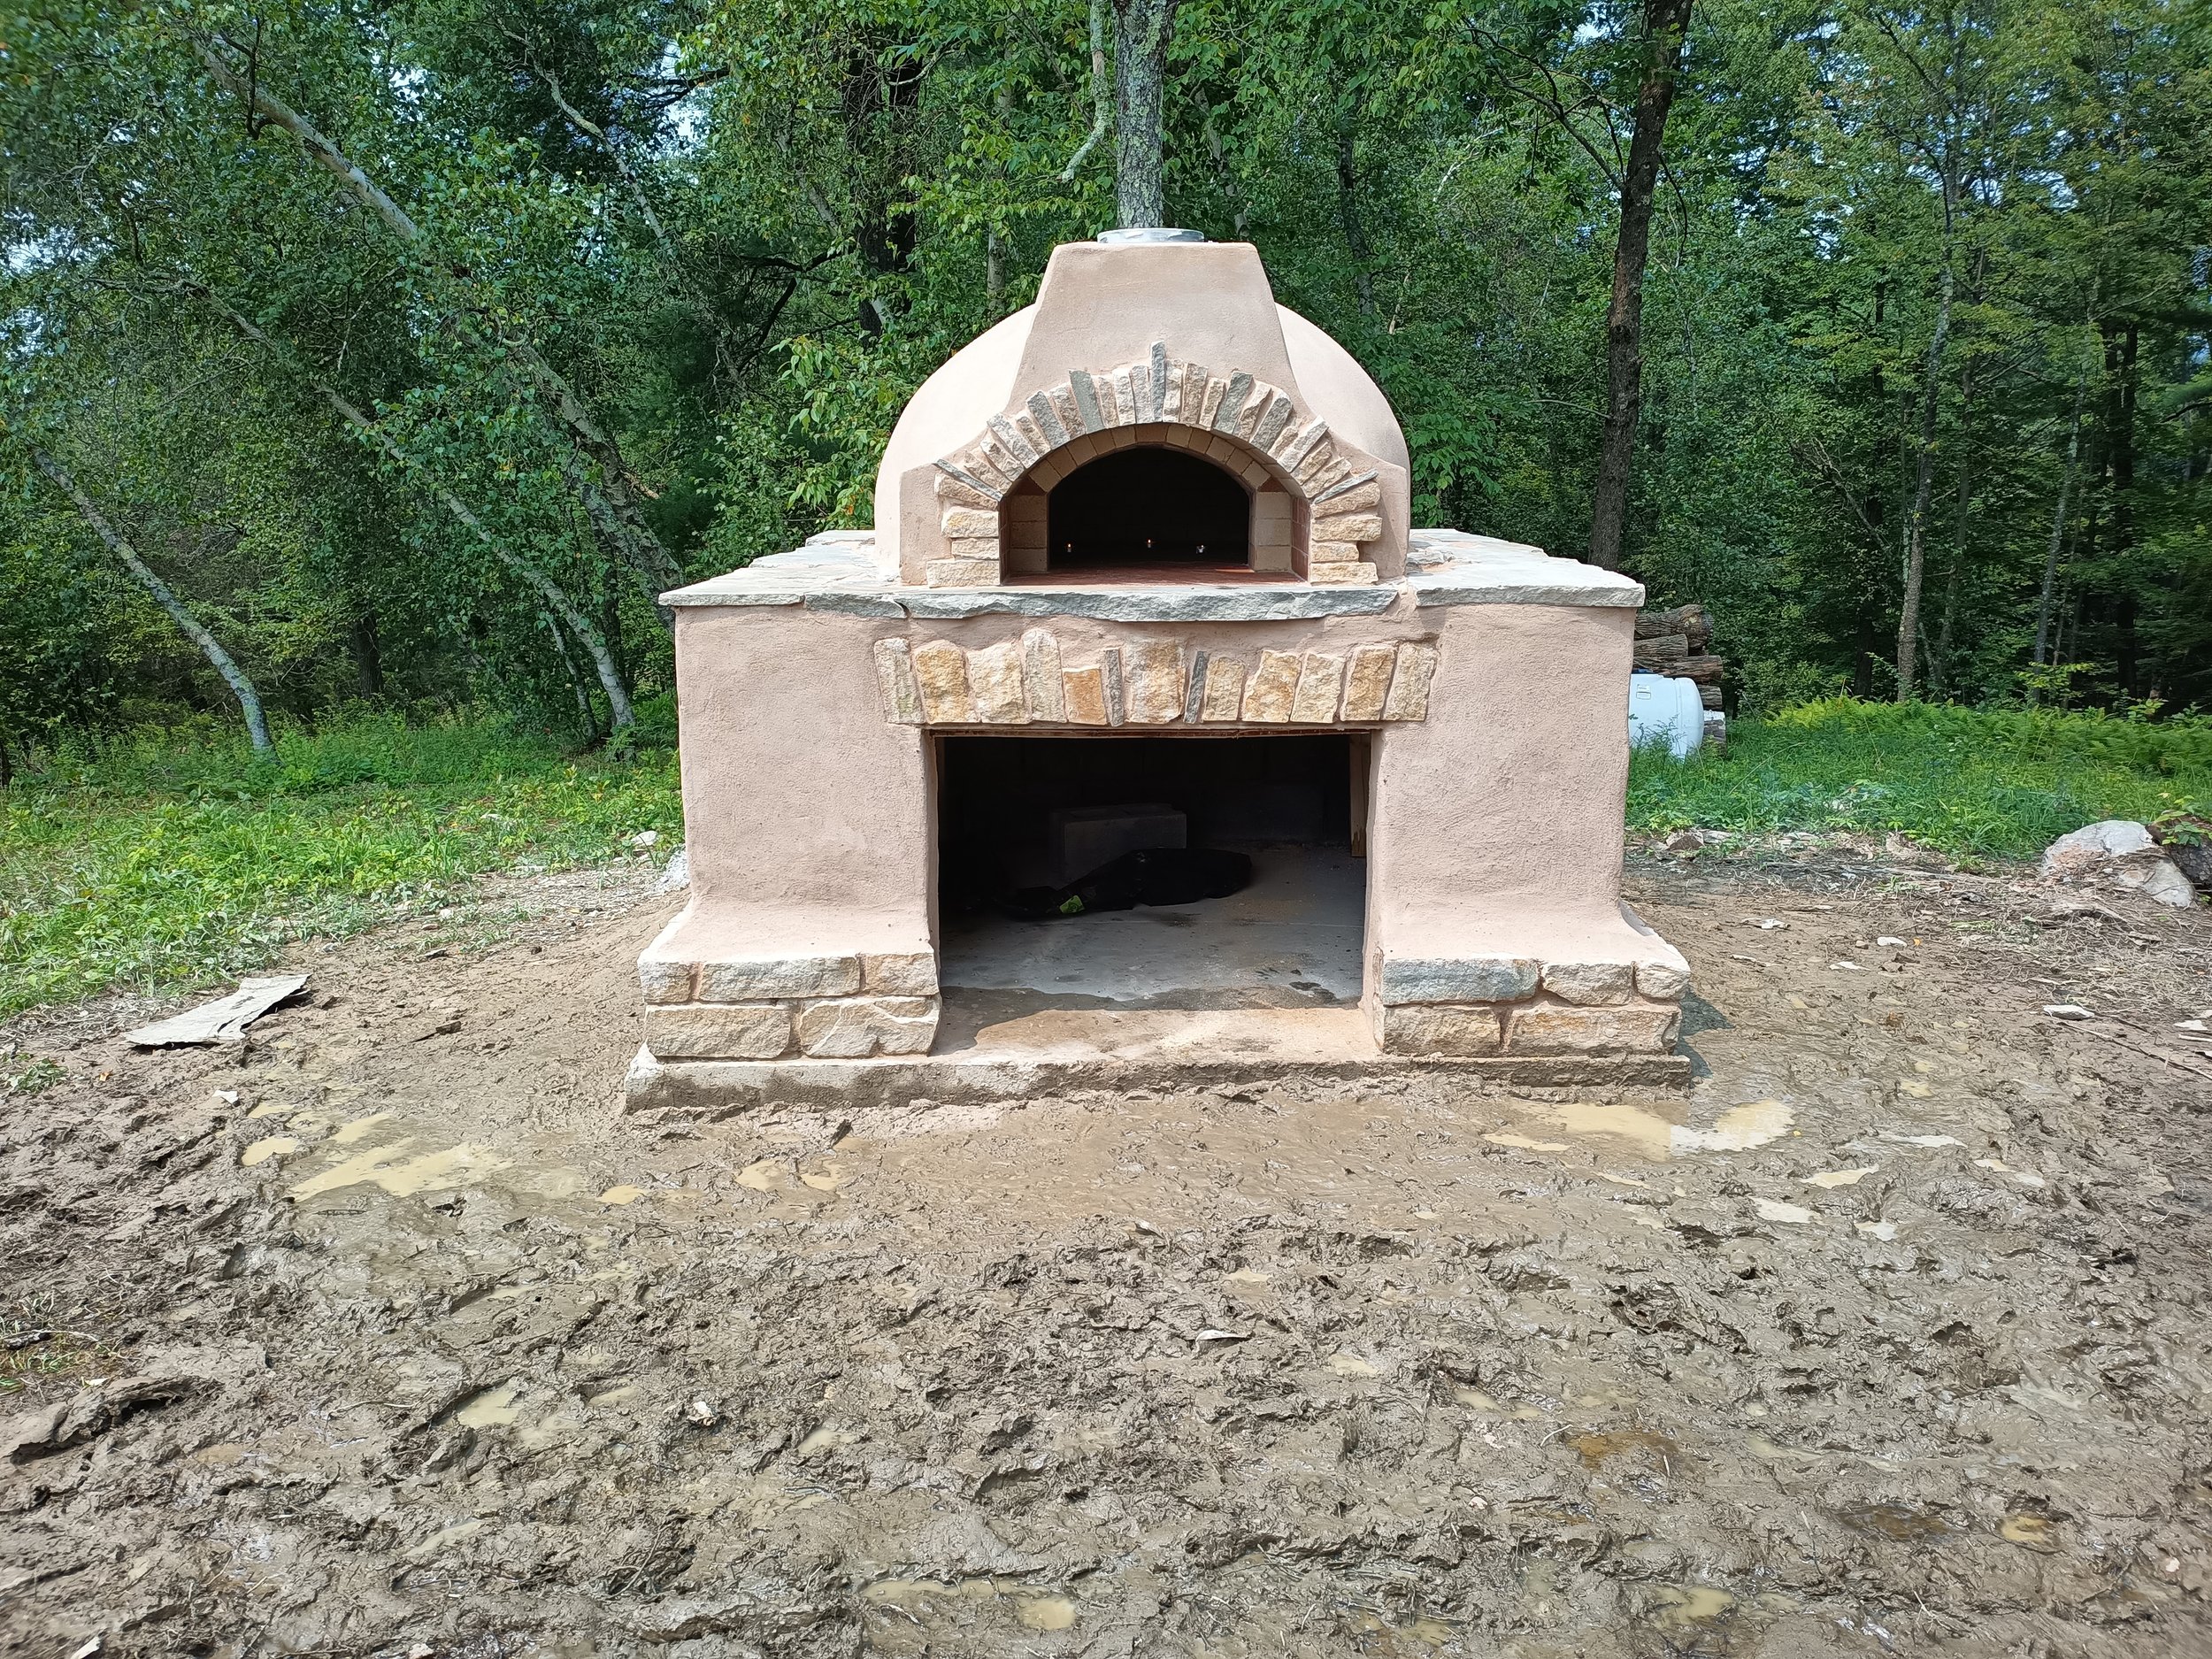
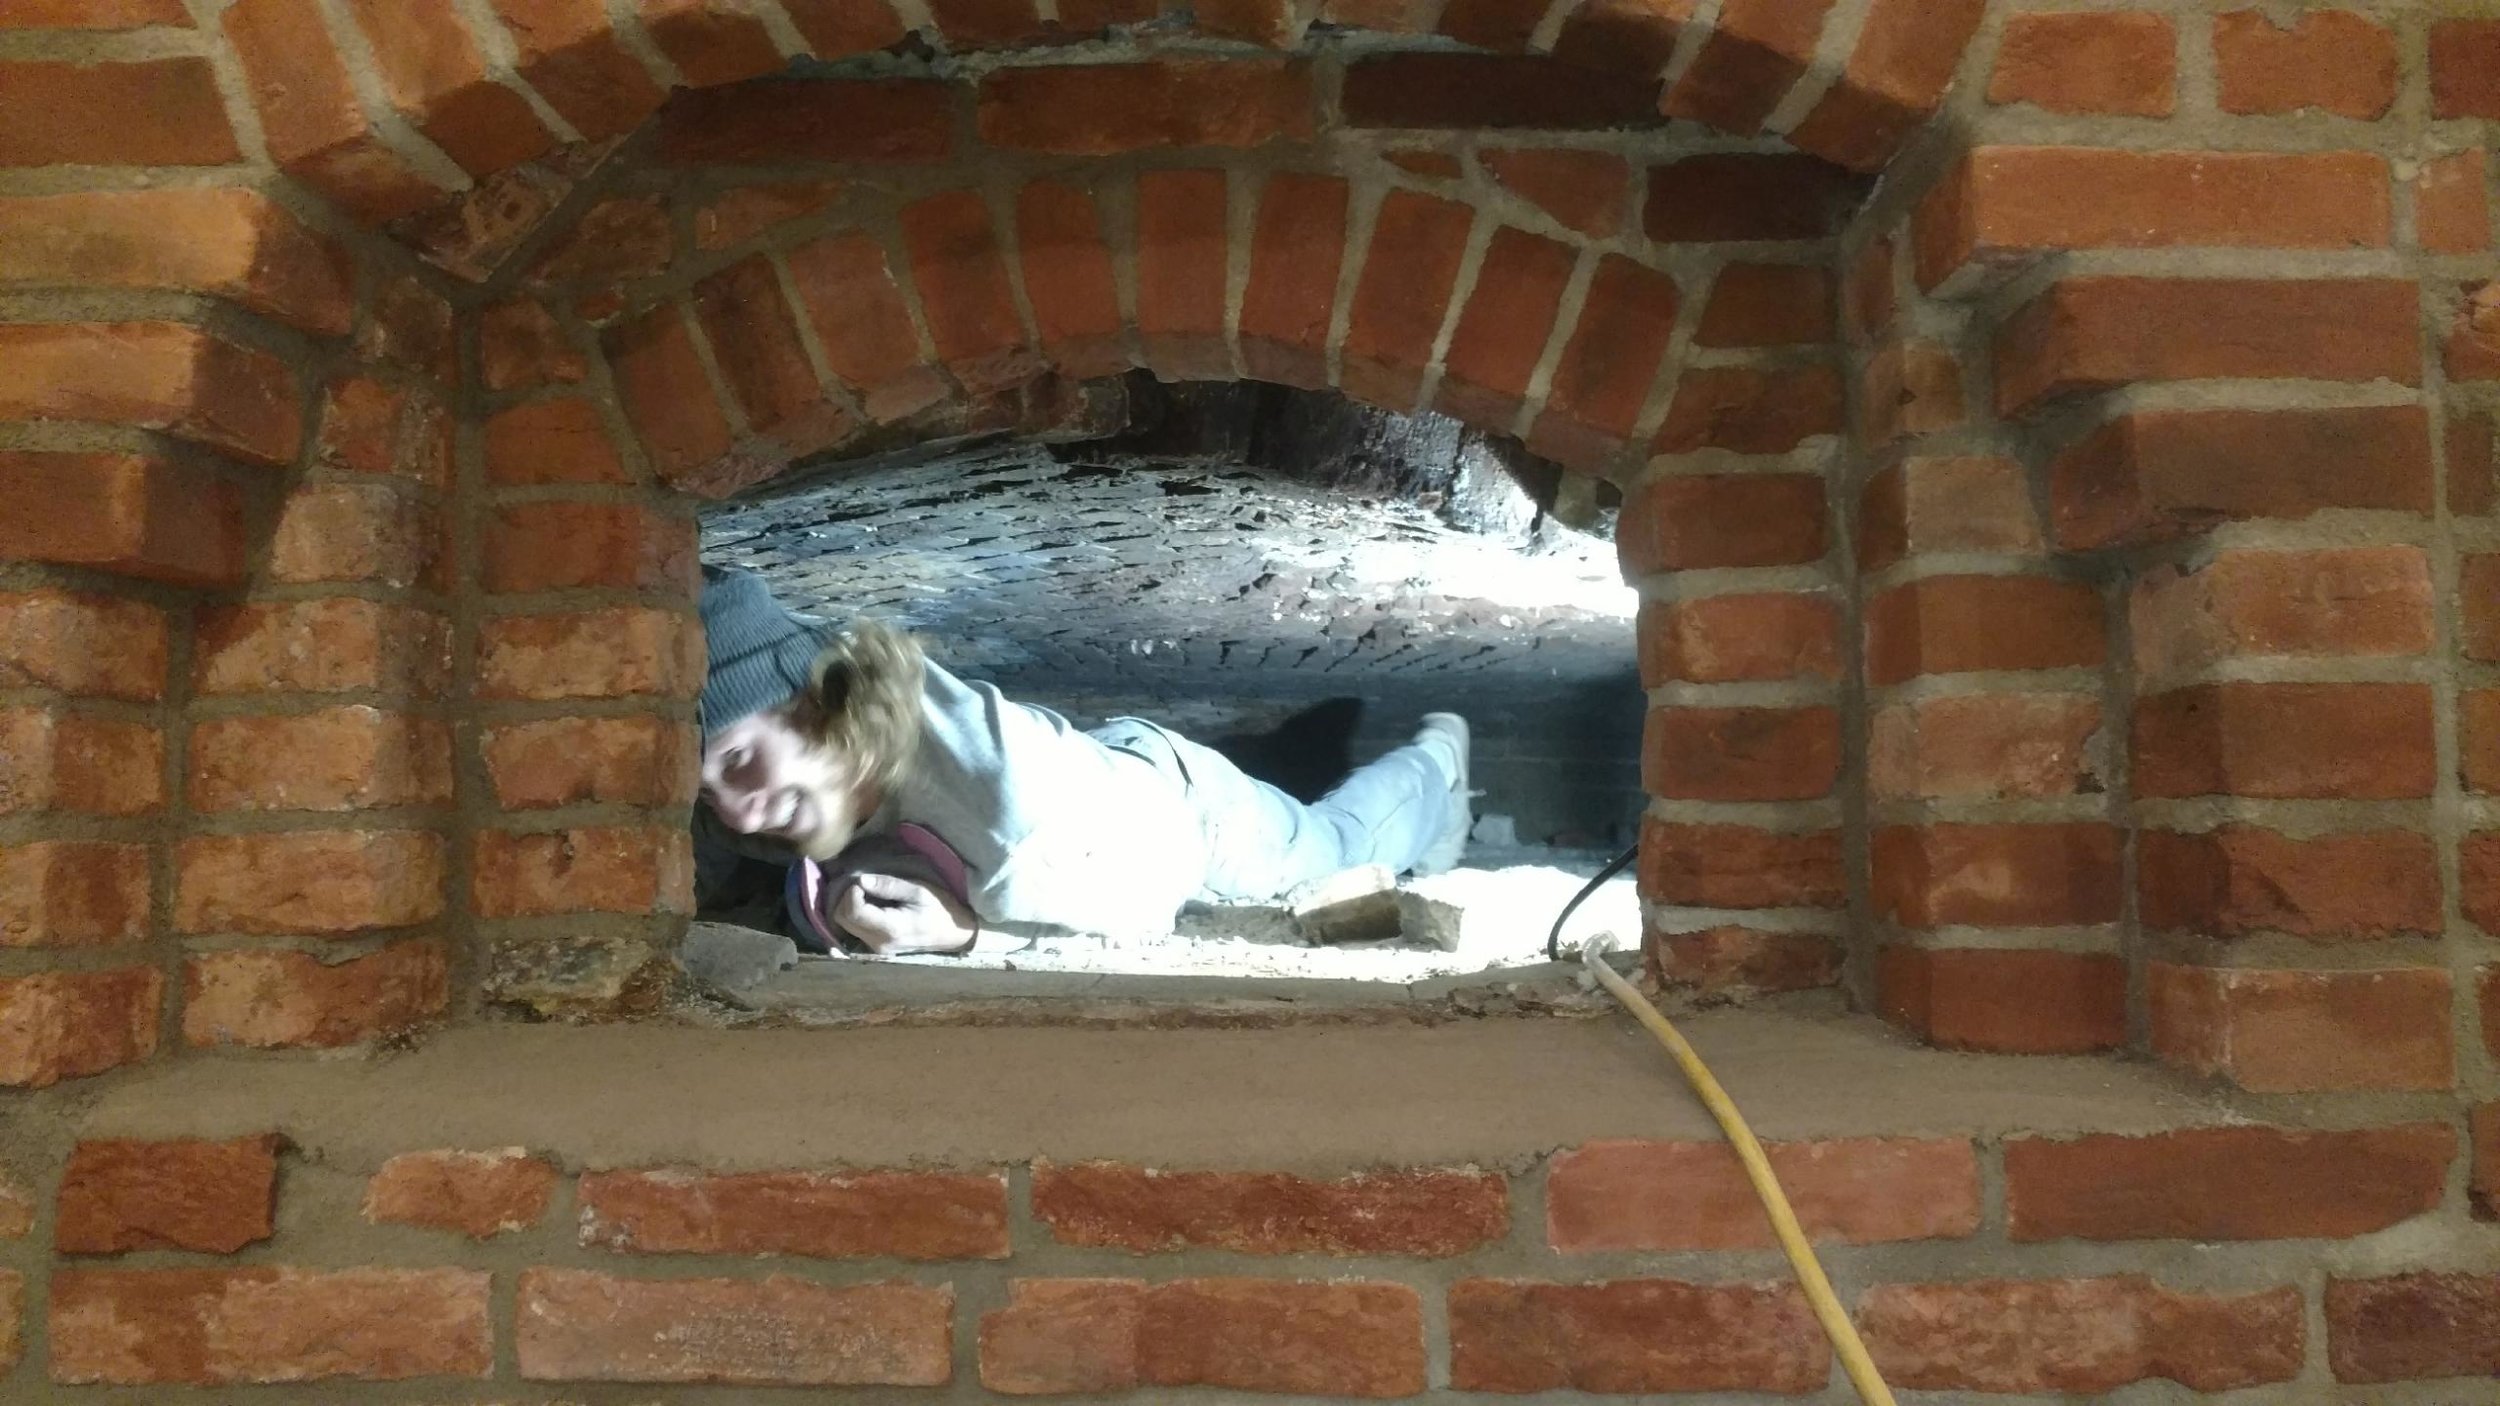
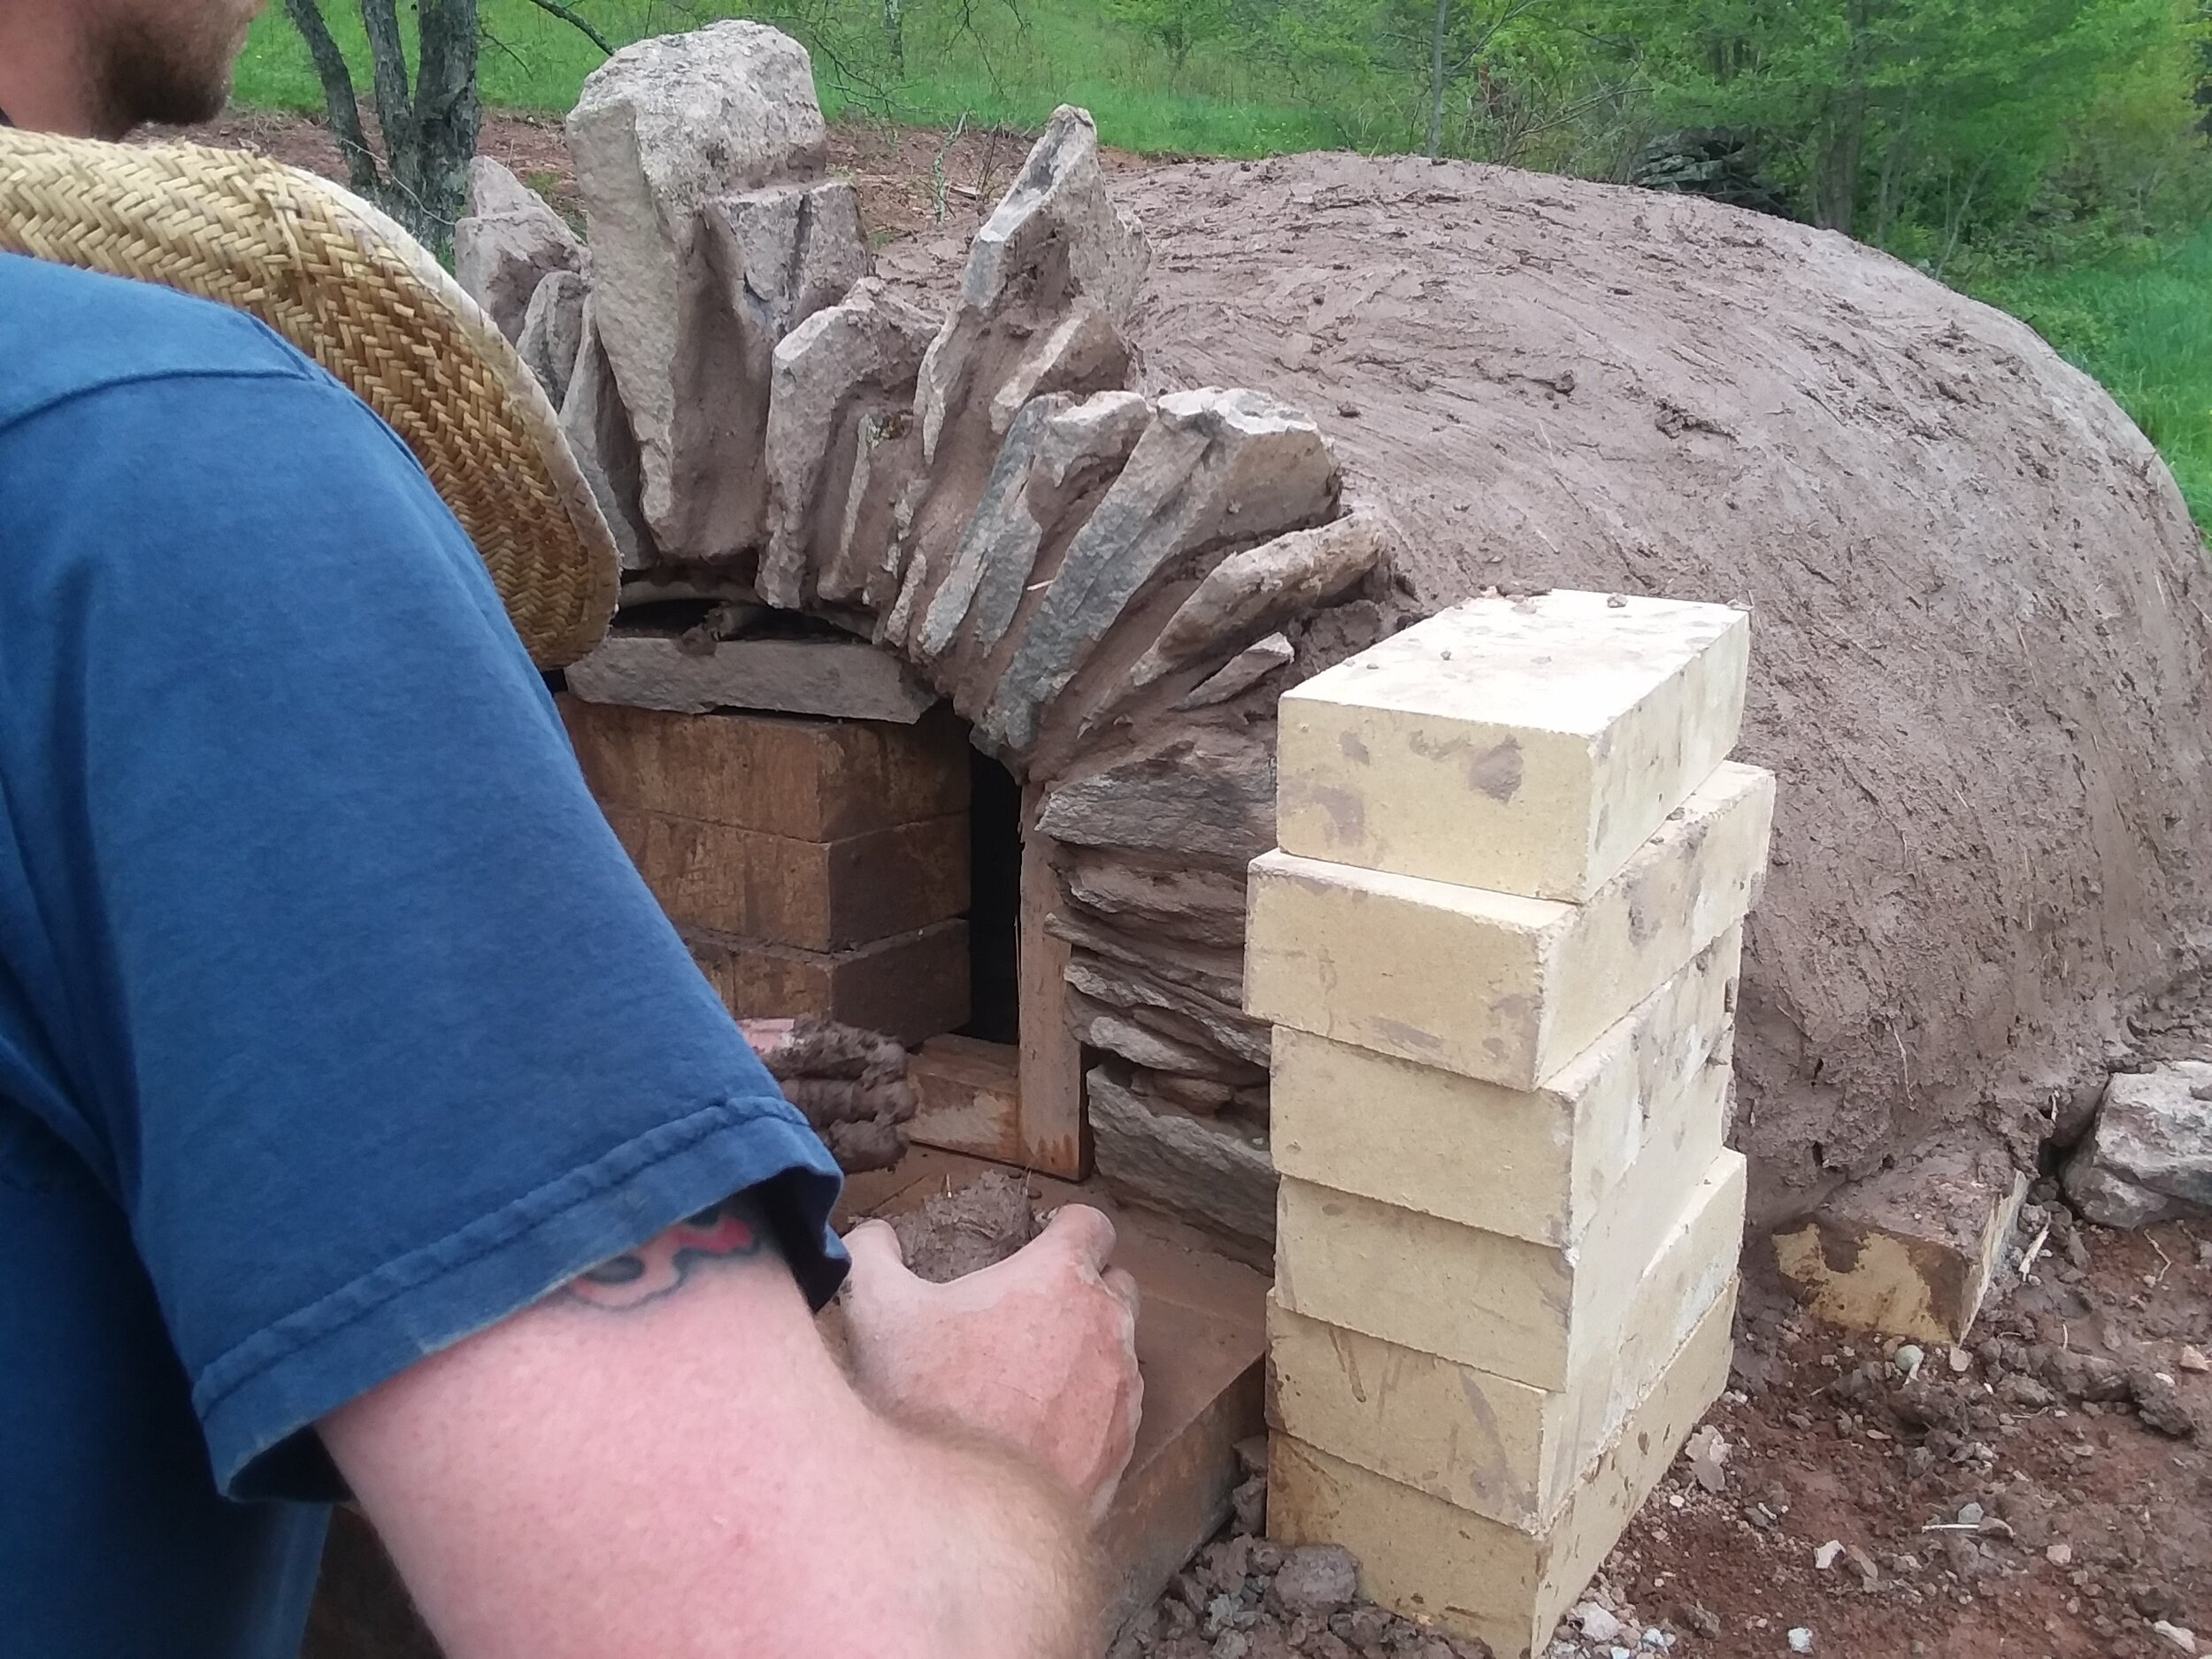
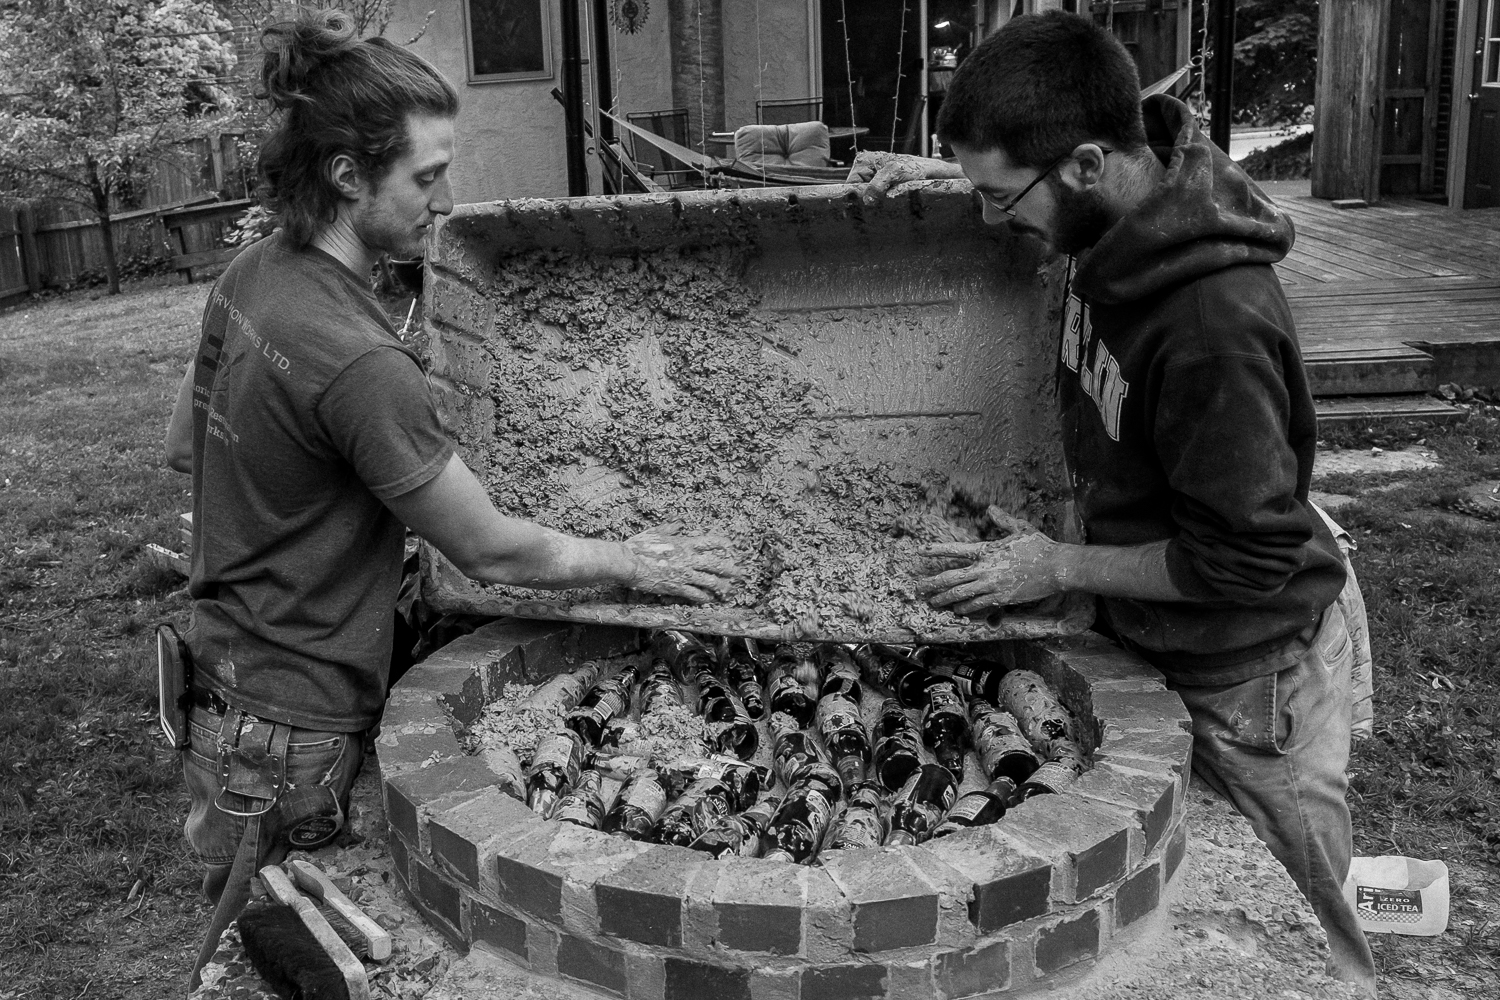
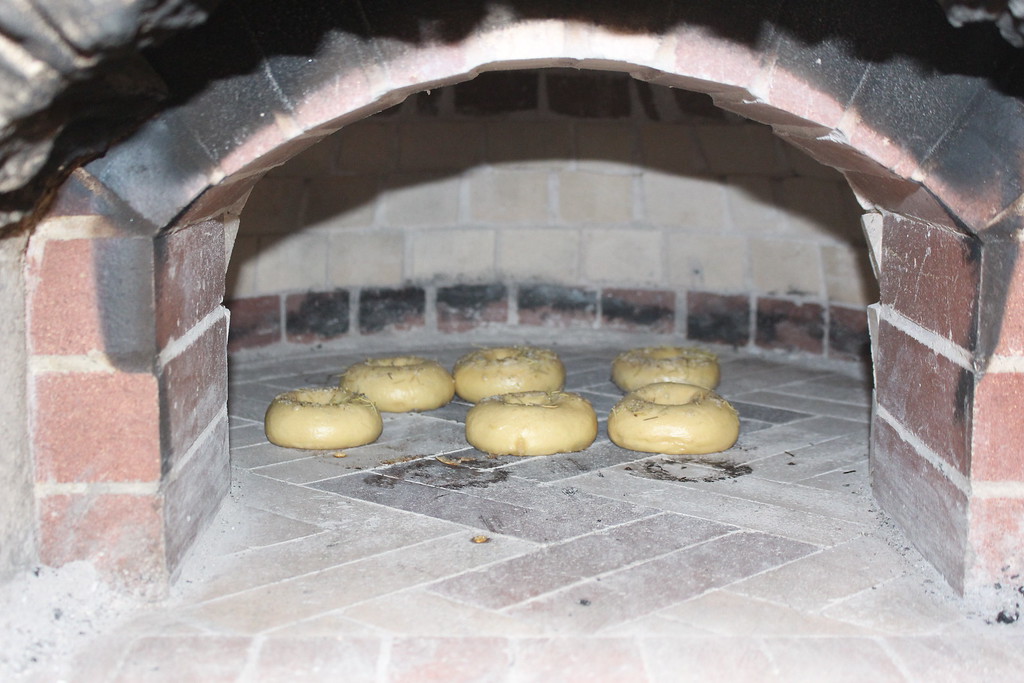
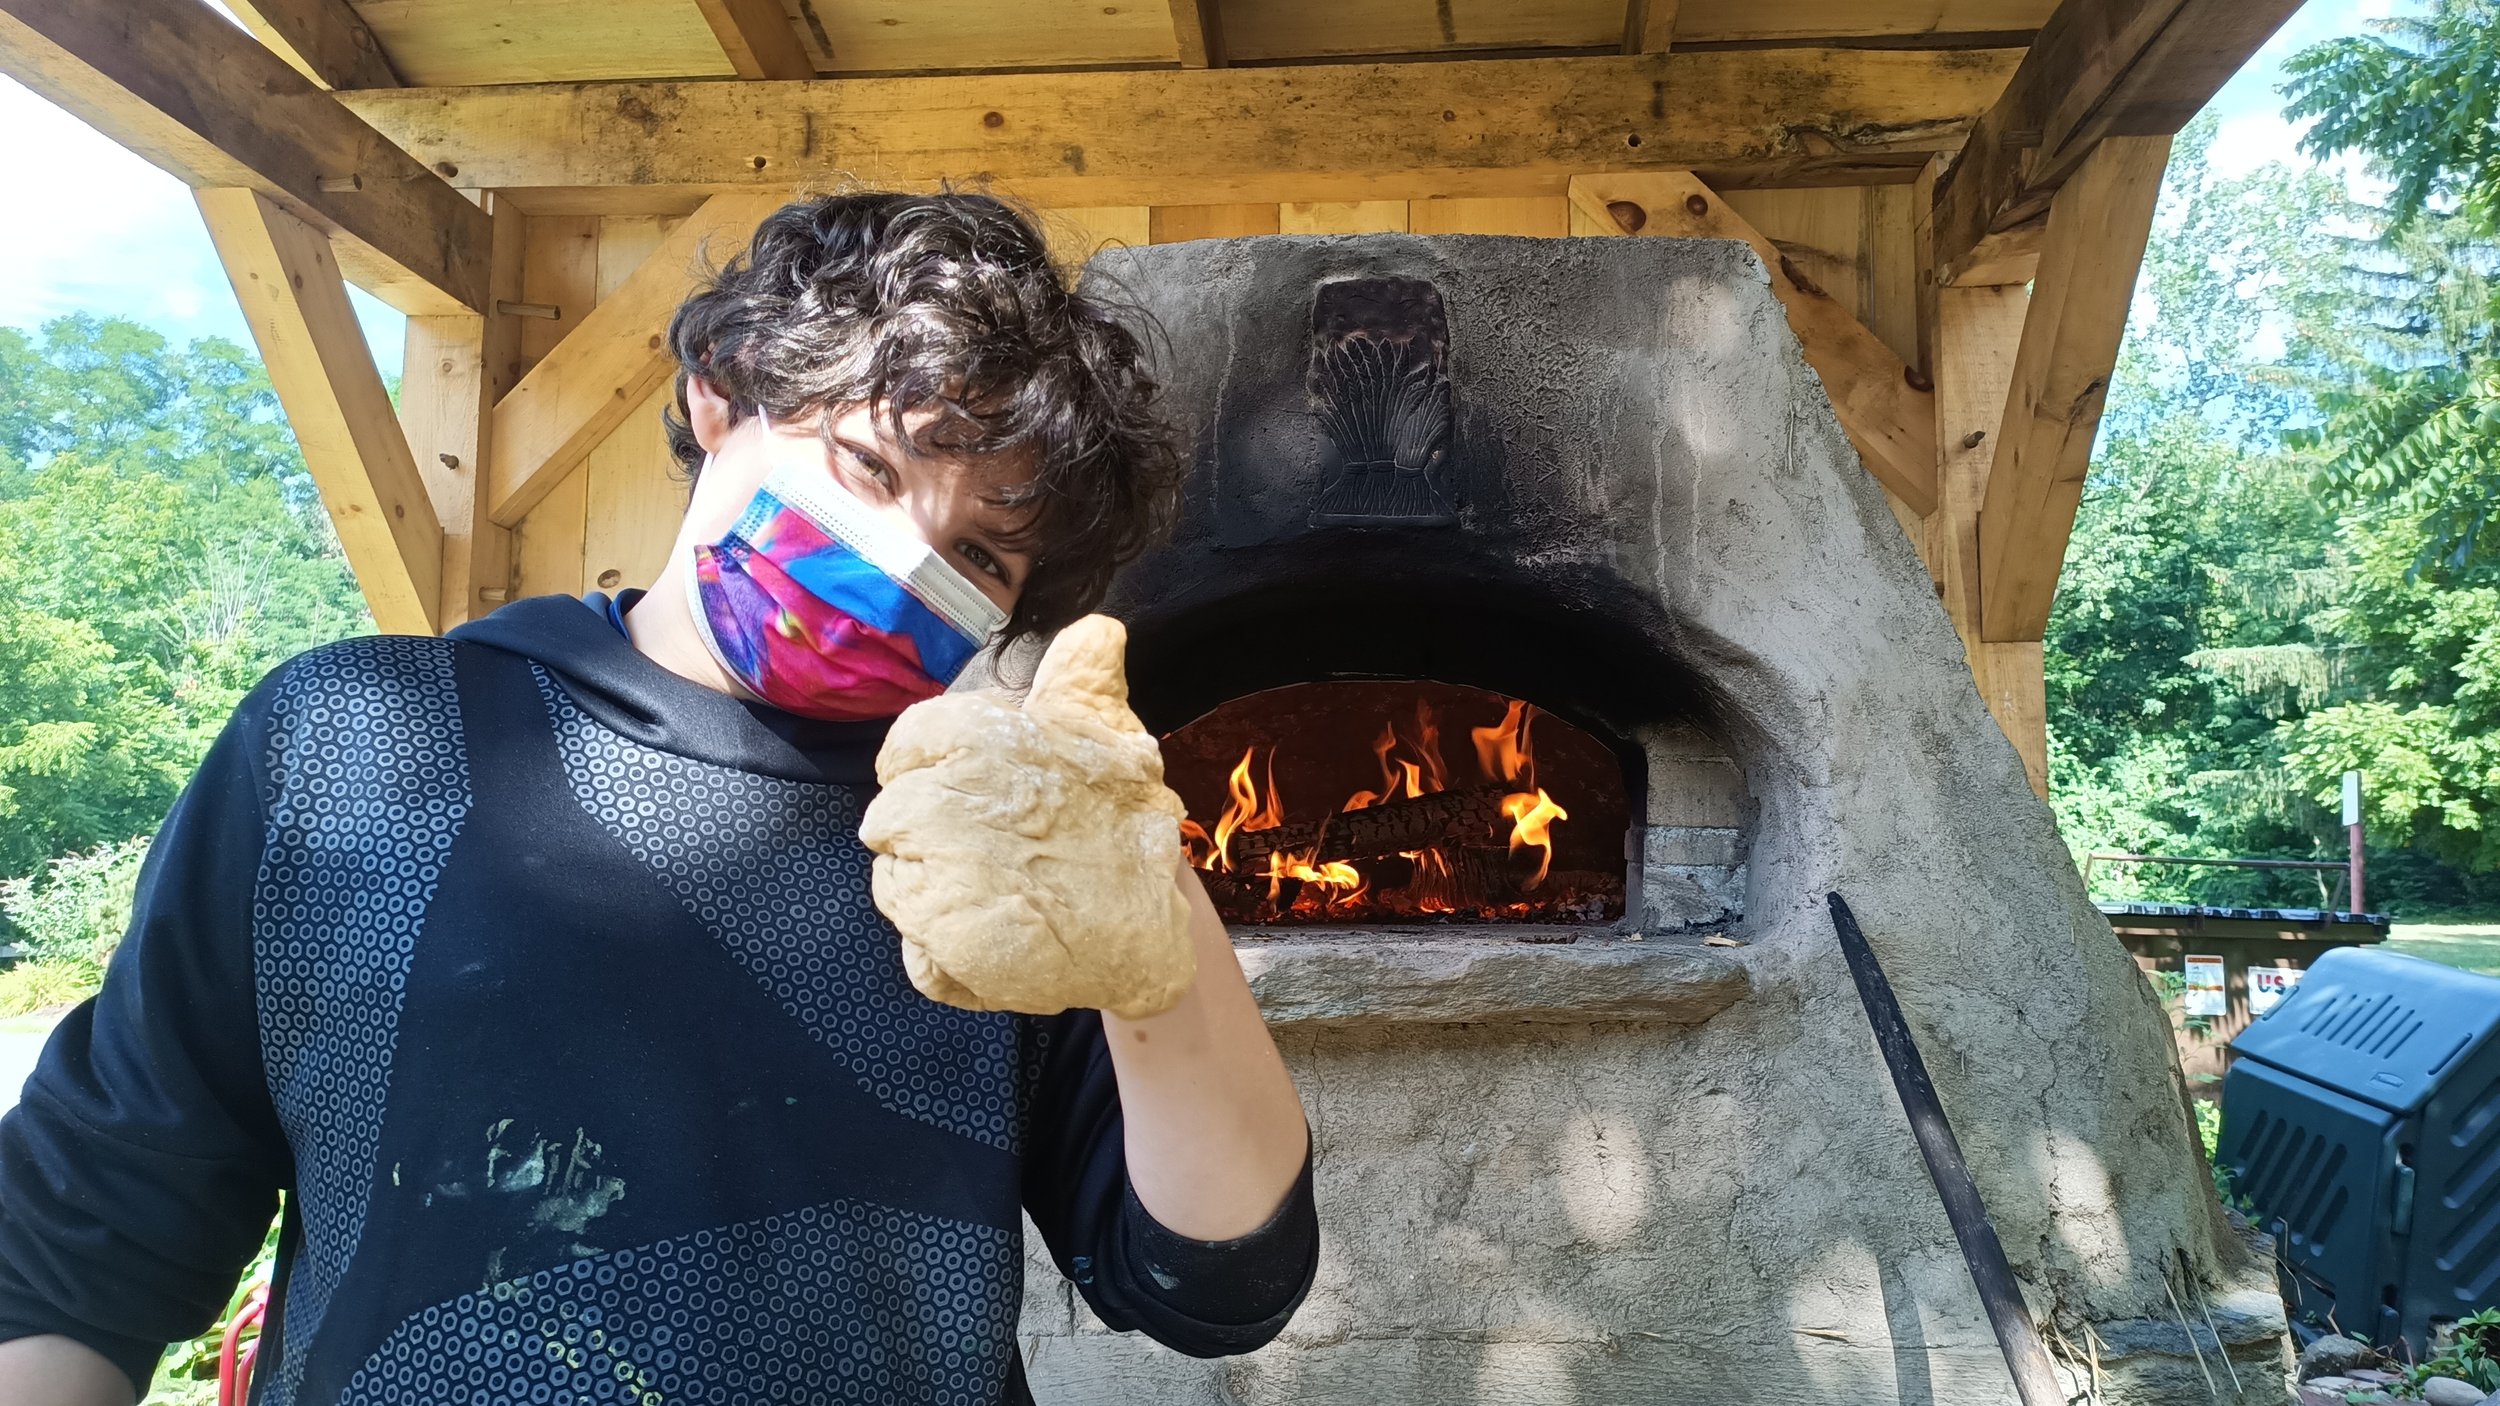
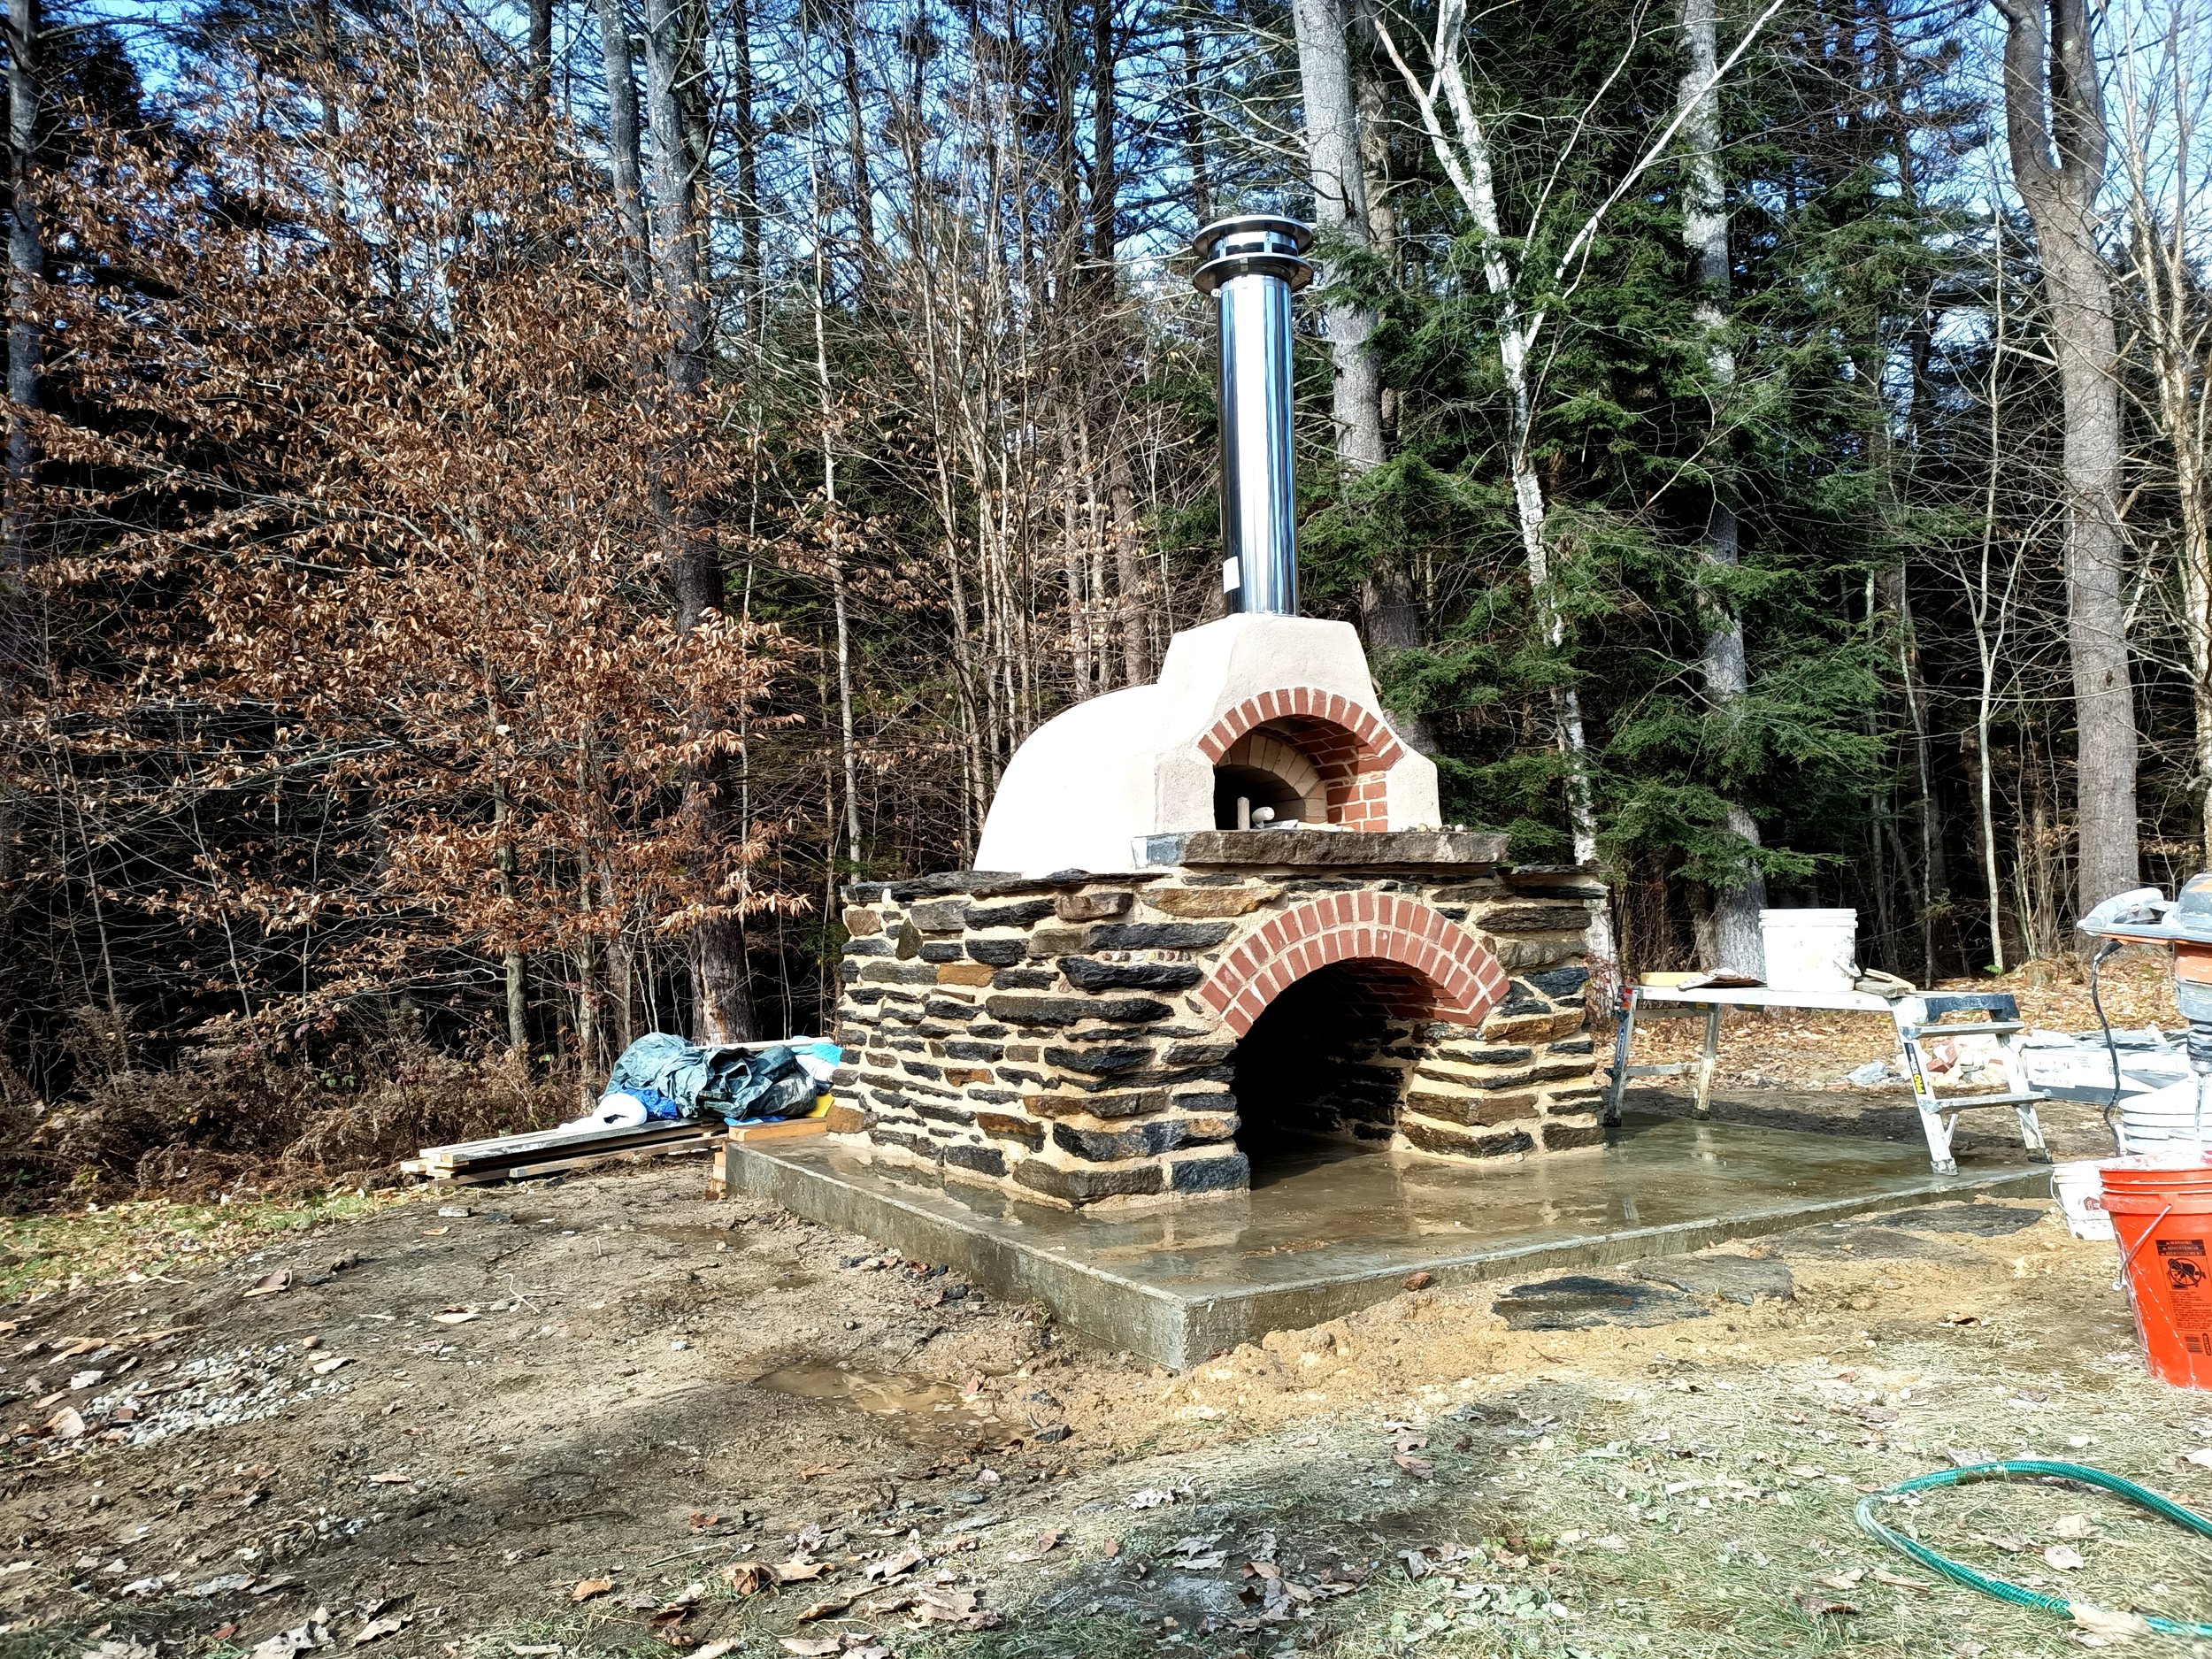
Brick (Masonry) Ovens
We continue the tradition of crafting very efficient bricks ovens. We strive for the highest levels of function and beauty.
You probably have many questions.
Clay or brick? What size? Where should it go? How much does any of this cost?
Email sam@backyardbread.com to schedule a phone call.
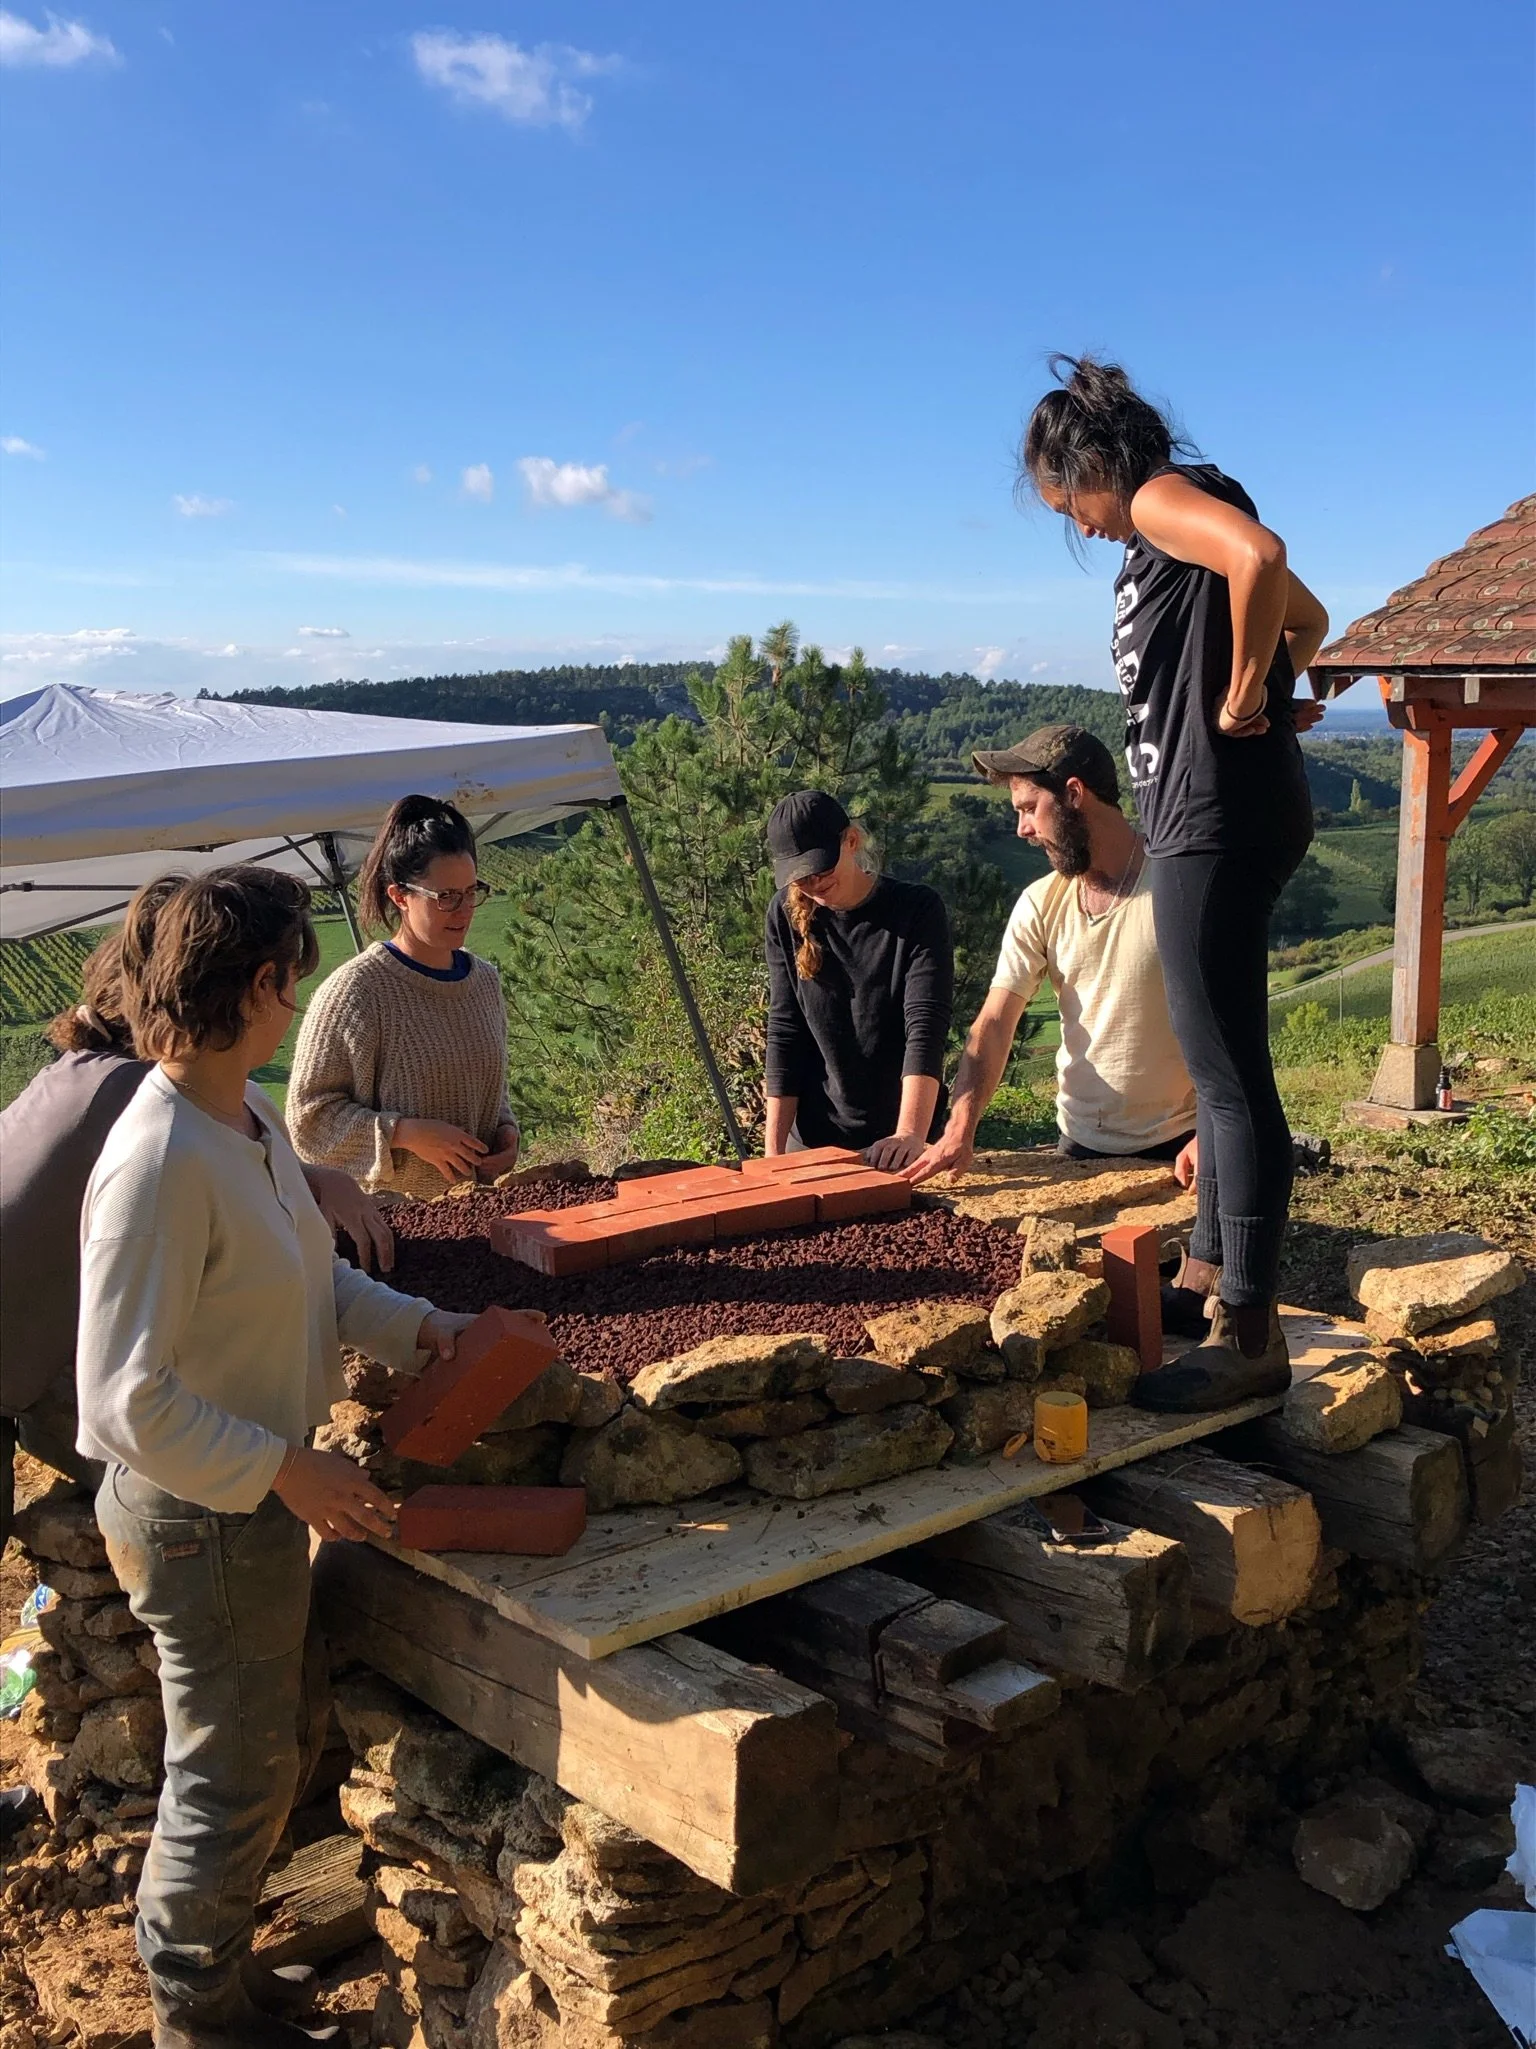
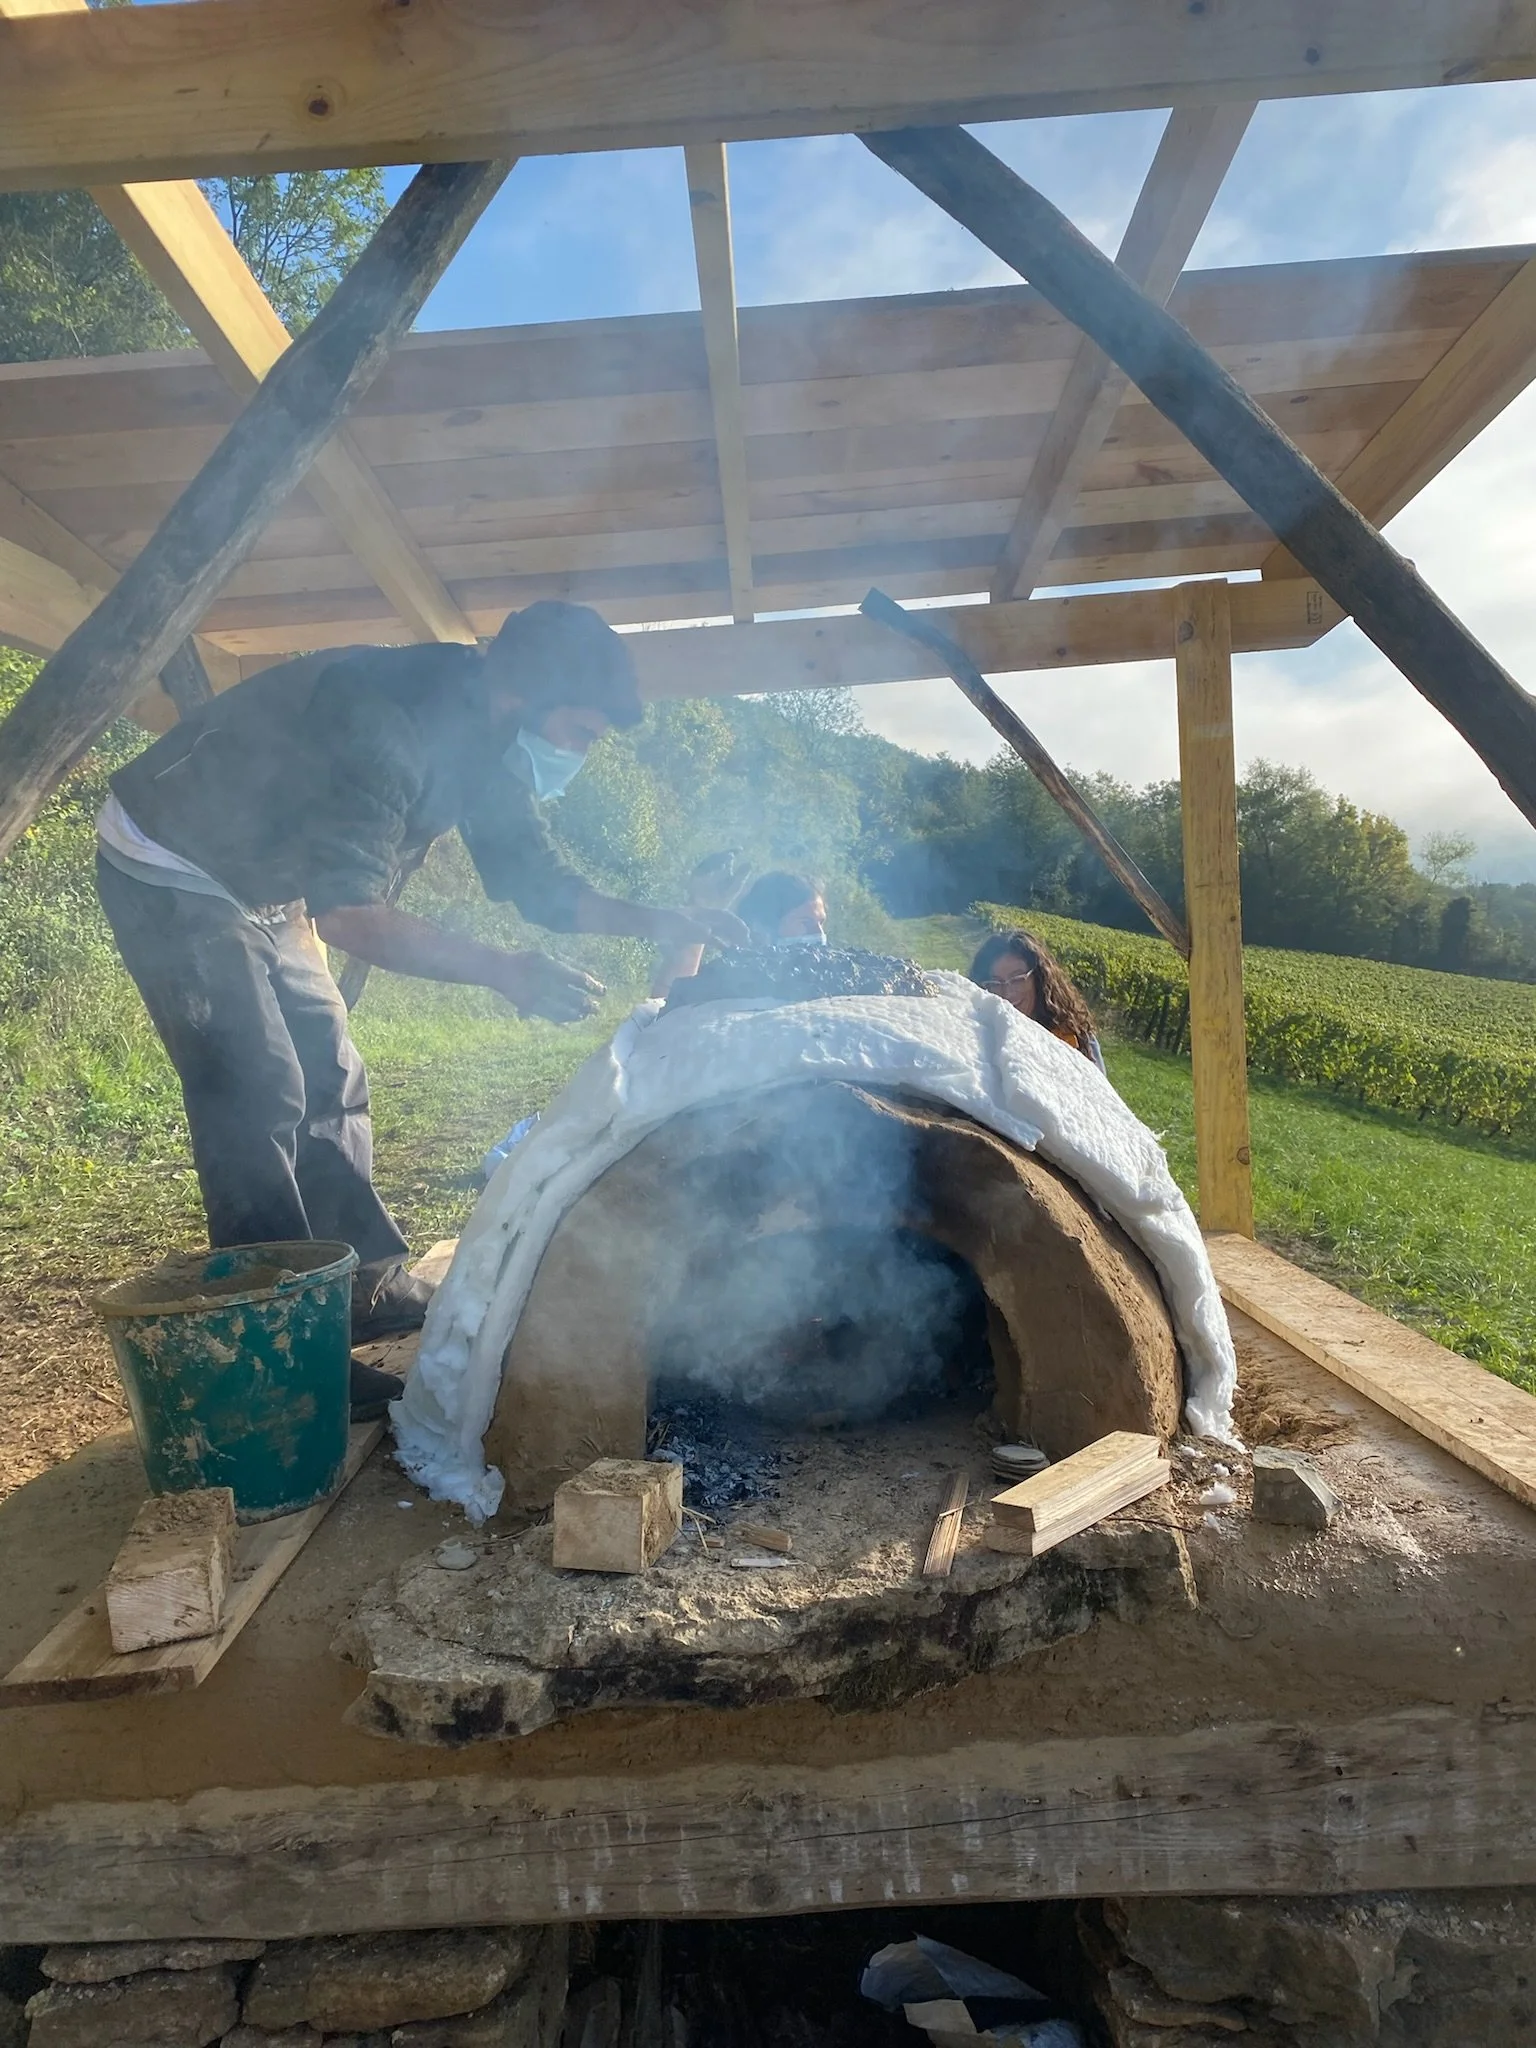
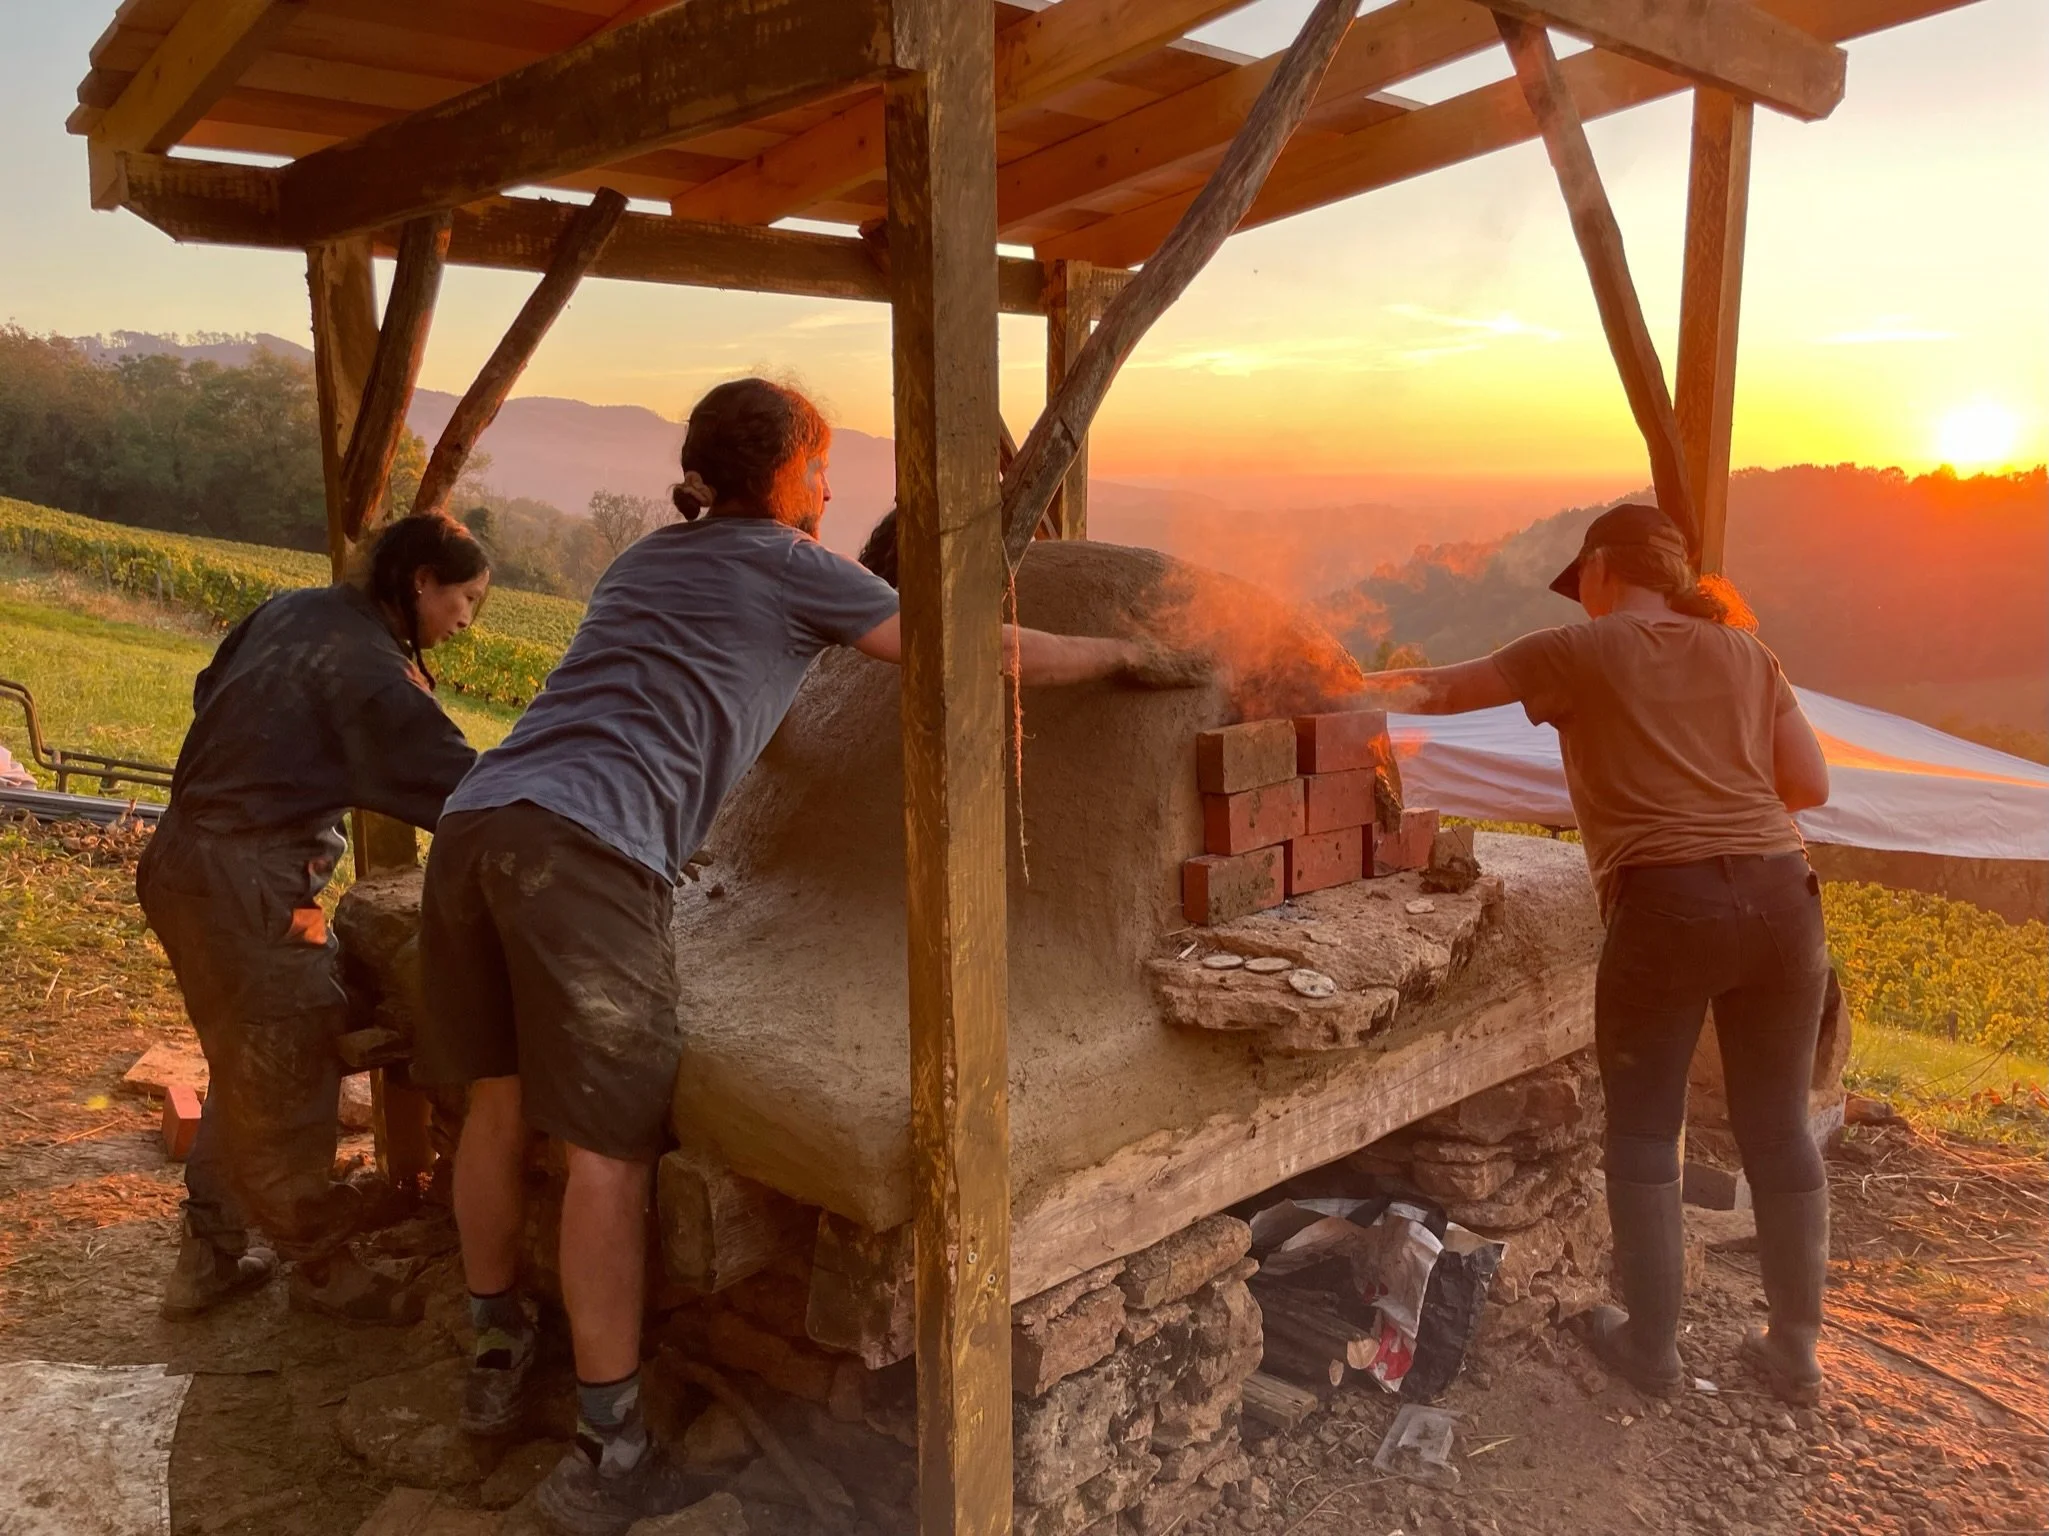
Learn more about the clay and brick building process by reading profiles of two oven builds below.
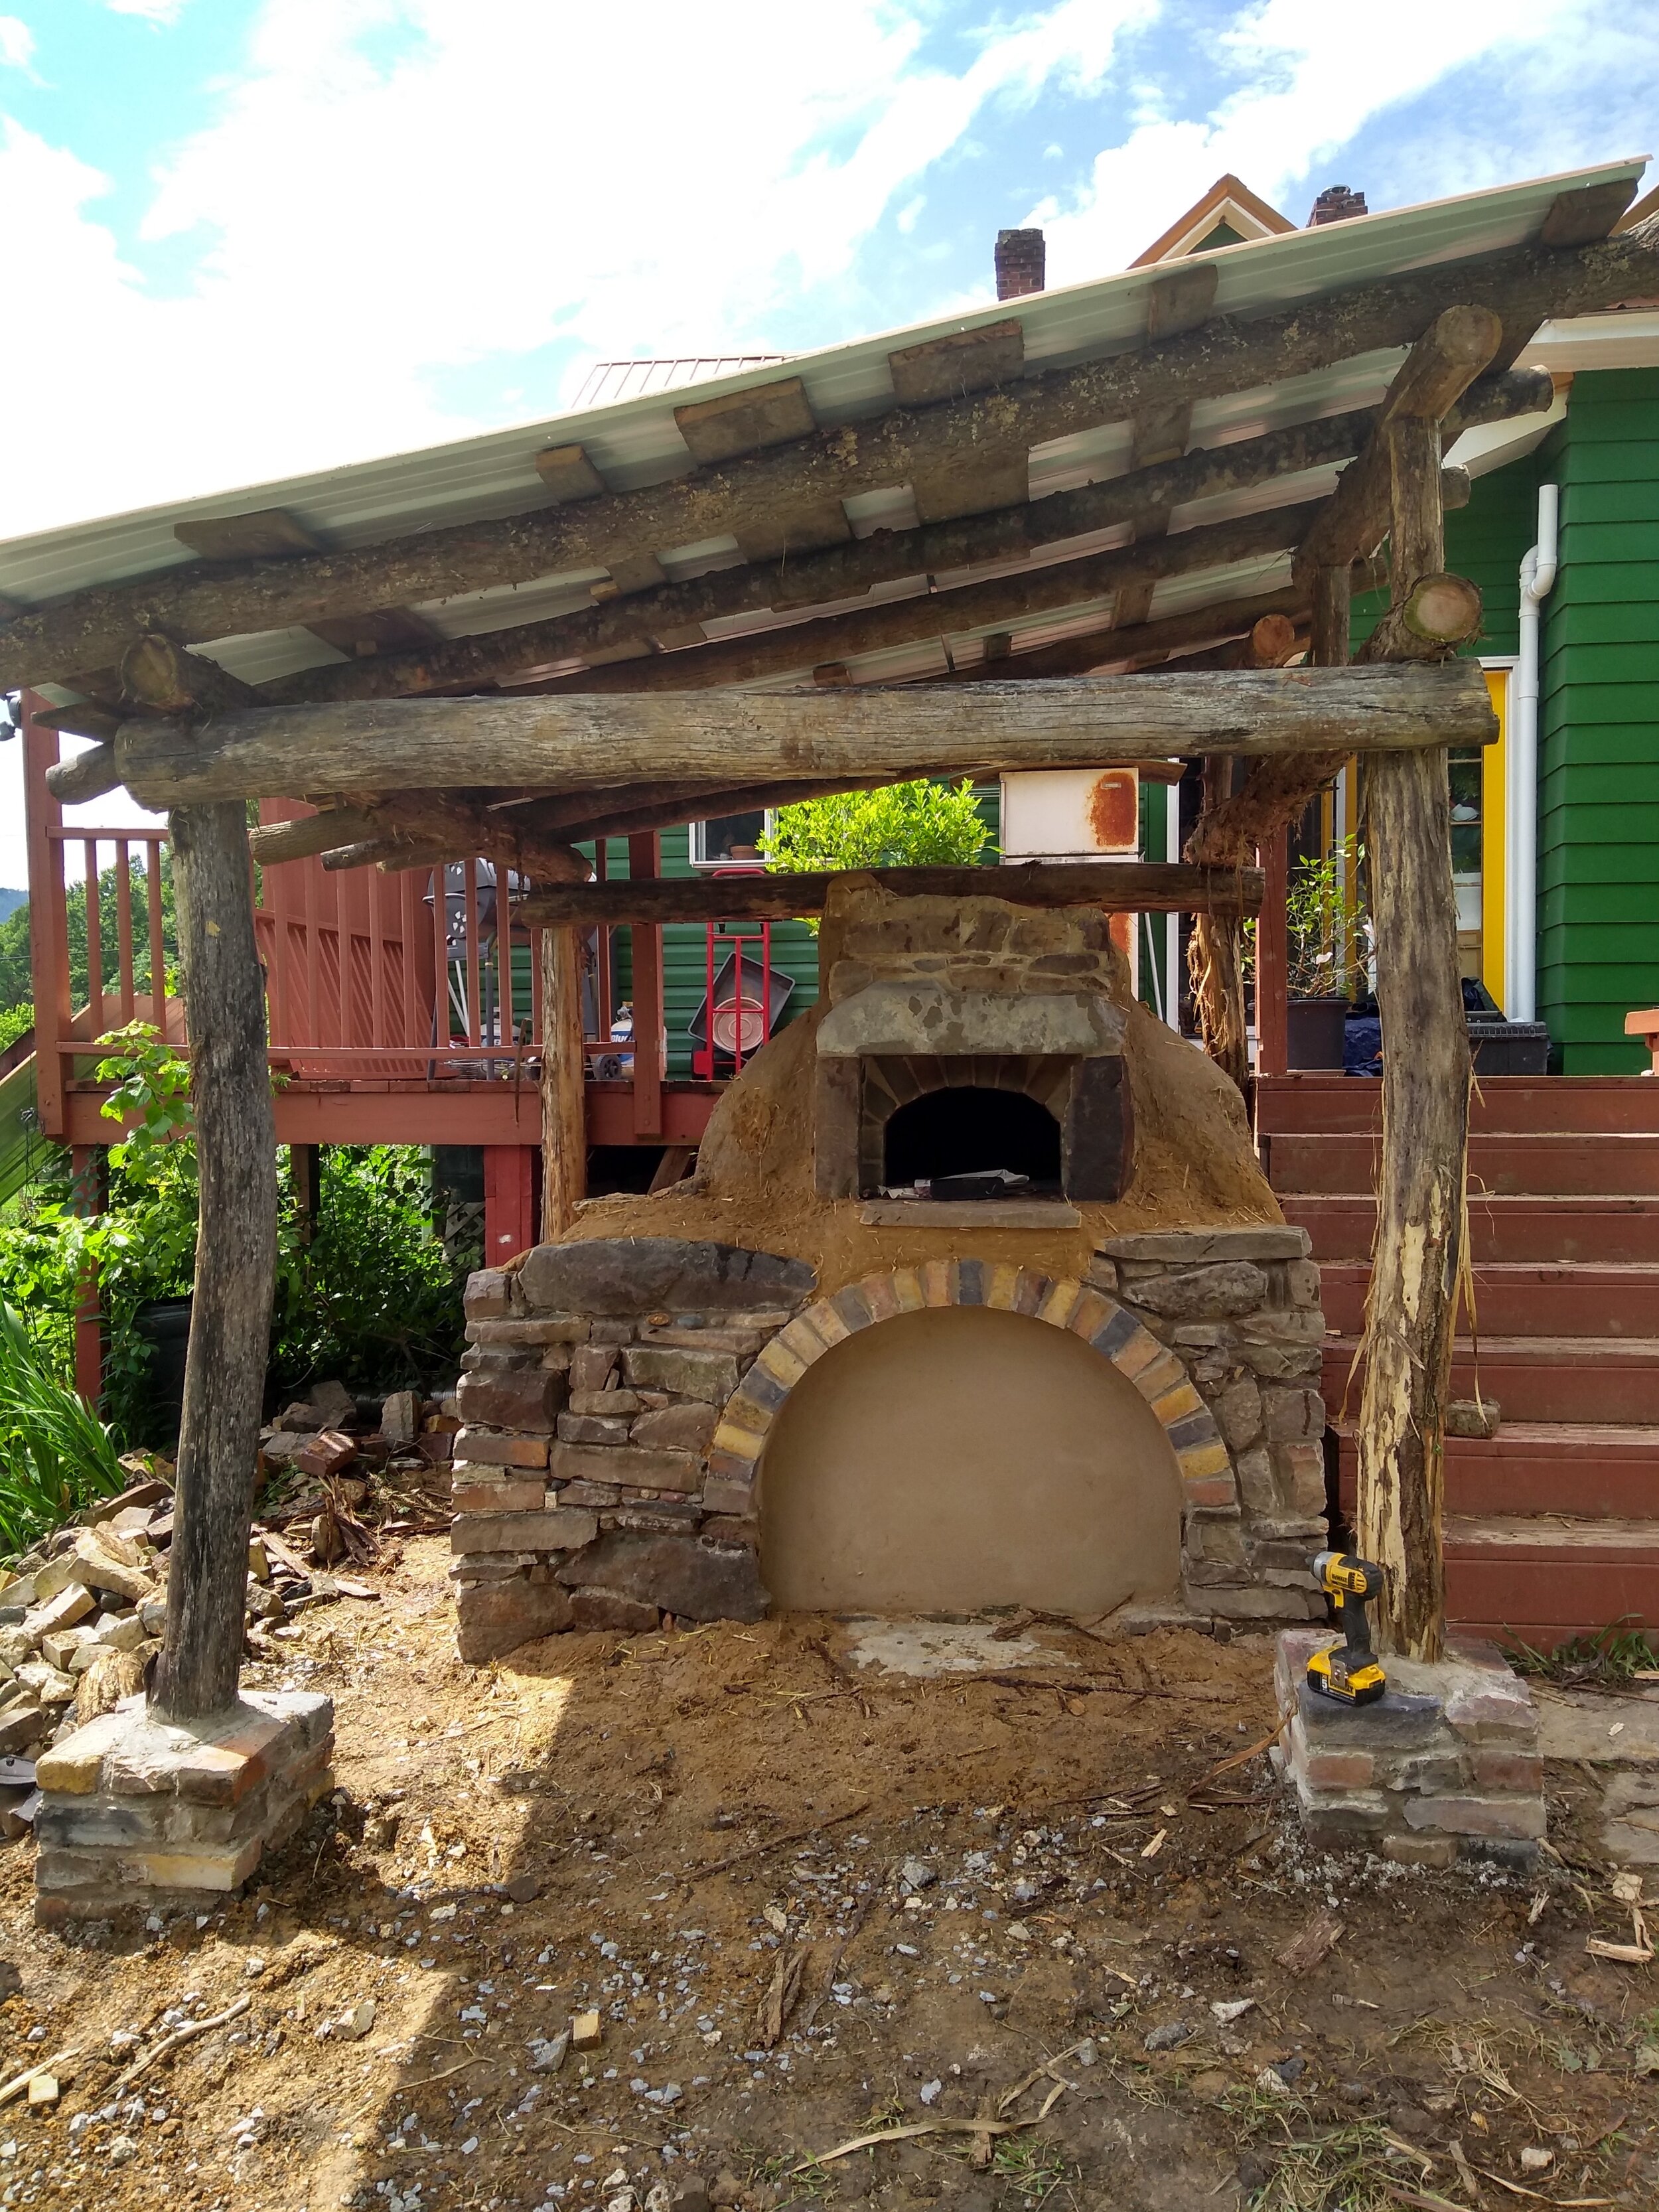
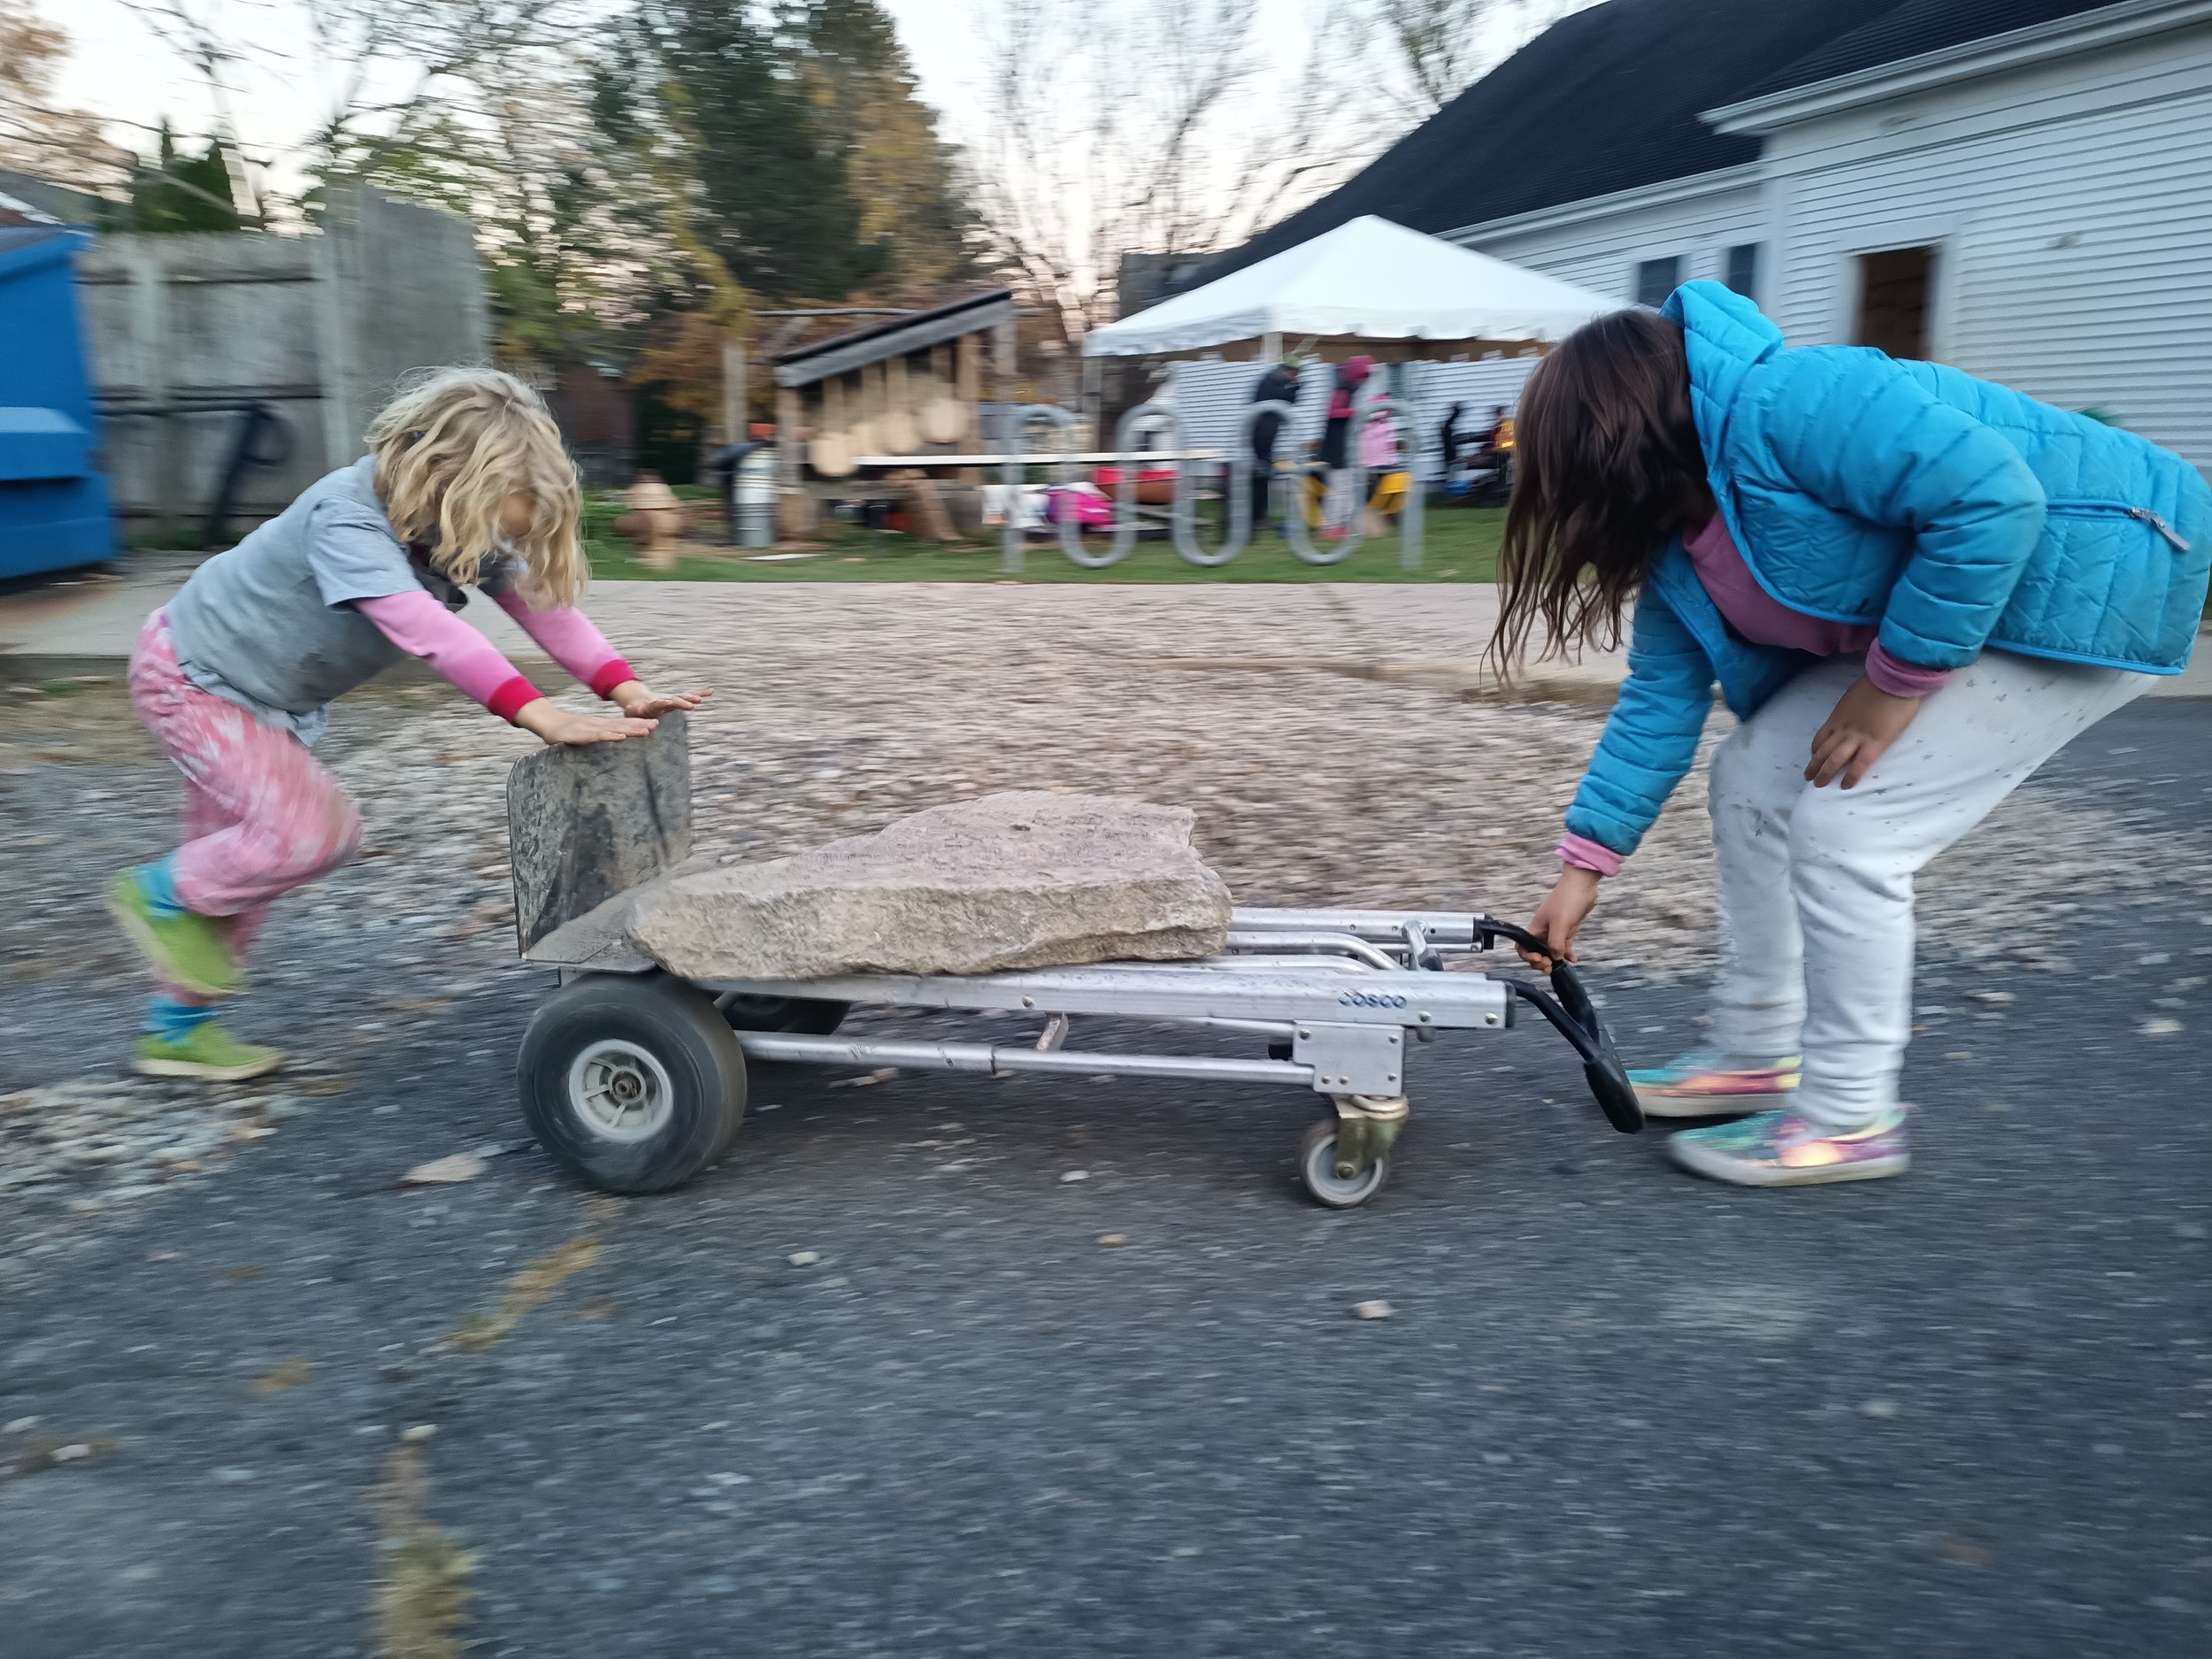
Clay Oven Build in Jura, France


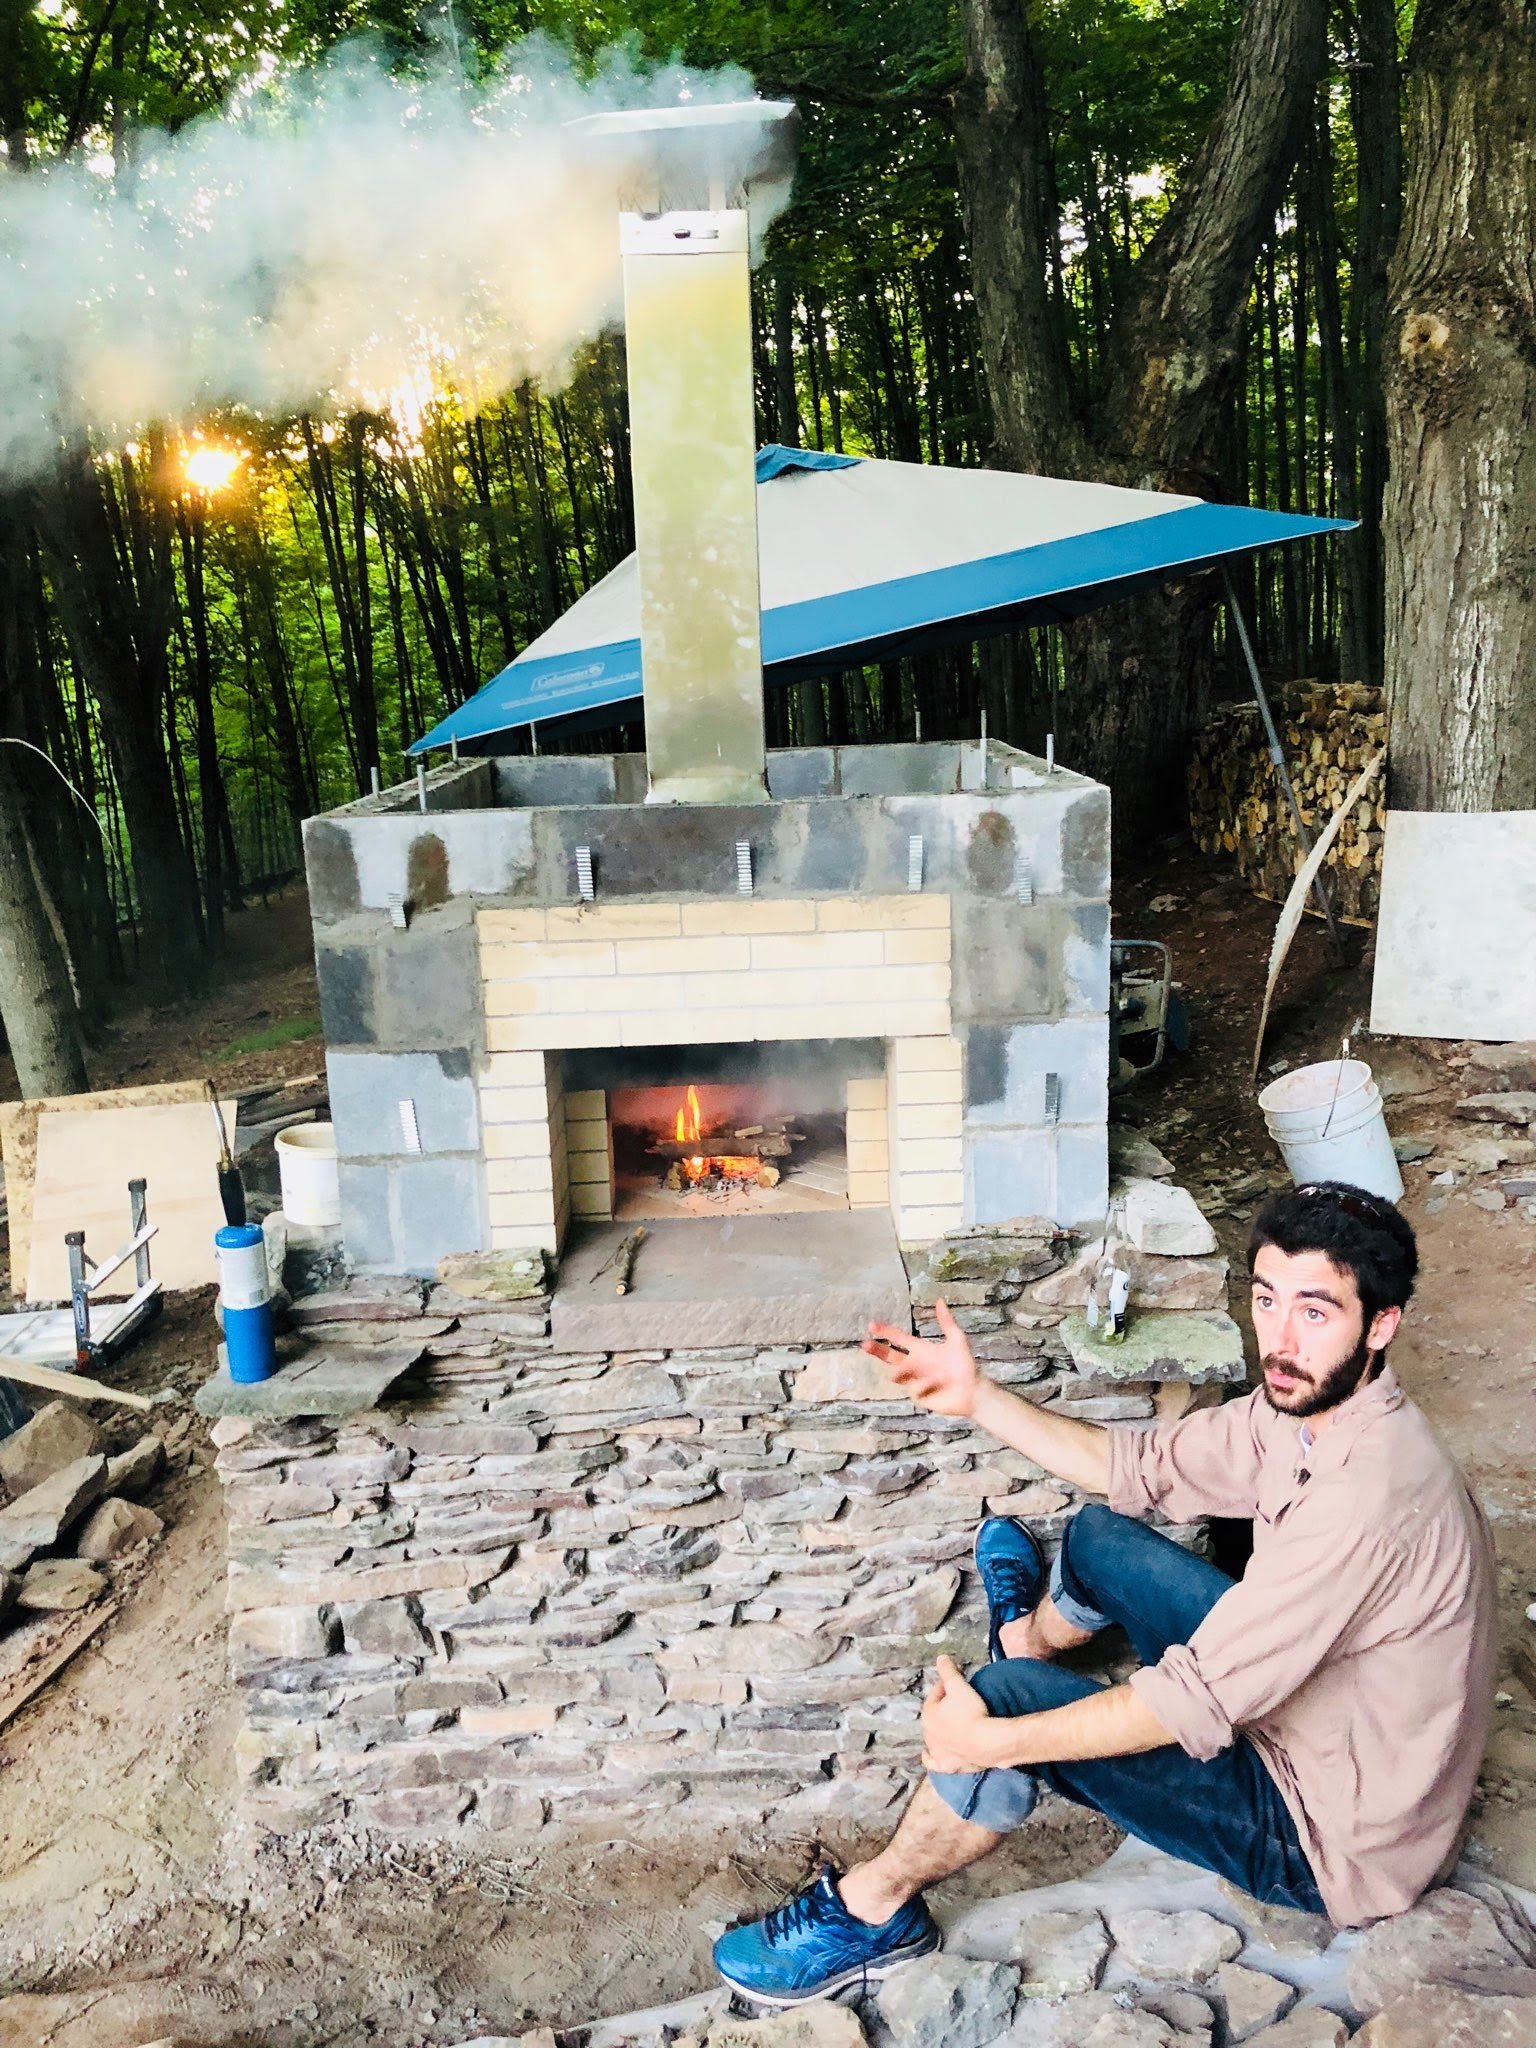
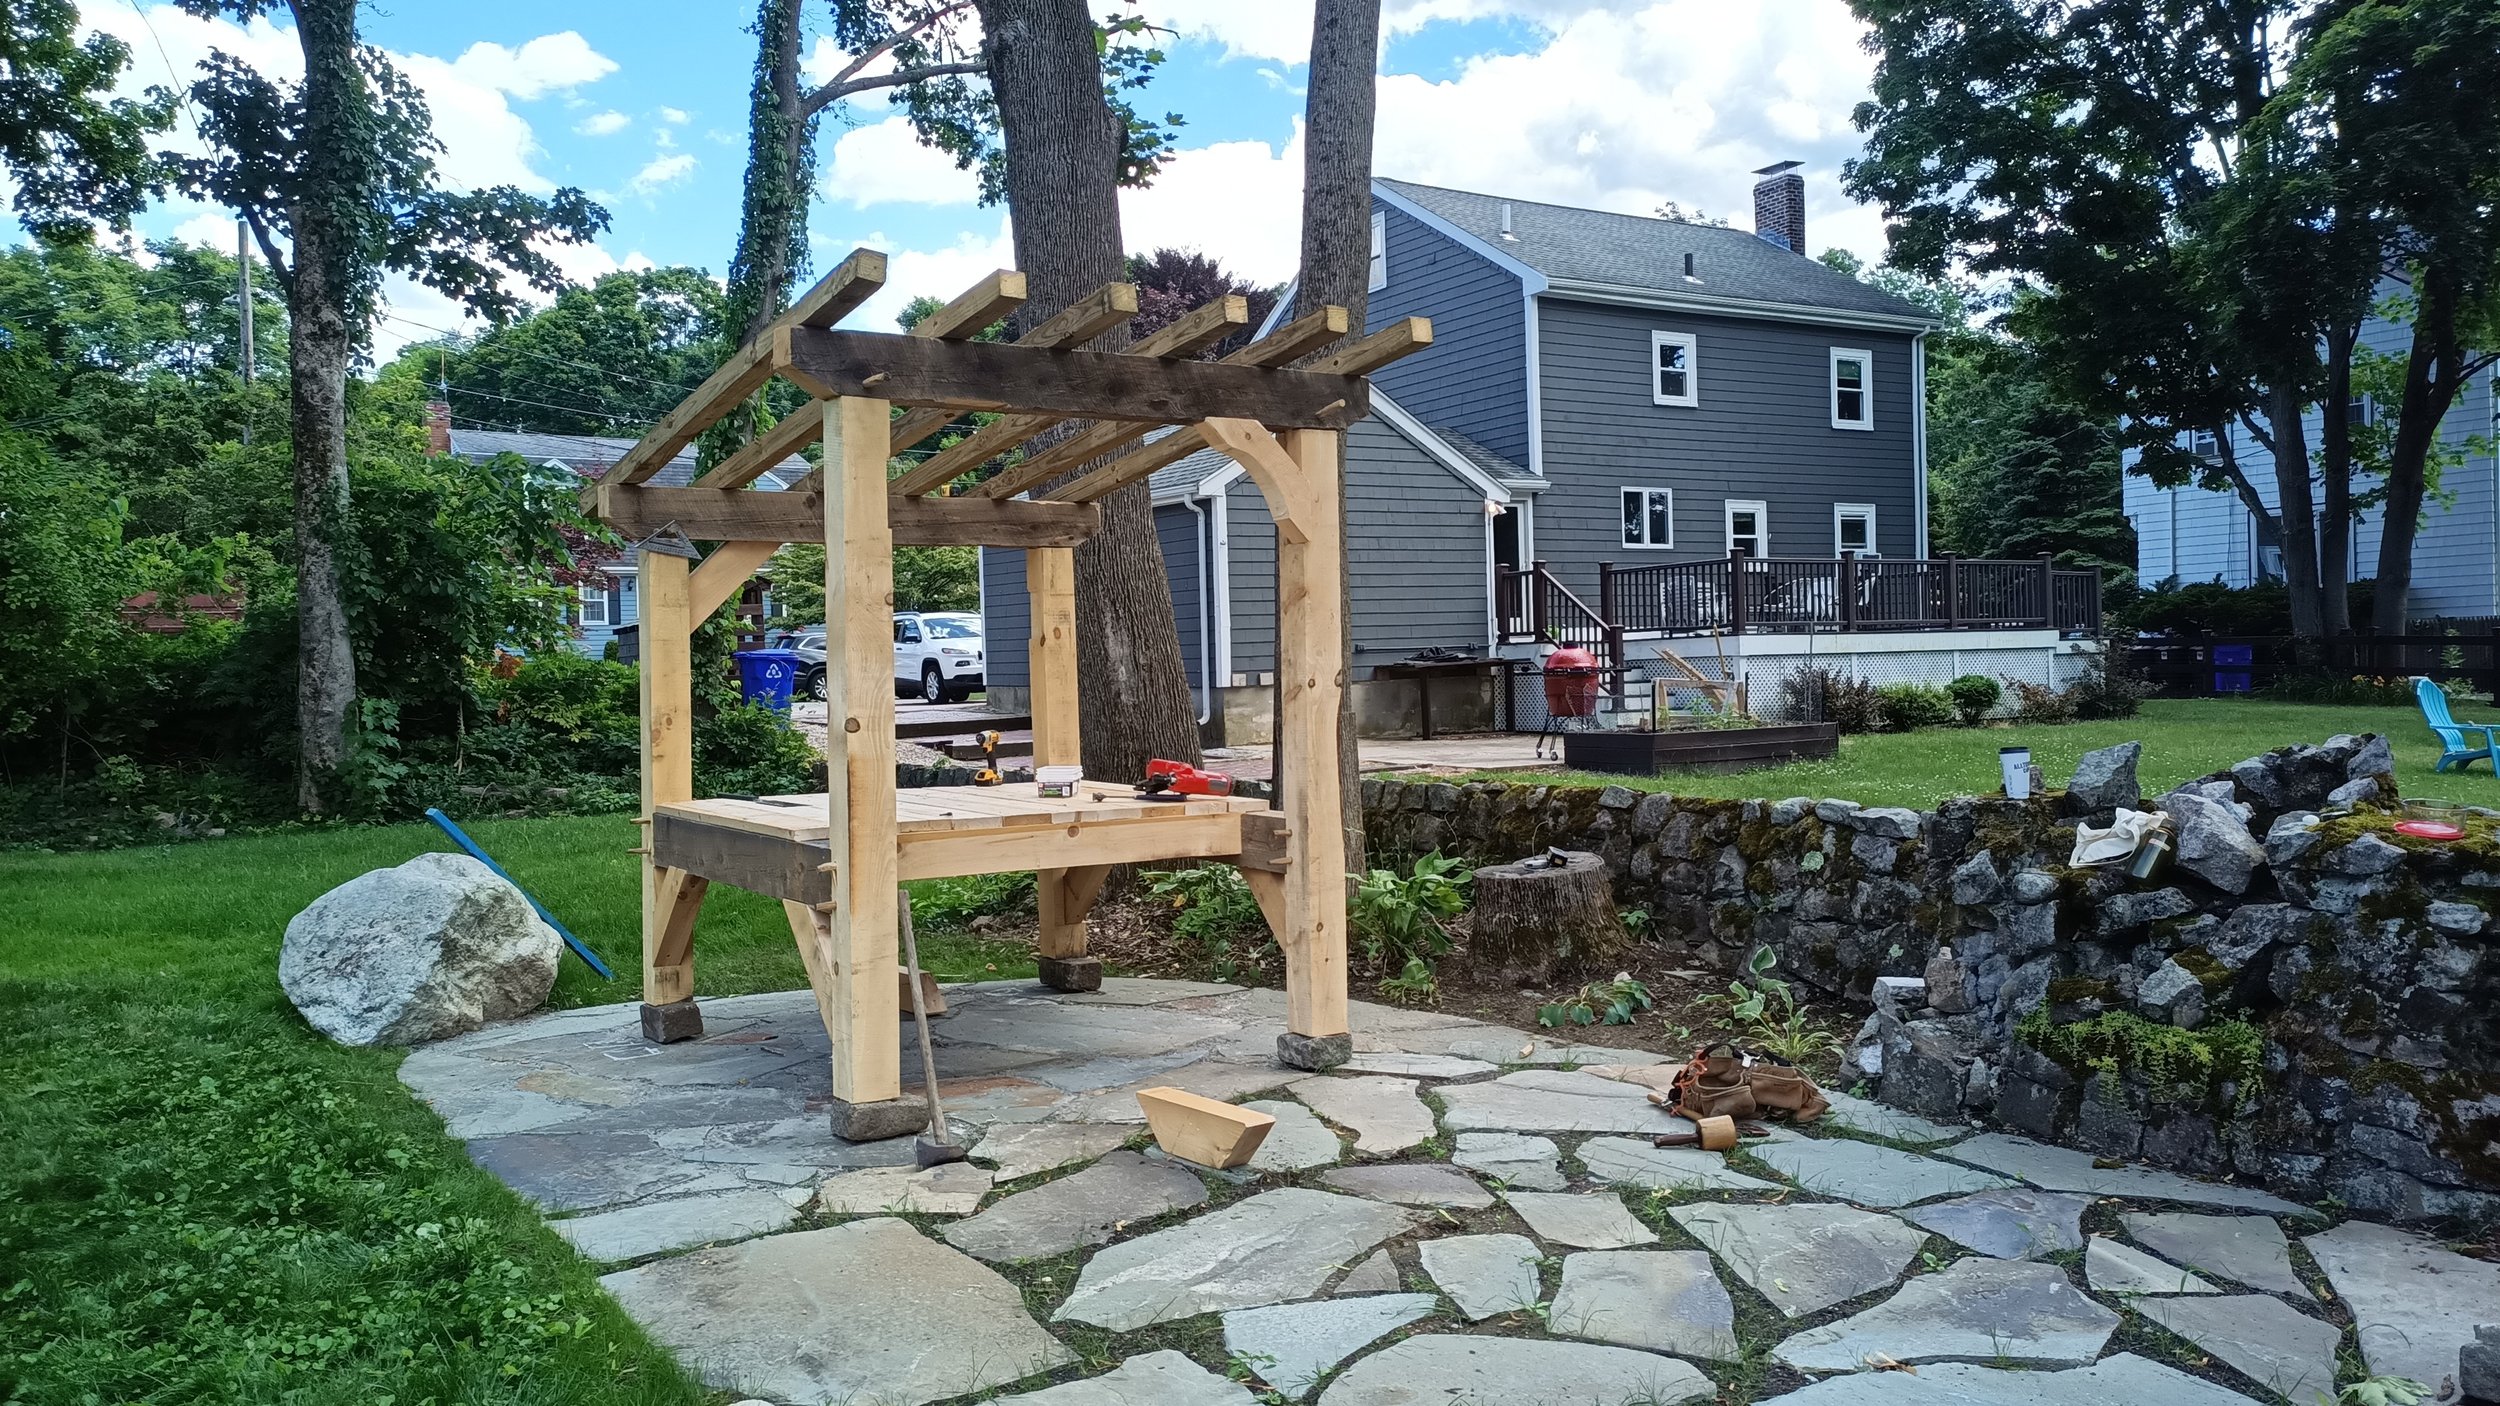
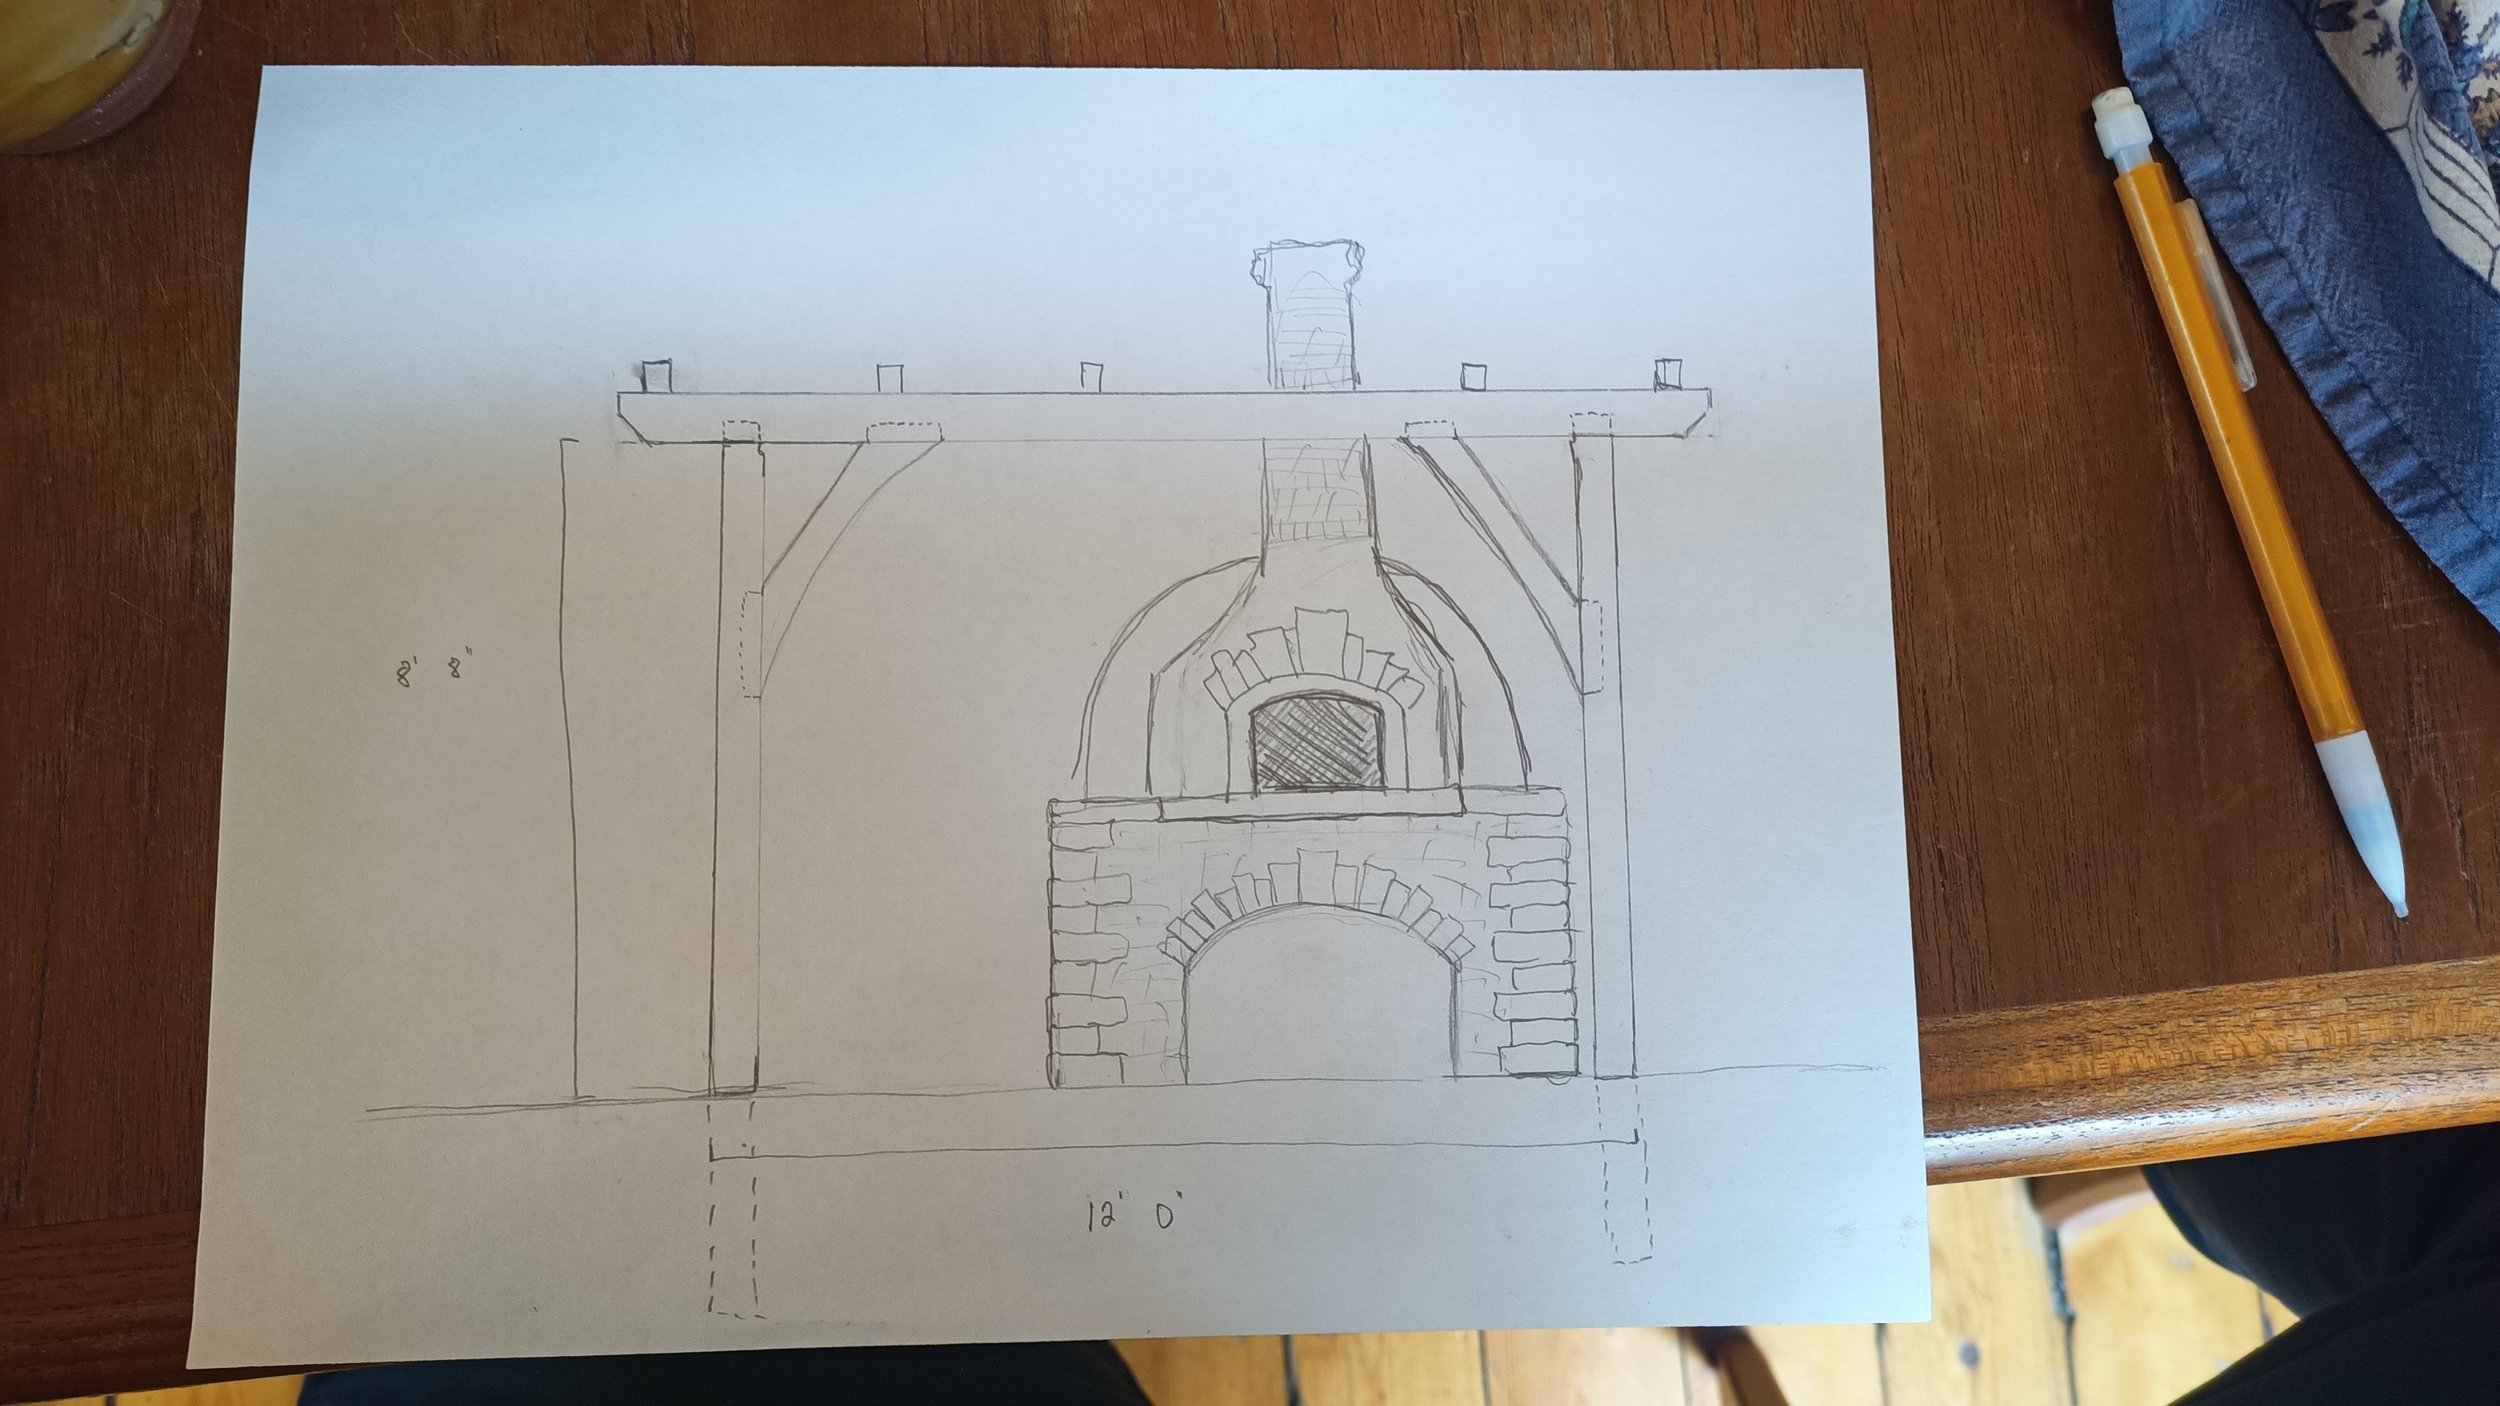
Brick Oven Build in Western MA